Winter and Cold-Weather Camping
Campsite selection, sleep system setup, and stove performance for camping in real winter conditions — the practical technique, not just gear ratings.
Published September 5, 2026
How to Use This Guide
This guide covers technique — how to actually camp well once temperatures drop, not gear specs, which are already covered elsewhere: our tent buying guide explains 4-season ratings, our sleeping bag guide covers temperature ratings and insulation type, and our layering guide covers the clothing system itself. This guide picks up from there: campsite selection, setting up in snow, staying warm overnight, and keeping a stove running when it's genuinely cold.
1. Choosing a Winter Campsite
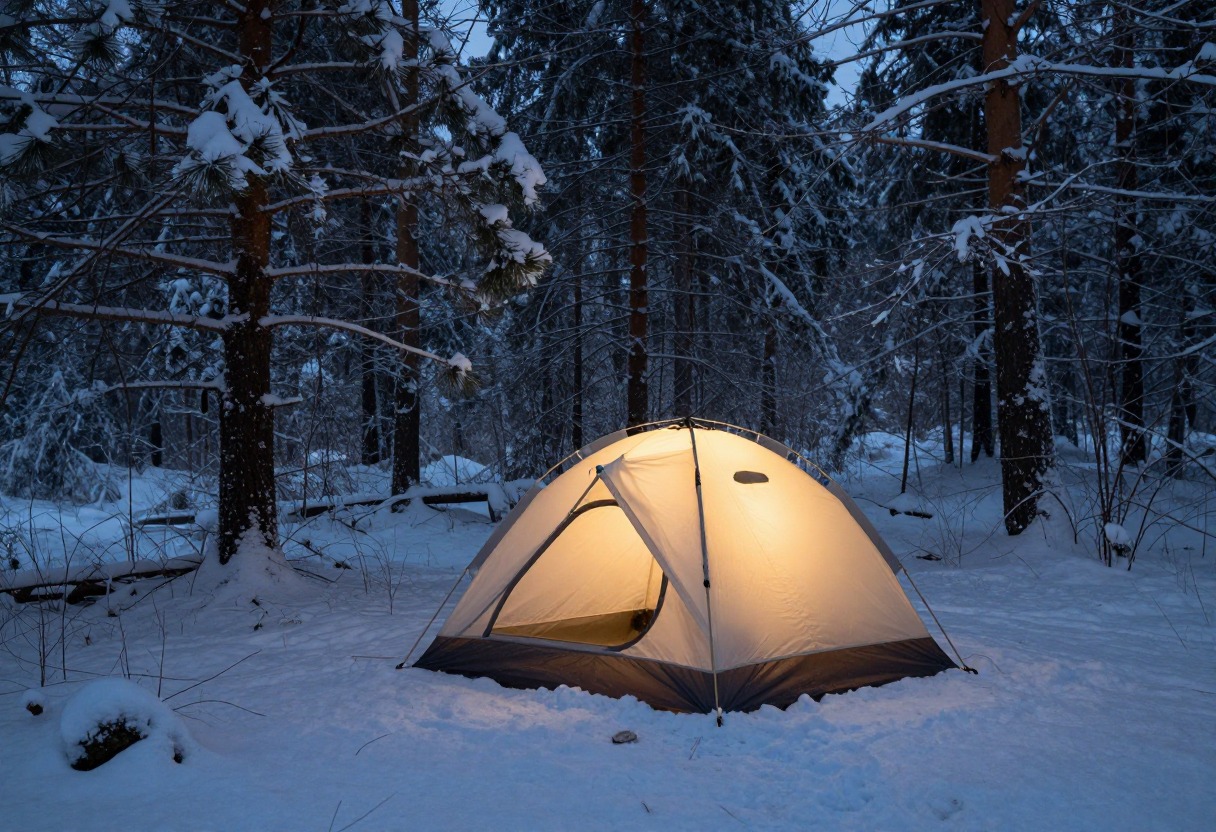
- Avoid valley bottoms and low points — cold, dense air sinks and pools there overnight, making a valley floor meaningfully colder than a spot just a bit higher up the slope. This "cold sink" effect is real and often underestimated.
- Avoid exposed ridgelines and open summits for the opposite reason — wind exposure there can be far more dangerous to your warmth than the extra elevation's temperature drop would suggest.
- Tree cover breaks wind effectively — a site with a wind-blocking treeline or terrain feature between you and the prevailing wind direction makes a real difference overnight.
- Avalanche terrain awareness is beyond this guide's scope but genuinely critical — if you're camping in mountainous winter terrain, avalanche safety education (an AIARE Level 1 course or equivalent) is a separate, serious prerequisite, not an optional add-on.
2. Setting Up Camp in Snow
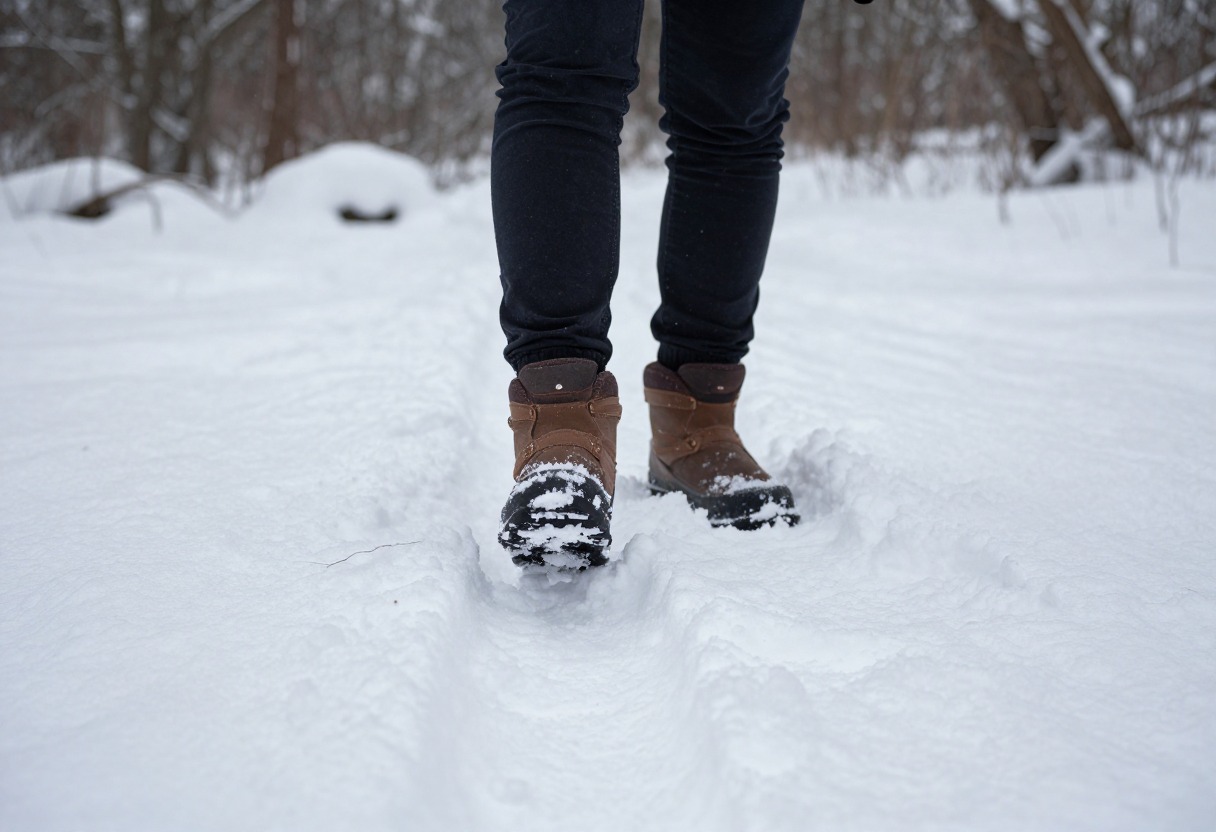
- Pack down the snow under your tent footprint before pitching — walking it down with boots or skis for a few minutes prevents it from softening unevenly under your body heat overnight and leaving you sleeping in a lumpy, refrozen mess.
- Build a wind wall from snow blocks on the windward side if no natural wind break is available — even a low wall meaningfully cuts wind chill inside the tent.
- Orient your tent entrance away from the prevailing wind, both for warmth and to keep drifting snow from piling against the door.
- Stake out properly, or use a deadman anchor (burying a stake, stick, or stuff sack filled with snow horizontally, then letting it freeze in place) where the ground is too frozen for a normal stake to bite.
3. Building a Sleep System That Actually Keeps You Warm
- Stack two sleeping pads for serious cold — a closed-cell foam pad underneath a standard inflatable pad adds meaningful insulation against ground-conducted cold, which is often the bigger heat loss source than air temperature alone.
- Sleep in dry clothes, not the layer you hiked in — even "dry-feeling" base layers hold sweat moisture that will chill you overnight; change into a dedicated dry sleep layer.
- Bring damp gear (boots, liners, wet socks) inside your sleeping bag or jacket overnight — body heat keeps them from freezing solid, which matters a great deal when you need to put frozen-solid boots on at 6 AM.
- A hot water bottle inside your bag (a hard-sided bottle, filled before bed and double-checked for a secure lid) is a genuinely effective, low-tech way to add warmth right where you need it.
- Eat something before bed. Digestion generates real metabolic heat, and going to sleep under-fueled is a common, avoidable reason people sleep cold.
- Don't get into your bag already cold — a few minutes of light movement (jumping jacks, a short walk) to warm up before climbing in works better than trying to warm up from inside a cold bag.
4. Condensation and Moisture Management
- Vent your tent deliberately, even in cold weather — a fully sealed tent traps your own breath and body moisture, which condenses on cold tent walls and can drip or frost overnight.
- Brush accumulated snow off the tent walls periodically during a snowy night, both to prevent excess weight and because settling snow can trap condensation moisture against the fabric.
- Keep your sleeping bag's outer shell from touching the tent wall, where condensation collects — a bag pressed against a damp tent wall picks up that moisture fast.
5. Stoves and Cooking in Real Cold
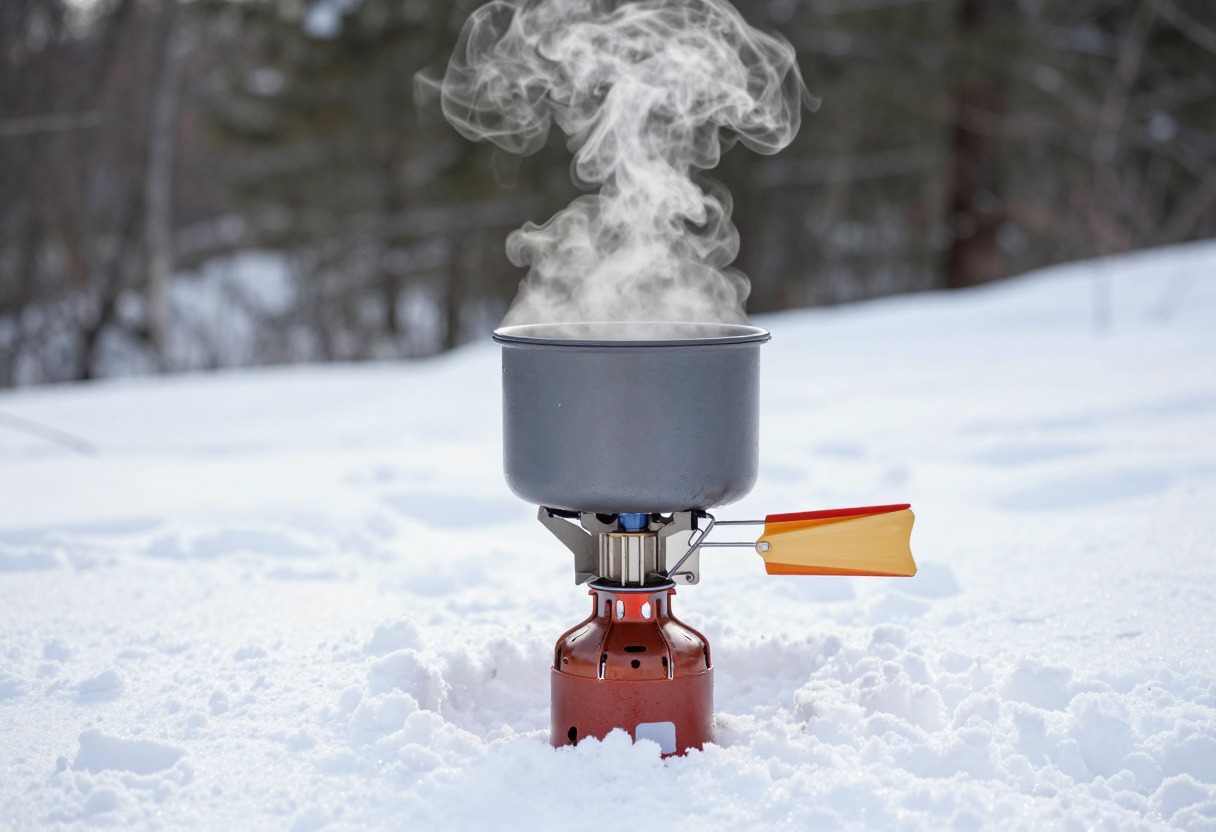
- Canister (isobutane) stoves lose real performance in deep cold — the pressure inside the canister drops as temperature drops, and can get weak enough to barely function in serious cold. Keeping the canister warm (inside your jacket, or in your sleeping bag before use) helps significantly.
- Liquid-fuel stoves generally perform more reliably in sustained deep cold, since they don't depend on internal canister pressure the same way — a real consideration if you're planning genuine winter trips rather than shoulder-season cold snaps.
- Melting snow for water takes real fuel and real time — budget noticeably more fuel than you would for a summer trip where water sources are already liquid, and start with a small amount of liquid water in the pot if you have any, since starting from bone-dry snow alone is slower and risks scorching the pot.
- Frozen water filters are a real risk — our water filtration guide covers why chemical treatment or boiling is generally the better call for winter camping instead of a standard filter.
6. Daylight and Trip Planning
- Winter days are short, often leaving only a handful of usable daylight hours — plan camp setup to finish well before dark, not as your last task squeezed into fading light.
- Cold drains headlamp batteries faster than normal — carry a spare battery set (kept warm, in an inner pocket) and don't assume a battery level reading taken at home will hold in the field.
- Set an earlier turnaround time than you would in warmer months, accounting for both the shorter daylight window and generally slower movement through snow.
7. Common Mistakes
- Camping in a valley bottom "because it's sheltered from wind," not realizing it's also where cold air pools overnight.
- Getting into a sleeping bag in damp clothes, undermining even a well-rated bag's actual warmth.
- Not bringing boots into the sleeping bag or jacket overnight, waking up to genuinely frozen footwear.
- Relying on a canister stove without a plan for keeping the canister warm, then struggling with a weak flame in real cold.
- Underestimating fuel needs for melting snow, running short partway through a trip.
- Skipping avalanche terrain awareness in mountainous winter settings, treating it as optional rather than a genuine prerequisite.
8. Budget Overview (Winter-Specific Additions)
| Item | Typical Range (USD) |
|---|---|
| Closed-cell foam pad (paired under an inflatable pad) | $25-$50 |
| Vapor barrier liner (for a sleeping bag) | $40-$80 |
| Liquid-fuel stove | $80-$150 |
| Snow stakes / deadman anchors | $15-$30 |
| Insulated, wide-mouth water bottle (for the hot-water-bottle technique) | $20-$35 |
Quick Decision Checklist
- I've picked a campsite away from valley-bottom cold sinks and exposed ridgelines, ideally with a natural wind break
- I have a plan for a warm, dry sleep layer separate from what I hiked in
- I have a second (foam) sleeping pad or an otherwise adequate combined R-value for the actual temperatures expected
- I know how I'll keep boots and damp gear from freezing solid overnight
- I've matched my stove type to the real cold expected, and budgeted extra fuel if melting snow for water
- I've planned camp setup to finish well before dark, accounting for short winter daylight
- I have the avalanche terrain awareness or training appropriate to where I'm camping, if applicable
Glossary
- Cold Sink: A valley bottom or low point where cold, dense air pools overnight, making it colder than surrounding higher terrain.
- Deadman Anchor: A stake, stick, or filled bag buried horizontally in snow and allowed to freeze in place, used where normal stakes can't get purchase.
- R-Value: A sleeping pad's measure of resistance to heat loss through the ground — higher values insulate better in cold conditions.
- Vapor Barrier Liner: A liner used inside a sleeping bag to prevent body moisture from reaching and degrading the bag's insulation on extended cold trips.
This guide covers general winter camping principles. Avalanche terrain, extreme cold, and mountaineering-level winter conditions require dedicated training beyond the scope of this guide — always confirm current conditions and your own preparedness for the specific terrain and weather you're heading into.