
Layering for Cold-Weather Outdoor Adventures
A base, mid, and shell layering system that keeps you warm and dry on cold hunts, hikes, and camping trips.
Published August 11, 2026
The Core Principle: Manage Moisture, Not Just Cold
The biggest misconception about cold-weather clothing is that staying warm is only about adding insulation. In reality, the thing that actually gets people cold and miserable outdoors is moisture — sweat trapped against skin, wet fabric losing its insulating value, or precipitation soaking through to your base layer. A good layering system's real job is managing moisture as much as trapping heat, which is why the system matters more than any single "warmest" jacket ever could.
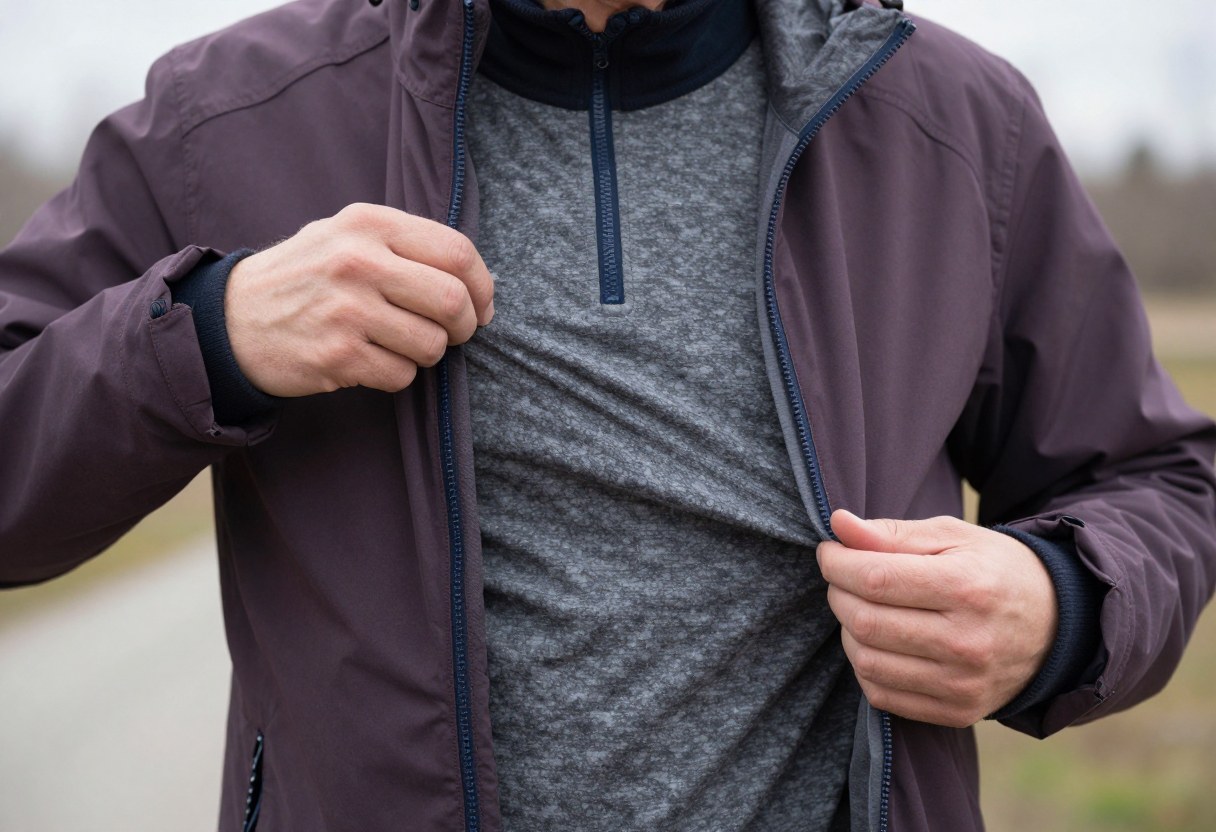
The classic three-layer system — base, mid, and shell — exists because each layer does a distinct job, and none of them can substitute for the others.
1. The Three-Layer System at a Glance
| Layer | Primary Job | Common Materials | What Happens Without It |
|---|---|---|---|
| Base layer | Move sweat away from skin | Merino wool, synthetic (polyester/nylon blends) | Sweat sits against skin, chills you as it evaporates or cools |
| Mid layer | Trap warm air, insulate | Fleece, down, synthetic insulation (like PrimaLoft) | No warmth retention even with a good base and shell |
| Shell layer | Block wind and precipitation | Waterproof/windproof laminated or coated fabrics | Wind strips heat away, rain/snow soaks inner layers |
Each layer is added or removed based on activity level and conditions — the system's real strength is that it's adjustable in the field, not a fixed outfit.
2. Base Layer: Moisture Management Starts Here
The base layer sits against your skin, and its only real job is to move moisture away from your body rather than letting it sit and chill you — insulation is secondary.
Material Choice
- Merino wool: Excellent temperature regulation, naturally odor-resistant (useful on multi-day trips without laundry access), retains some insulating value even when damp. Costs more and can be less durable against abrasion than synthetics.
- Synthetic (polyester, nylon blends): Dries faster than wool, generally more durable and less expensive, but retains odor more and loses some insulating ability once wet.
- Avoid cotton entirely for base layers. Cotton absorbs and holds moisture rather than wicking it away, loses virtually all insulating value when wet, and dries slowly — a genuinely dangerous combination in cold conditions since wet cotton actively accelerates heat loss. This is the single most repeated rule in cold-weather clothing advice, and for good reason.
Weight Options
- Lightweight base layers: Best for high-output activity (hiking, active hunting movement) or milder cold, where you want moisture management without much added warmth.
- Midweight base layers: A versatile default for most cold-weather activities, balancing warmth and breathability.
- Heavyweight base layers: Best for very cold, low-activity situations (stand hunting, cold-weather photography, sitting still for extended periods) where warmth retention matters more than breathability during exertion.
Fit
Base layers should fit snugly — not tight enough to restrict movement or circulation, but close enough to skin that they can actually wick moisture effectively. A loose base layer doesn't do its job as well.
Don't Skip This: Match base layer weight to your activity level, not just the outside temperature. A heavyweight base layer during high-exertion hiking will have you sweating heavily within the first mile, which then works against you once you stop moving and that moisture starts to chill you. Think about how much you'll be moving, not just how cold it is.
3. Mid Layer: Where Warmth Actually Comes From
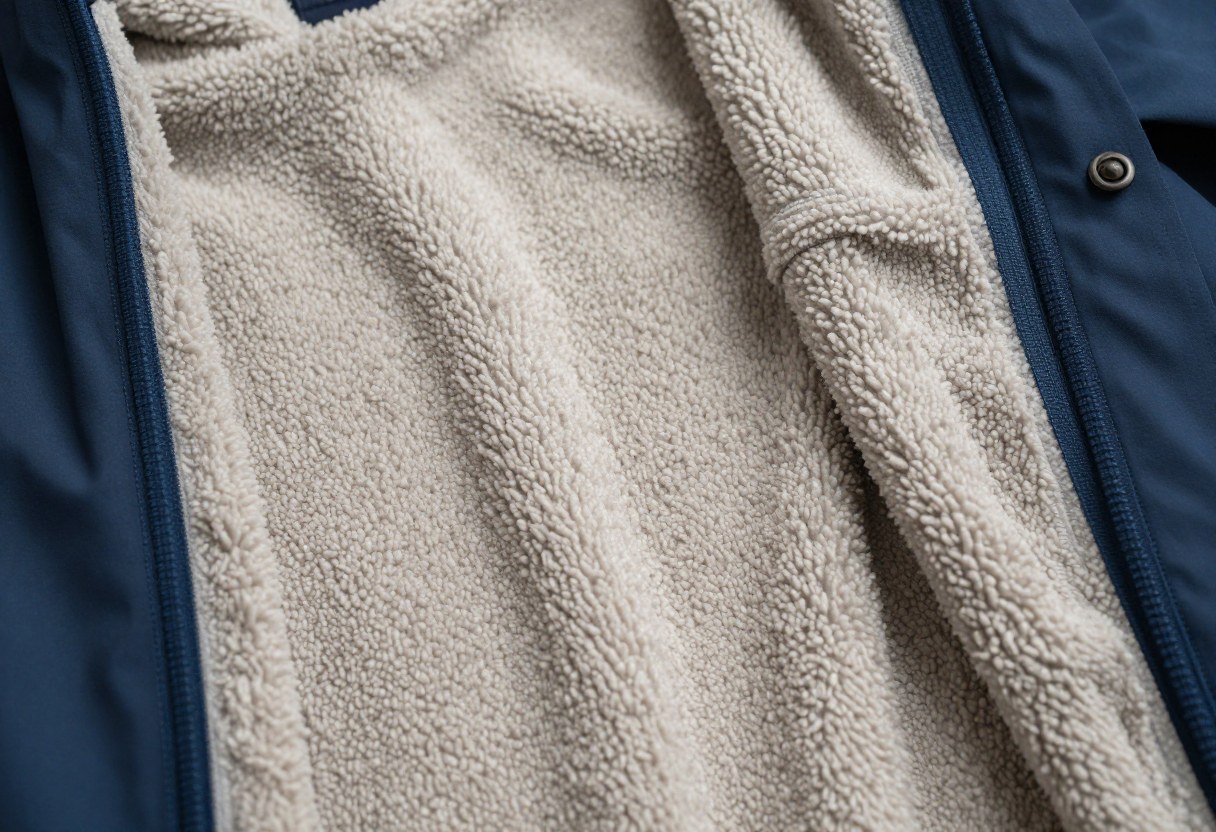
The mid layer's job is trapping a layer of warm air near your body — this is where most of your actual insulation comes from, more than the base or shell layers.
Material Choice
| Material | Strengths | Weaknesses |
|---|---|---|
| Fleece | Breathable, dries quickly, less expensive, retains some warmth when damp | Bulkier for its warmth compared to down; not windproof on its own |
| Down insulation | Best warmth-to-weight ratio available; compresses small for packing | Loses insulating value dramatically when wet (unless treated with hydrophobic down); more expensive |
| Synthetic insulation (PrimaLoft, similar) | Retains meaningful warmth even when wet; less expensive than down | Slightly heavier and bulkier than down for equivalent warmth |
Choosing Between Down and Synthetic
- Down is the better choice for dry, very cold conditions where its superior warmth-to-weight ratio and compressibility matter most — winter camping in dry snow, cold clear-weather hunts.
- Synthetic is the better choice for wet or unpredictable conditions, where down's performance collapse when wet becomes a real liability — rainy or humid cold climates, situations where you can't guarantee staying dry.
- Hydrophobic (treated) down narrows this gap somewhat, offering some water resistance while keeping most of down's weight/compressibility advantage, at a higher price point.
Layering Multiple Mid Layers
In very cold conditions, a light fleece plus a puffy insulated jacket (worn together, or the puffy added on top when stationary) is a common and effective approach — this gives you a removable, adjustable range rather than committing to one fixed mid-layer thickness.
4. Shell Layer: Blocking Wind and Water
The shell is your outermost layer, and its job is protecting everything underneath from wind and precipitation — it typically contributes little insulation on its own.
Types of Shells
| Shell Type | Best For | Tradeoffs |
|---|---|---|
| Hardshell (waterproof, breathable laminate like Gore-Tex or similar) | Wet, cold, or highly variable conditions — rain, wet snow | More expensive; can feel clammy in very high-output activity despite "breathable" ratings |
| Softshell | Colder, drier conditions with higher activity levels | More breathable and comfortable during exertion; not fully waterproof, only water-resistant |
| Windshell (lightweight, wind-resistant, minimal water resistance) | Cold but dry, windy conditions where precipitation isn't a concern | No real rain protection; lightest and most packable option |
Waterproof Ratings and Breathability
Waterproof/breathable shells are usually rated on two independent scales: how much water pressure they resist before leaking, and how well they let internal moisture vapor escape. A shell can be highly waterproof but poorly breathable, which causes internal condensation buildup during high-exertion activity — worth considering relative to how active you expect to be, not just how wet the conditions might get.
Shell Features Worth Knowing
- Pit zips (underarm zippered vents) allow quick ventilation during high exertion without fully removing the shell.
- Adjustable hood, cuffs, and hem help seal out wind and precipitation and can be a meaningful real-world difference between two shells with similar fabric specs.
- Taped seams prevent water from seeping through stitch holes on genuinely waterproof shells — a shell without taped seams isn't fully waterproof regardless of the fabric's own rating.
5. Putting the System Together by Activity Type
Layering isn't static — the right combination depends heavily on how much you'll be moving.
High-Output Activity (Hiking, Active Scouting)
- Lightweight, highly breathable base layer
- Light fleece or light synthetic mid layer (often removed once moving and warmed up)
- Windshell or softshell, saved mostly for breaks or descents where you cool down quickly
- Principle: Start slightly cold. If you feel comfortably warm the moment you start moving, you'll likely overheat and sweat within 15–20 minutes, which works against you later.
Low-Output, Stationary Activity (Stand Hunting, Cold Camping, Wildlife Watching)
- Midweight-to-heavyweight base layer
- Substantial mid-layer insulation (a heavier fleece, a puffy jacket, or both)
- Windproof/waterproof shell, since you have no activity generating heat to compensate for wind or wet exposure
- Principle: Layer for the coldest, most stationary point of your outing, not the average — you can always vent or remove layers, but arriving underdressed for hours of stillness is harder to recover from in the field.
Variable Activity (Hunting With Mixed Movement and Stand Time, Multi-Terrain Hikes)
- A true three-layer system with genuine flexibility — being able to add/remove the mid layer easily, and vent the shell, matters more here than in either extreme case above.
- Carry an extra insulating layer even if you don't expect to need it; this is the scenario most likely to catch people layered wrong in one direction or the other partway through the outing.
6. Extremities: Often the First Places You Feel Cold
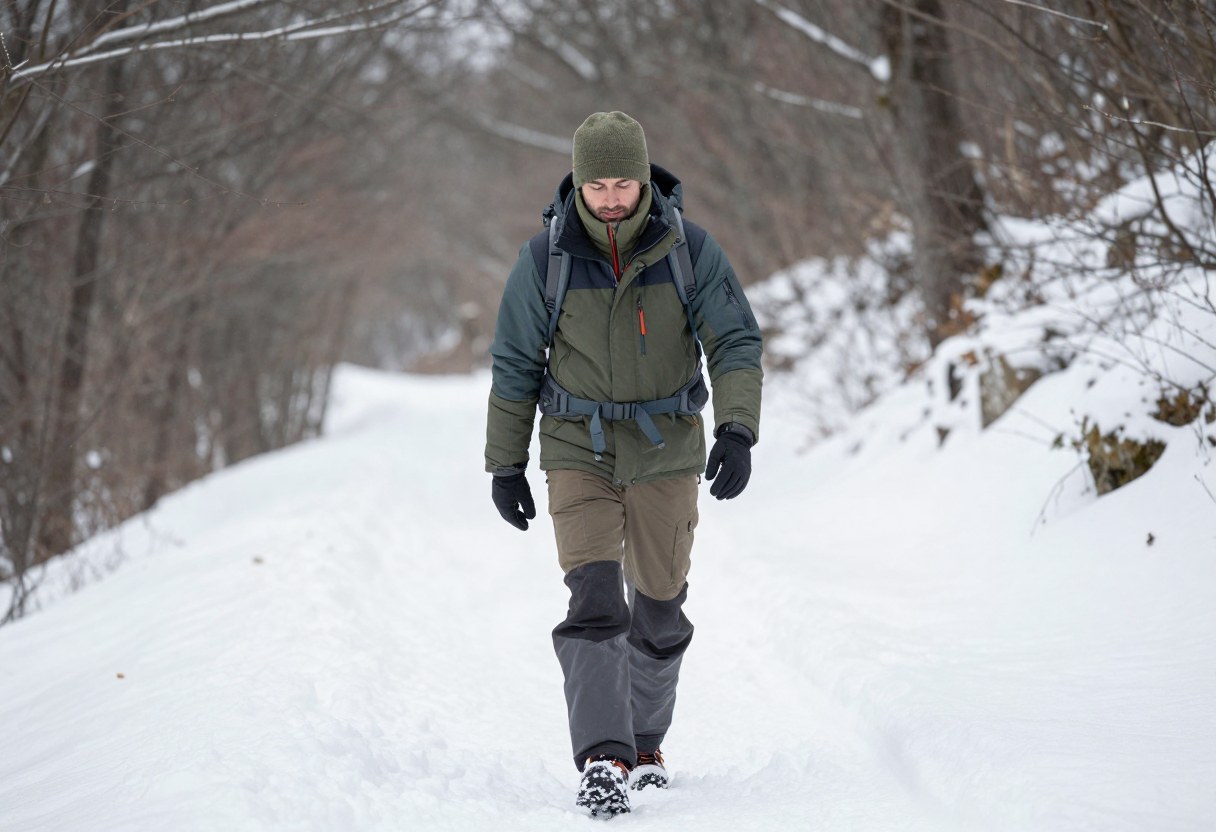
A well-layered torso doesn't fully compensate for poorly protected extremities — hands, feet, and head lose heat disproportionately and are frequently under-layered relative to the core.
- Head: A significant amount of perceived heat loss is felt through an uncovered head; a warm hat or beanie is one of the highest-value, lowest-cost additions to any cold-weather system.
- Hands: Layer similarly to the body — a thin liner glove (allowing dexterity for tasks like camera use, a rifle trigger, or gear zippers) under a heavier insulated mitten or glove for when full dexterity isn't needed.
- Feet: Moisture-wicking sock liners under insulated wool socks, inside boots rated for the expected conditions, with enough room that circulation isn't restricted (overly tight boots/socks can make feet colder, not warmer, by reducing blood flow).
- Neck and face: A buff, neck gaiter, or balaclava adds significant wind protection for relatively little bulk, and is easy to remove/adjust as conditions or exertion change.
Don't Skip This: Damp feet in cold weather are one of the most common causes of a genuinely miserable, trip-ending experience. Bring an extra pair of socks even on a single-day outing, and change them if your feet get wet or you've been sweating heavily — dry feet matter more than almost any other single layering decision for overall comfort and safety.
7. Adjusting the System in the Field
The layering system's real advantage over a single heavy coat is that it's adjustable — using that adjustability well is a skill worth building deliberately.
- Vent before you sweat, not after. Unzip, remove a layer, or open pit zips proactively when you feel warmth building during exertion, rather than waiting until you're already sweating — once a base layer is wet, it's working against you until it dries.
- Add layers at rest stops, even short ones. Body heat drops quickly once you stop generating it through movement, and it's easier to stay warm than to rewarm from a cold state.
- Check in with your extremities periodically, since they often signal cooling before your core does.
- Watch for early hypothermia signs — persistent shivering, clumsiness, slurred speech, or confusion are signs to add insulation, get out of wind/wet exposure, and warm up immediately, not signs to push through.
8. Common Layering Mistakes
- Wearing cotton anywhere in the system, especially as a base layer — this remains the most common and most consequential beginner mistake in cold-weather clothing.
- Overdressing for the activity level, leading to sweating that then chills you once you stop moving or the temperature drops further.
- Underdressing for stationary time, especially common among hikers who dress well for the trail but freeze once they stop for a break or reach a viewpoint.
- Skipping the shell layer because "it's not raining." Wind alone can strip significant warmth even in dry conditions; a shell's wind-blocking function matters even without precipitation.
- Ignoring extremities while over-focusing on core insulation — a great jacket doesn't compensate for wet feet or an uncovered head.
- Buying based on temperature rating alone without considering activity level, moisture exposure, and personal cold tolerance, all of which affect what actually works for a given person and outing.
9. Layering Checklist by Layer
Base Layer
- Merino wool or synthetic (never cotton)
- Weight matched to activity level, not just temperature
- Snug, non-restrictive fit
Mid Layer
- Fleece, down, or synthetic insulation chosen based on wet/dry conditions expected
- Consider a layered combination (light fleece + puffy) for very cold or variable conditions
- Easy to add/remove over the base layer without full undressing
Shell Layer
- Hardshell, softshell, or windshell chosen based on precipitation likelihood and activity level
- Taped seams if genuine waterproofing is needed
- Adjustable hood, cuffs, hem for sealing against wind/precipitation
- Pit zips or other venting if planning high-exertion use
Extremities
- Warm hat/beanie
- Liner gloves + insulated mittens/gloves
- Wool socks + liner socks, plus a spare pair
- Neck gaiter or buff
- Boots with enough room for circulation, rated for expected conditions
Glossary
- Wicking: The process by which a fabric draws moisture away from skin to its outer surface, where it can evaporate more easily.
- Breathability: A fabric's ability to let internal moisture vapor escape, distinct from its waterproof rating against external moisture.
- Hydrophobic Down: Down insulation treated to resist water absorption, retaining more of its insulating value when damp compared to untreated down.
- Hardshell/Softshell: Categories of outer shell jackets — hardshells prioritize full waterproofing, softshells prioritize breathability and flexibility at the cost of full water resistance.
- Venting: Opening zippers, vents, or removing layers proactively to release excess heat/moisture before overheating or sweating occurs.
Final Takeaway
The layering system works because it separates three distinct jobs — moving moisture, trapping warmth, and blocking wind/water — that no single garment does well on its own. Dress for your activity level as much as the temperature, prioritize moisture management over raw insulation thickness, don't neglect extremities, and use the system's adjustability actively in the field rather than dressing once and leaving it fixed for the whole outing.
Conditions and personal cold tolerance vary significantly — treat the weight/material recommendations here as a starting framework to adjust based on your own experience, not a fixed formula.