
How to Sight In a Hunting Rifle
The actual step-by-step process for zeroing a rifle and scope — bore sighting, live-fire adjustment, choosing a zero distance, and when to re-check it.
Published September 5, 2026
How to Use This Guide
Several guides on this site stress "sight in before season" as important advice — this is the guide that actually walks through how. If you haven't chosen a rifle or scope yet, our first hunting rifle guide and hunting optics guide cover those decisions; this guide picks up once you have both in hand and need to make them shoot where you're aiming.
1. What "Sighting In" Actually Means
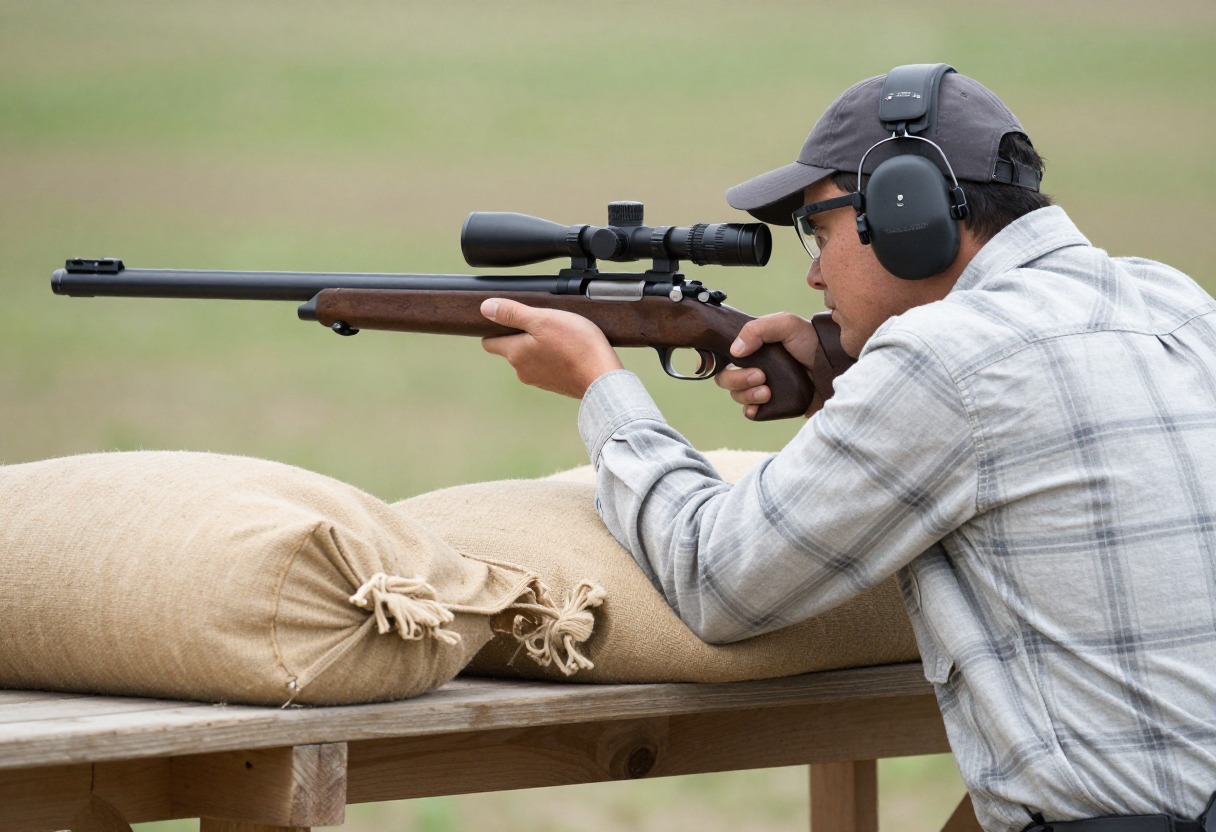
Your scope's crosshair (point of aim) and where the bullet actually lands (point of impact) aren't automatically the same thing — sighting in is the process of adjusting the scope until they match at a chosen distance, called your zero. A rifle isn't "sighted in" in some universal sense; it's zeroed at a specific distance, and shots at other distances will land slightly above or below point of aim depending on the bullet's trajectory relative to that zero.
2. What You'll Need
- A stable rest — sandbags, a bipod, or a commercial shooting rest. Removing your own wobble from the equation is the entire point; adjustments should correct the rifle, not compensate for unsteady hands.
- The exact ammunition you plan to hunt with — different loads (even different brands of the same caliber) can shift point of impact meaningfully. Zero with your hunting ammo, not whatever was cheapest at the range that day.
- A paper target with a clear aiming point, at a safe, appropriate backstop.
- Hearing and eye protection, without exception.
- A spotting scope or binoculars to check hits at distance without walking back and forth after every shot.
- The tool for your scope's turret caps, if it has removable covers — check your specific scope's manual, since this varies by model.
3. Bore Sighting: Getting on Paper First
Bore sighting gets your first live shots landing somewhere on the paper, saving ammunition and frustration versus guessing blind, especially with a newly-mounted scope.
- A bore sight tool (laser or optical, inserted into the muzzle or chamber) projects an aiming reference you can align the scope's crosshair to before firing a shot.
- The "look down the bore" method works on bolt-action rifles with the bolt removed: look through the empty bore at the target, then adjust the scope until the crosshair lines up with the same point, without moving the rifle.
- This step is optional but genuinely useful — it's not a substitute for live-fire confirmation, just a way to avoid wasting your first several rounds on a target you're not even hitting.
4. Live-Fire Zeroing: The Actual Process
- Start at a short distance, often 25 yards, where it's easy to actually hit the paper even if bore sighting was rough.
- Fire a 3-shot group from your rest, aiming at the same point each time, without adjusting anything between shots.
- Measure how far the group's center is from your point of aim, both vertically and horizontally.
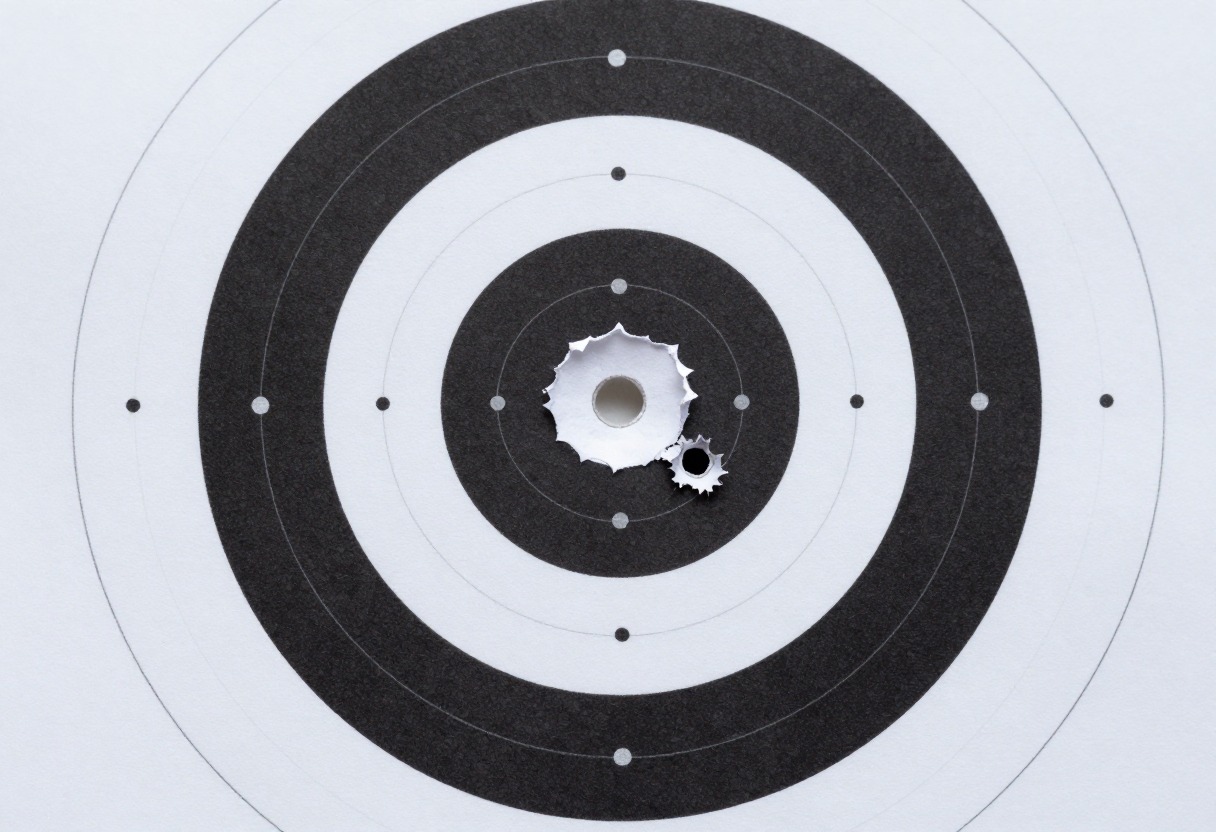
- Adjust the scope's elevation and windage turrets to move point of impact toward point of aim — see Section 5 for how to calculate how many clicks that actually takes.
- Fire another 3-shot group and check again, repeating the adjustment until the group centers on your point of aim at that distance.
- Move to your actual intended zero distance (commonly 100 yards for most deer-sized game hunting) and repeat the same process there for your final, confirmed zero.
5. Understanding MOA and Clicks
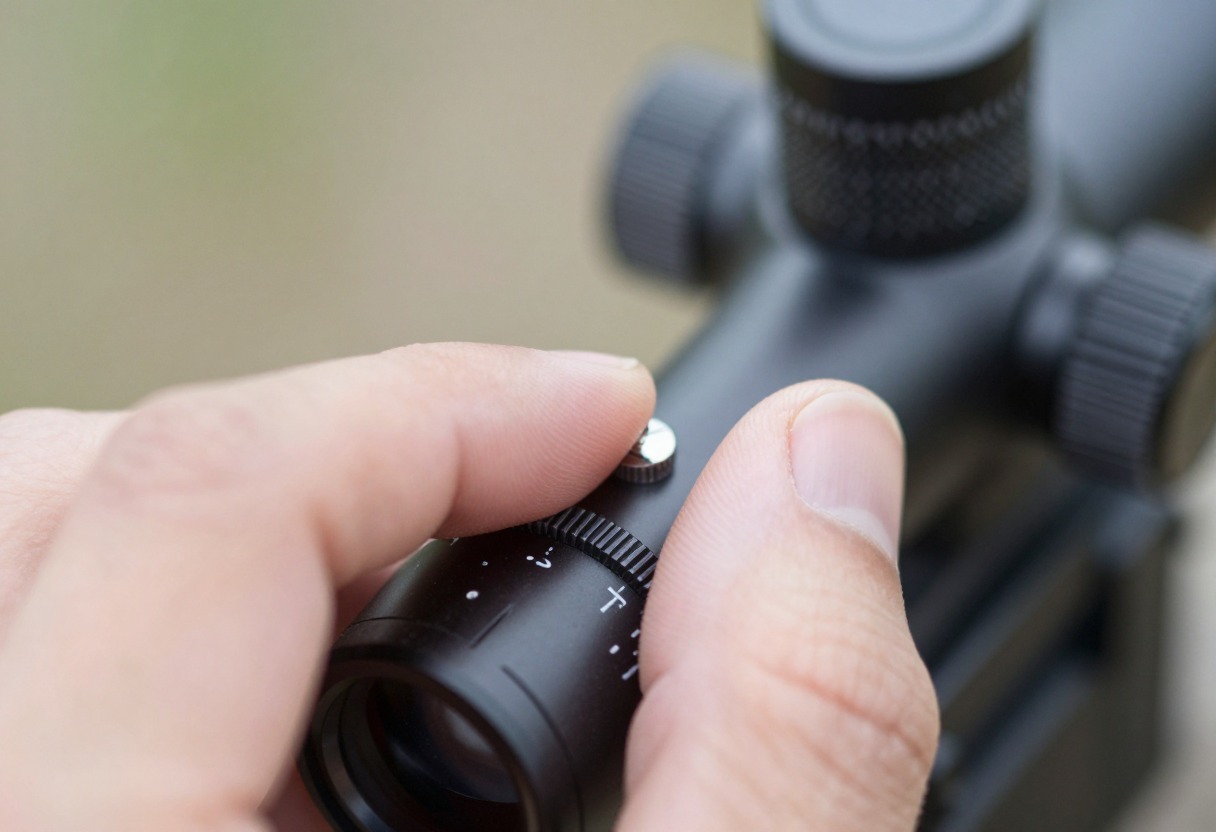
Scope adjustments are measured in MOA (Minute of Angle) or MRAD (milliradian), and the click value differs between the two systems and even between individual scope models.
- 1 MOA is approximately 1 inch at 100 yards, and scales with distance (about 2 inches at 200 yards, and so on).
- 1 MRAD is approximately 3.6 inches at 100 yards — a meaningfully bigger adjustment per click than MOA, which is why the two systems aren't interchangeable in your head without doing the conversion.
- Most scopes adjust in 1/4 MOA or 1/10 MRAD clicks, but this varies by model — always confirm your specific scope's click value in its manual rather than assuming a standard.
- To calculate clicks needed: measure your group's distance from point of aim in inches, convert to MOA or MRAD for your actual distance, then divide by your scope's click value. A miss of 2 inches at 100 yards on a 1/4-MOA scope is roughly 8 clicks.
6. Choosing Your Zero Distance
- A 100-yard zero is the common default for most deer-sized game hunting in typical woodland or mixed terrain, and it's a reasonable, uncomplicated starting point if you're unsure.
- A longer zero distance (150-200 yards) creates a flatter effective trajectory across a wider practical range, since the bullet crosses your line of sight going up, arcs over, and crosses again coming down — a rifle zeroed further out shoots slightly high at closer-to-mid distances and comes back to zero further away, extending the range where you can hold dead-on without compensating.
- Match your zero distance to your actual typical shot distances — see our first hunting rifle guide's distance table for what's realistic for your game and terrain, rather than defaulting to whatever's most commonly mentioned online.
7. Confirm Zero From Field Positions, Not Just a Bench
A bench rest tells you the rifle and ammunition combination is accurate — it doesn't tell you that you can hit consistently from the positions you'll actually shoot from in the field. Once bench-zeroed, confirm your own practical accuracy from sitting, kneeling, and off a pack or shooting sticks, since that's how most real hunting shots are actually taken.
8. When to Re-Check Zero
- Before every season, even if nothing happened to the rifle in the offseason — it costs little and confirms your starting point.
- After any impact or drop, even one that seems minor.
- After removing and remounting a scope, or changing rings/bases.
- After switching ammunition brands or loads, even within the same caliber.
- After air travel or rough transport, which can shift zero more often than people expect.
9. Common Mistakes
- Zeroing with different ammunition than you'll actually hunt with, then discovering a shifted point of impact in the field.
- Skipping bore sighting on a freshly mounted scope, wasting the first several rounds just finding the paper.
- Adjusting turrets based on a single shot rather than a group — one shot doesn't reliably show you the rifle's true point of impact.
- Never confirming zero from field positions, discovering a gap between bench accuracy and real-world accuracy during an actual hunt.
- Assuming a fixed click value without checking the specific scope's manual, over- or under-correcting as a result.
- Not re-checking zero after travel, a scope remount, or an ammo change, trusting a zero that's no longer valid.
10. Budget Overview
| Item | Typical Range (USD) |
|---|---|
| Shooting rest or sandbags | $30-$100 |
| Bore sight tool | $20-$60 |
| Paper targets (pack) | $10-$20 |
| Ammunition for zeroing (a box or two) | $20-$60+, varies significantly by caliber |
Quick Decision Checklist
- I'm zeroing with the exact ammunition I plan to hunt with
- I have a stable rest so adjustments reflect the rifle's true point of impact, not shooter wobble
- I know my specific scope's click value (MOA or MRAD) rather than assuming a standard
- I've chosen a zero distance matched to my actual typical hunting distance, not just a default
- I've confirmed accuracy from field positions (sitting, kneeling, off a pack), not just from the bench
- I have a plan to re-check zero before season, and after any impact, remount, or ammo change
Glossary
- Zero: The distance at which a scope's point of aim and the bullet's point of impact match.
- MOA (Minute of Angle): An angular unit of scope adjustment, approximately 1 inch at 100 yards.
- MRAD (Milliradian): An angular unit of scope adjustment, approximately 3.6 inches at 100 yards.
- Bore Sighting: A preliminary alignment method (using a bore sight tool or looking down the bore) to get a scope roughly on target before live-fire adjustment.
- Point of Aim / Point of Impact: Where the crosshair is aimed versus where the bullet actually lands; sighting in brings these into alignment at a chosen distance.
This guide covers general rifle sighting-in principles. Always follow your specific range's rules and your firearm and scope manufacturers' instructions, and confirm current local regulations before shooting at any location.