
Trail Navigation Basics: Map, Compass, and GPS
How to actually use a map and compass together, plus when a GPS app is enough on its own.
Published August 19, 2026
Why Navigation Skills Still Matter in a GPS World
A phone with a GPS app is genuinely excellent navigation most of the time — but batteries die, screens crack, signal-dependent map tiles fail to load without a pre-download, and cold weather drains power faster than expected. Map and compass skills aren't about rejecting modern tools; they're about having a working system that doesn't depend on a single point of failure. This guide covers how to actually use a map and compass together (not just carry them), and gives a clear-eyed answer on when a GPS app alone is genuinely enough versus when it isn't.
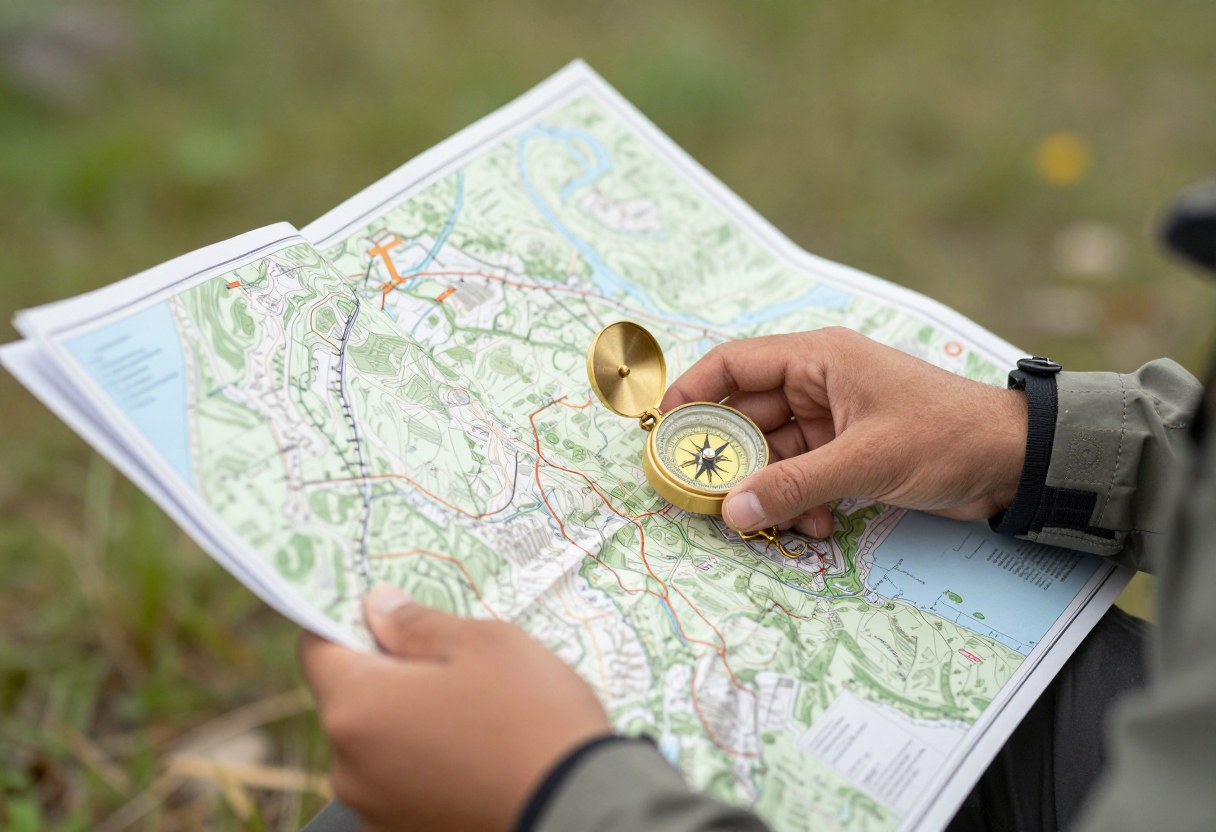
1. Reading a Topographic Map
A topographic ("topo") map is the foundation of traditional navigation — it represents elevation and terrain shape, not just trails and roads, which is what makes it useful for real route-finding rather than just following a marked path.
Contour Lines
- Contour lines connect points of equal elevation, and their spacing tells you about terrain steepness: tightly packed lines mean steep terrain, widely spaced lines mean gentler terrain.
- Index contour lines (typically every 4th or 5th line, printed bolder or thicker) are usually labeled with elevation, making it easier to read elevation at a glance without counting every individual line.
- Contour interval (the elevation difference between adjacent lines, printed in the map legend) varies by map — a mountainous area map might use a 40-foot interval, while flatter terrain maps often use a smaller interval like 10 or 20 feet to still show meaningful detail.
- Closed contour loops generally indicate a hilltop or high point; loops with small tick marks pointing inward indicate a depression rather than a summit — a detail worth knowing, since the two can otherwise look identical at a glance.
Map Scale
- Scale describes the ratio between map distance and real-world distance (e.g., 1:24,000 means 1 unit on the map equals 24,000 of the same unit in reality).
- Larger-scale maps (like 1:24,000) show more detail over a smaller area; smaller-scale maps (like 1:100,000) show less detail over a much larger area — the terminology is genuinely counterintuitive to many beginners, since "large scale" sounds like it should mean "covers a large area," but it's the opposite.
- Most detailed backcountry topo maps in the US use either 1:24,000 (USGS quad maps) or similar scales suited for foot travel.
Symbols and Legend
- Always check the specific map's legend rather than assuming symbols are universal — trail types, water sources, and man-made features can be represented differently between map publishers.
- Pay attention to trail difficulty markings, seasonal closures noted on the map, and water source reliability indicators, when present, since these affect real trip planning beyond just the route itself.
2. Understanding a Compass
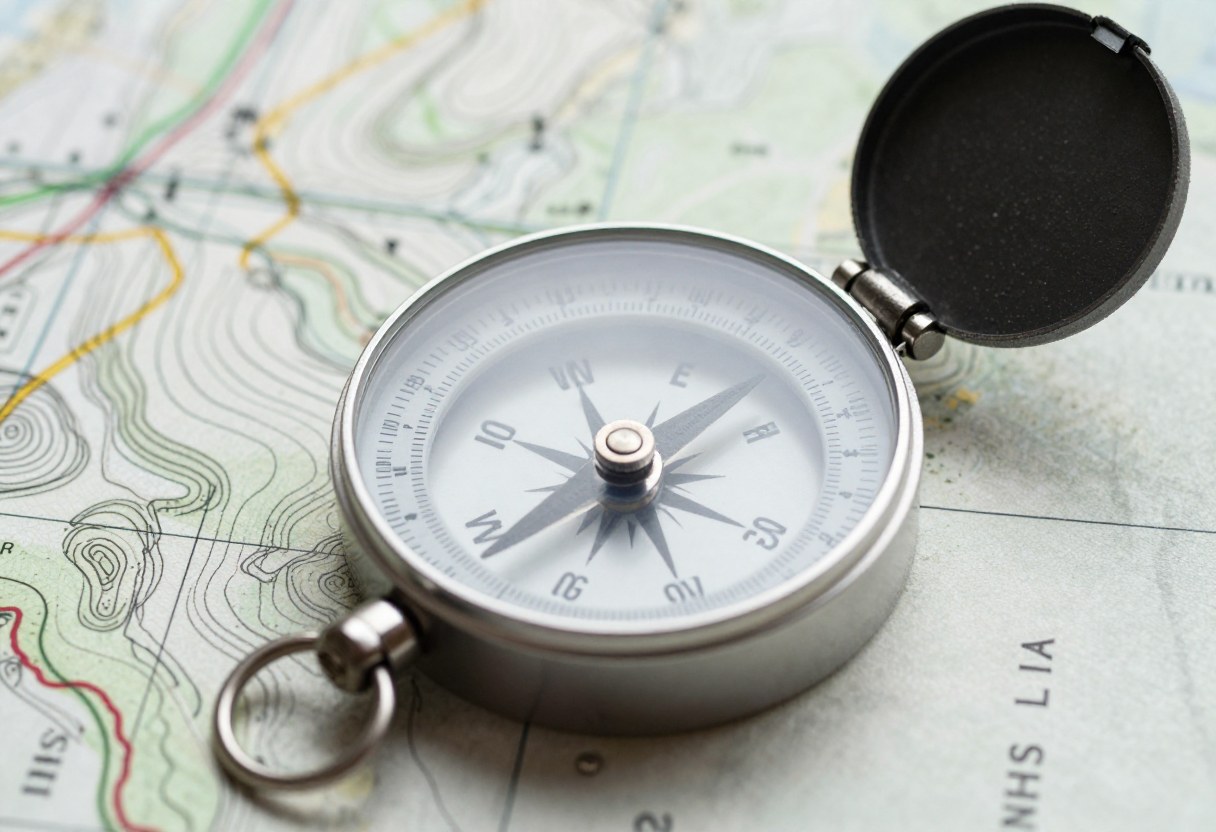
A baseplate compass (the standard type recommended for hiking navigation) has several key parts worth knowing by name, since map-and-compass technique instructions rely on this vocabulary.
- Baseplate: The clear, flat plastic base, often with a ruler and magnifier, that the map is read through.
- Rotating bezel (azimuth ring): The rotating dial marked with degrees (0–360), used to set and read bearings.
- Direction-of-travel arrow: A fixed arrow printed on the baseplate, pointing the direction you intend to walk, used when both taking and following a bearing.
- Magnetic needle: The actual magnetized needle that points toward magnetic north.
- Orienting arrow (and orienting lines): An arrow (often outlined or "shed-shaped") printed inside the rotating bezel, used to align the compass with the map's north-south grid lines during specific techniques.
3. Magnetic Declination: The Detail Beginners Skip
This is the single most commonly overlooked source of real navigation error for beginners using a compass with a map.
- True north (the geographic North Pole, what maps are drawn relative to) and magnetic north (where a compass needle actually points, based on Earth's magnetic field) are not the same location, and the difference between them — declination — varies depending on where you are in the world, and changes slowly over time.
- Declination is usually printed on the map itself (often in the legend or margin, sometimes as a diagram showing the angular difference), and needs to be accounted for when converting between a bearing taken on a map and a bearing followed with a compass, or vice versa.
- Many baseplate compasses have an adjustable declination feature, letting you set the correction once so subsequent bearings are automatically corrected — a worthwhile feature to use if your compass has it, since it removes a manual calculation step that's easy to get wrong (or forget entirely) in the field.
- Ignoring declination can introduce meaningful error over distance — even a modest declination angle, uncorrected, can lead you significantly off course over a multi-mile route, which is exactly the kind of error that feels small on paper but matters a lot on the ground.
4. Core Map-and-Compass Techniques
Orienting the Map
The first and most fundamental skill: aligning your physical map so it matches the actual terrain around you.
- Place the compass on the map with the direction-of-travel arrow pointing toward the top of the map (true north).
- Rotate the map and compass together (keeping them aligned with each other) until the compass needle points to north, accounting for declination.
- The map is now "oriented" — features on the map are now in the same relative direction as the actual terrain around you, which makes visually matching map features to real landmarks dramatically easier.
Taking a Bearing From the Map (Plotting a Route)
Used when you know where you want to go on the map and need a compass direction to follow on the ground.
- Place the compass's edge on the map, connecting your current position to your destination point.
- Rotate the bezel until the orienting lines inside it align with the map's north-south grid lines (with the orienting arrow pointing to the top/north of the map).
- Read the bearing where the direction-of-travel arrow meets the bezel's degree markings.
- Adjust for declination if your compass doesn't do this automatically.
- Hold the compass level, rotate your body (not just the compass) until the magnetic needle aligns with the orienting arrow, and the direction-of-travel arrow now points the direction to walk.
Taking a Bearing From the Terrain (Identifying a Landmark's Direction)
Used when you can see a landmark and want to know its compass direction, or plot your own position based on visible landmarks.
- Point the direction-of-travel arrow at the landmark.
- Rotate the bezel until the orienting arrow aligns with the magnetic needle.
- Read the bearing at the direction-of-travel arrow's position on the bezel.
- This bearing can then be transferred to the map (reversing the plotting process above) to draw a line from your approximate position toward the landmark.
Triangulation: Finding Your Position
A practical technique for figuring out where you actually are when you're unsure, using two or more visible, identifiable landmarks.
- Take a bearing to a recognizable landmark (a peak, a distinct terrain feature) using the terrain-bearing technique above.
- Transfer that bearing to the map as a line drawn from the landmark's known map position, extending back toward your approximate location.
- Repeat with a second (and ideally a third) visible landmark.
- Where the lines intersect is your approximate position — a triangle formed by three lines (rather than a single point) is common due to small measurement errors, and your actual position is generally within that small triangle.
5. Using Terrain Association (Reading the Land Without a Bearing)
Not every navigation decision requires a formal bearing — much of real-world route-finding comes from matching what you see to what's on the map.
- Handrails: Linear features (a ridge, a stream, a trail) that you can follow, using them as a natural guide without needing to constantly check a bearing.
- Catching features: A recognizable feature (a road, a river, a distinct ridge line) positioned beyond your intended destination, useful as a backstop — if you reach it, you know you've gone too far and can correct course.
- Attack points: An easily identifiable intermediate landmark near a harder-to-find final destination, used as a waypoint to navigate to first before making a more precise final approach.
- Reading elevation changes against the map's contour lines as you hike is one of the most reliable ways to confirm your general position without stopping for a full bearing.
Combining terrain association with occasional bearings (rather than constantly taking bearings for every step) is how experienced navigators actually move efficiently through the backcountry.
6. GPS Devices and Apps: What They Actually Do Well
This section covers the phone-app case; if you're considering a dedicated handheld GPS unit or a satellite communicator for emergency messaging, our guide to choosing one compares the actual device categories and what each costs over time.
How GPS Works (Briefly)
GPS receivers calculate position by triangulating signals from multiple satellites, providing a genuinely precise location fix (often within a few meters under good conditions) without requiring the manual technique that map-and-compass work demands.
Genuine Strengths of GPS
- Precision and speed — a GPS fix is faster and generally more precise than manual triangulation, especially useful in low-visibility conditions (dense fog, deep forest with few visible landmarks) where terrain association and compass bearings become difficult.
- Track logging, letting you record your actual path and retrace it if needed — a capability map and compass simply doesn't offer on its own.
- Pre-downloaded offline maps on modern GPS apps mean cell signal isn't required for the map itself to display (though this must be set up in advance — a common point of failure for beginners who assume offline maps work automatically).
- Integrated features like elevation profiles, waypoint marking, and sometimes real-time weather or trail condition data (when signal is available) add planning value beyond pure positioning.
Genuine Limitations of GPS
- Battery dependency is the most fundamental limitation — a dead phone or GPS device is a dead navigation tool, full stop, regardless of how good the app or unit is.
- Screen/device damage (drops, water exposure, extreme cold affecting battery performance) is a real field risk that a paper map and compass simply aren't as vulnerable to.
- Software/app reliability — app crashes, corrupted map downloads, or an app update gone wrong are all real, if less common, failure modes.
- Overreliance risk — a hiker who has never practiced map-and-compass skills has no real fallback if their GPS fails, which is precisely the scenario where traditional navigation skills matter most.
7. When a GPS App Alone Is Genuinely Enough
This isn't a purist "always carry a compass" argument — for a large share of common outdoor activities, a well-prepared GPS app is a completely reasonable, sufficient navigation tool on its own.
A GPS app alone is likely enough when:
- You're on a well-marked, well-traveled trail with reliable signage and other hikers commonly present.
- The trip is short enough that even a full device failure would leave you able to backtrack the way you came without needing sophisticated route-finding.
- You've pre-downloaded offline maps for the area and are starting with a full battery (and ideally a backup power source).
- You're hiking with at least one other person carrying a separate device, providing built-in redundancy.
- The terrain doesn't feature extensive tree cover, canyons, or other GPS-signal-degrading conditions (though modern GPS chips handle most moderate tree cover reasonably well).
Traditional map-and-compass skills become genuinely important when:
- You're traveling off-trail, in remote or rarely-traveled terrain, or somewhere self-rescue via simple backtracking isn't a reliable fallback.
- The trip is long enough or remote enough that a single device battery isn't a fully reliable single point of failure (multi-day backcountry trips, for example).
- You're navigating in conditions that could plausibly damage or drain a device faster than expected (extreme cold significantly reduces battery life, heavy rain risks water damage even on "water-resistant" devices).
- You're hiking solo, without built-in redundancy from a hiking partner's separate device.
- Search and rescue statistics in many regions consistently show that a meaningful share of lost-hiker incidents involve hikers who had a GPS device that failed, was lost, or ran out of battery, with no fallback navigation skill or tool.
Don't Skip This: The safest, most realistic approach for most backcountry trips beyond a short, well-marked day hike is carrying both — a GPS app as your primary, fast, precise tool, and a paper map plus compass as a genuine backup you actually know how to use, not just gear carried out of habit. The map-and-compass skill only helps if it's been practiced before you actually need it under stress.
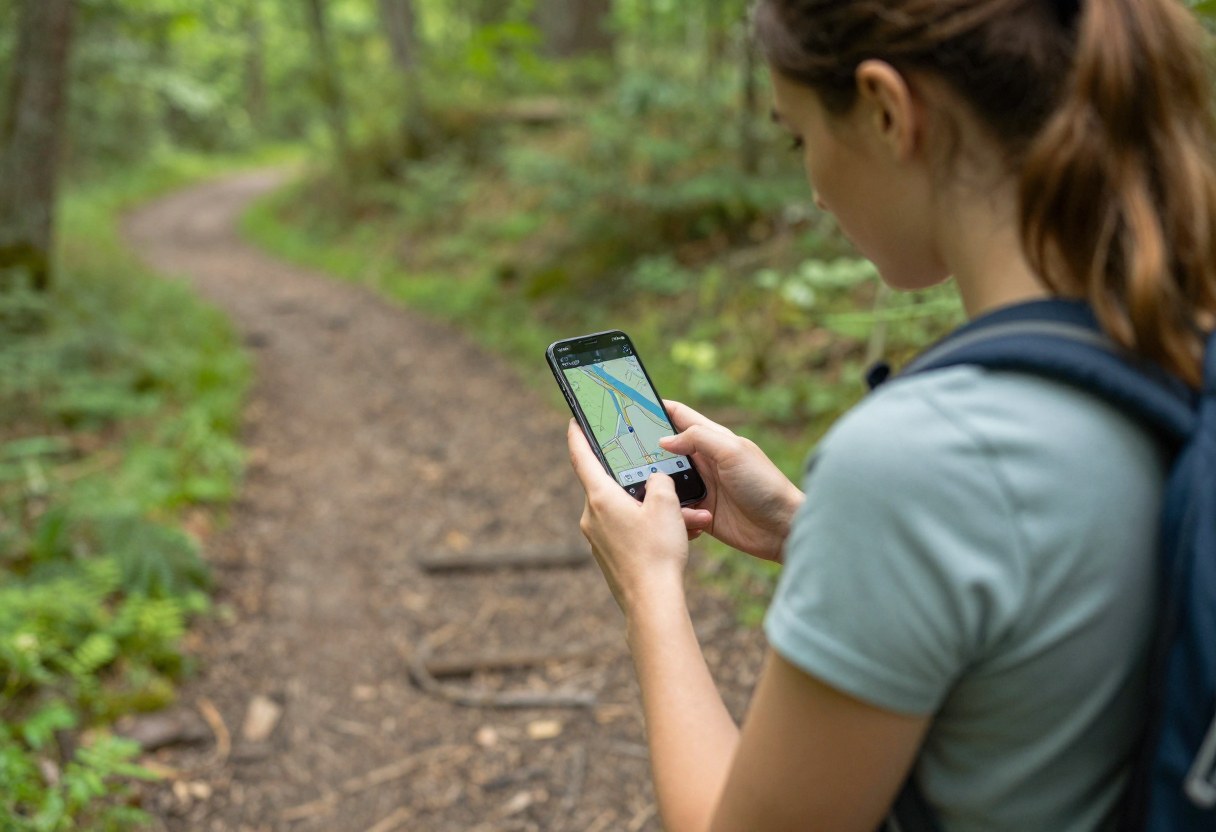
8. Combining Traditional and Digital Navigation
Rather than treating map/compass and GPS as competing systems, most experienced backcountry travelers use them together:
- Use GPS for precise position confirmation and track logging, while using the paper map for broader route planning, terrain visualization, and understanding — a phone screen's small size makes it genuinely harder to see the "big picture" of a route compared to a full paper map laid out.
- Cross-check occasionally. Periodically confirming your GPS-indicated position against the paper map and visible terrain builds both confidence and skill, and catches potential GPS errors (rare, but possible with signal issues or map data errors) before they compound.
- Carry printed maps even when planning to primarily use GPS, specifically as the backup for the battery-failure scenario described above — a printed map costs very little in weight or cost relative to the security it provides.
- Practice manual navigation skills on low-stakes trips, not for the first time during an actual emergency — triangulation, taking bearings, and orienting a map are all skills that degrade without occasional practice, even for people who learned them years ago.
9. Common Navigation Mistakes
- Ignoring declination, leading to a compass bearing that's systematically off from the map bearing by a consistent angle — small on paper, meaningful over distance.
- Rotating the compass instead of your body when following a bearing — the compass needle should stay aligned with the orienting arrow by turning your whole body, not by twisting the compass housing after the bearing is set.
- Assuming offline maps download automatically. Most GPS apps require manually selecting and downloading map areas in advance while still having signal — this must be done before losing connectivity, not attempted in the field.
- Carrying a compass or GPS without ever practicing with it. Gear you don't know how to use under pressure isn't meaningfully different from not having it.
- Relying entirely on a single device with no backup, especially for longer or more remote trips where battery life and device durability become real constraints.
- Confusing map scale terminology (assuming "large scale" means "covers a large area," when it's the opposite) and ending up with a map that doesn't show the level of detail actually needed for the terrain.
- Not checking a map's legend for that specific map's symbols, assuming universal conventions that don't always hold across different map publishers.
10. Quick Decision Checklist
- I know how to read contour lines and understand my map's specific scale and contour interval
- I understand my area's magnetic declination and how to account for it (or have set my compass's adjustable declination feature)
- I can orient a map, take a bearing, and follow a bearing with a compass
- I've practiced triangulation at least once in a low-stakes setting
- I've pre-downloaded offline maps for my GPS app before losing signal, with a full battery and ideally a backup power source
- I've assessed whether this specific trip genuinely only needs a GPS app, or whether it calls for a paper map and compass as a real backup
- I'm carrying a paper map as backup for any trip longer or more remote than a short, well-marked day hike
- I've practiced manual navigation skills recently enough that they'd hold up under real field stress, not just in memory from a class taken long ago
Glossary
- Contour Line: A line on a topographic map connecting points of equal elevation.
- Contour Interval: The elevation difference represented between adjacent contour lines on a specific map.
- Declination: The angular difference between true north (geographic) and magnetic north (where a compass needle points), which varies by location and must be accounted for in precise navigation.
- Bearing: A compass direction, expressed in degrees (0–360), indicating a direction of travel or the direction to a landmark.
- Triangulation: A technique for determining your position by taking bearings to two or more known landmarks and finding where the resulting lines intersect on a map.
- Handrail: A linear terrain feature (ridge, stream, trail) used as a natural navigation guide without requiring constant bearing checks.
- Attack Point: An easily identifiable intermediate landmark used as a waypoint before making a more precise final approach to a harder-to-find destination.
- Orienting a Map: Physically aligning a map so its north-south orientation matches the actual terrain, making map features easier to match to visible landmarks.
Navigation skills benefit significantly from hands-on practice, ideally with an experienced instructor or a structured course, before relying on them in a genuine backcountry situation. Always check current trail conditions, closures, and any region-specific navigation hazards before a trip.