
Planning a Thru-Hike on the New Tiltrock Loop: What to Expect and How to Prepare
Starting a major new trail is exciting, but the logistics—from water sources to resupply points—can be overwhelming. We break down what you need to know before hitting the dirt on this 300-mile loop.
Written by David Rodgers — September 29, 2026
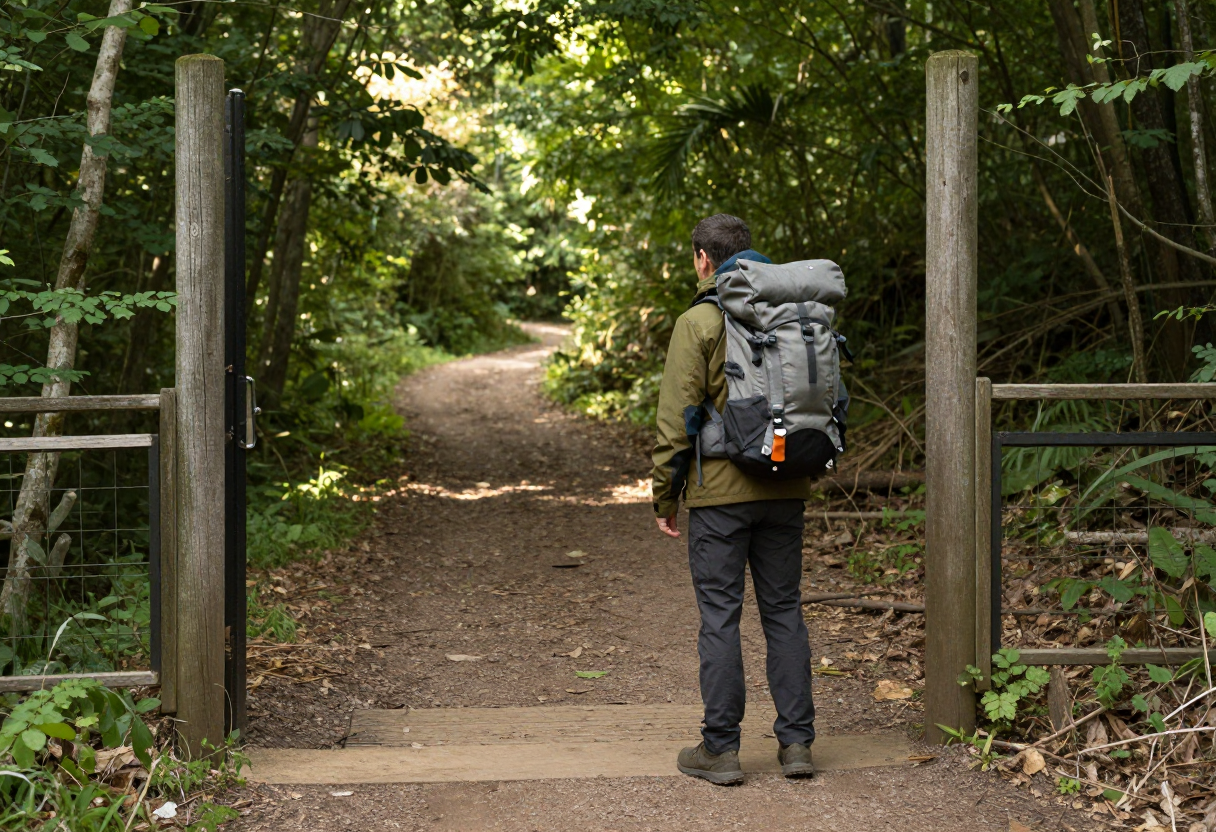
The Excitement (and Difficulty) of a New Trail

There is nothing quite like the feeling of stepping onto a new trail. A route like the Tiltrock Loop offers a sense of discovery that you just don't get on well-trodden paths where every turn is documented by dozens of others before you. However, as someone who has spent significant time in both military and search-and-rescue roles, I’ve learned that "new" often translates to "unproven."
When a trail is new or recently modified, the logistics haven't been stress-tested by a crowd yet. This means markers might be less clear, water sources may not be as reliable as they seem on paper, and your navigation will require more of your focus. The excitement of the first trek is real, but it has to be balanced with a healthy dose of skepticism toward any information that hasn't been confirmed by your own eyes. Treat every new trail as an opportunity for high-level preparation rather than just another hike on the map.
Water and Food: Mapping Your Support System
Water and food are non-negotiables in the backcountry. On a loop like this, you need to identify your hard resupply points early—for example, planning your logistics around hitting Everett if that is your designated stop. However, relying solely on planned stops can be risky depending on weather or trail conditions.
I always advocate for redundancy when it comes to water. If the plan calls for a spring at one location, you should know where the next closest source is just in case that first one is dry or inaccessible. It’s about having a "Plan B" before you ever leave your front door. For food, I recommend calculating your caloric needs and then adding a 10% to 20% buffer for unexpected delays. It is far better to have an extra day of snacks than to find yourself staring at a map with an empty pack and a hungry stomach in a remote area.
Choosing Your Campsite Strategy
Where you choose to drop your pack for the night depends on what kind of experience you’re chasing and how much "work" you want to do during your trip. There are three main ways to look at this:
- Established Sites: These offer the most comfort, often featuring flat ground and easy access, but they usually come with more people and may require specific permits.
- Dispersed Camping: This offers the most freedom and solitude, allowing you to stay almost anywhere, but it requires much higher self-sufficiency in terms of site selection and "Leave No Trace" practices.
- Primitive Camping: This falls somewhere in between—you’re looking for a natural spot that isn't a designated campground but still offers a decent place to set up your home for the night.
The trade-off is simple: the easier the campsite is to reach, the less energy you spend on navigation and site prep, but the fewer people you will see. Decide early what kind of "quiet" you are looking for so you can plan your stops accordingly.
Safety Discipline: What Happens When Things Go Wrong?
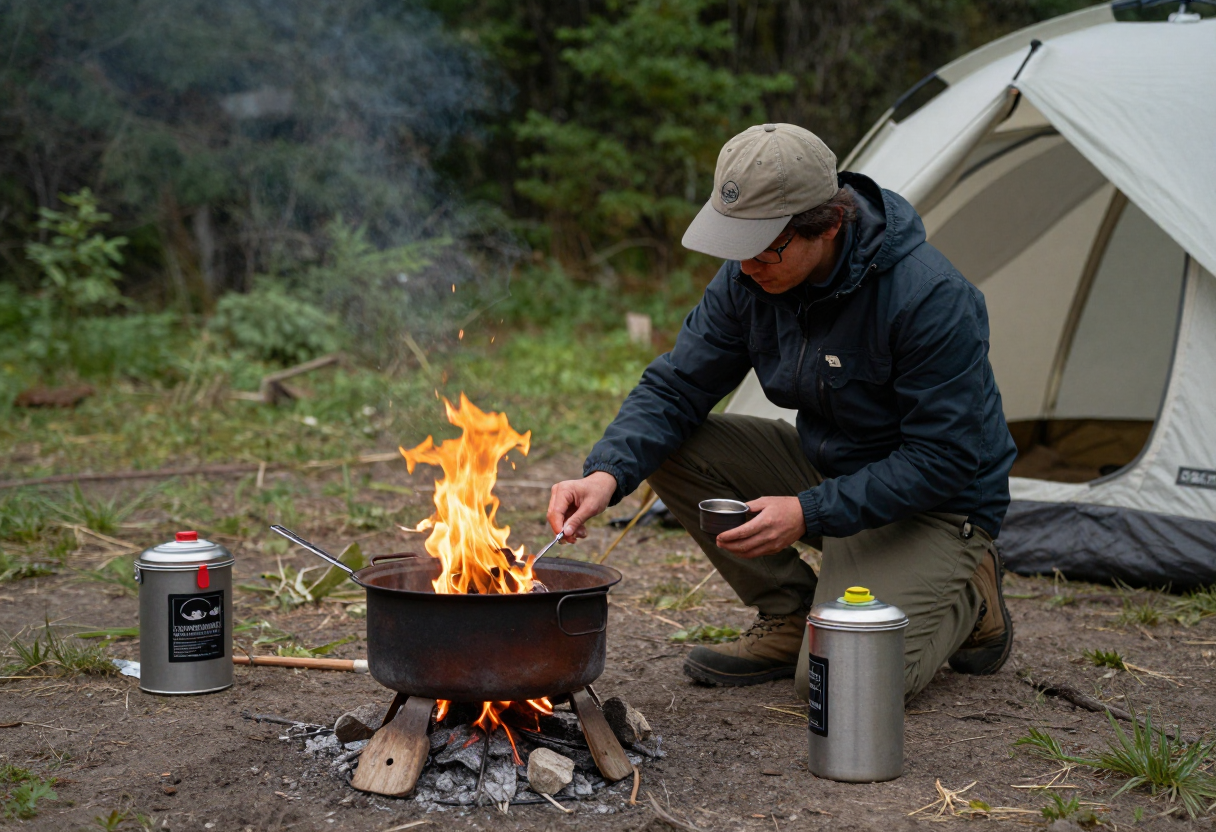
Safety isn't about being paranoid; it’s about having a plan for when the environment decides to change its mind. In my experience with land navigation and search-and-rescue, the biggest risks often come from overconfidence in a single system. Never rely solely on a mobile app or GPS; always carry a physical map and a compass as your primary backup.
Weather judgment is another critical skill. If you notice clouds building unexpectedly or wind picking up, you need to know how to make an objective call on whether to hunker down or move toward lower ground. Basic first aid should also be part of your mental toolkit—not just for major injuries, but for managing the blisters and minor strains that can turn into "I can't walk" problems if ignored. It’s about having a baseline of safety discipline so that when something goes wrong, it becomes a problem you are prepared to solve rather than a crisis you have to react to blindly.
Final Gear Check and Weight Management
Before you head out, your gear should be weighed and vetted. Every ounce in your pack is something you will carry over every mile of the Tiltrock Loop. I’ve seen many hikers get caught off guard by how quickly "just in case" items add up; if you aren't going to use it for a specific purpose on this trip, leave it at home.
Focus on reliability over novelty. A piece of gear that works 100% of the time is far better than one that is high-tech but temperamental or heavy. Before you leave your driveway, do a final walk-through: check your stove's fuel levels, test your water filter, ensure your navigation tools have fresh batteries or full charges, and double-check your first aid kit. A thorough pre-trip check allows you to catch the small issues—like a missing lighter or an empty container—before they become significant headaches in the backcountry.
For specific information regarding local land management rules, permit requirements, and seasonal closures, please visit our State Resources page to find details relevant to your area.
Inspired by Backpacker Magazine.
About the Author
David Rodgers is the founder and writer behind Country Trailhead — a Marine Corps infantry veteran, Civil Air Patrol colonel, and Eagle Scout based in Oklahoma, drawing on decades of field-tested hunting, fishing, camping, and hiking experience. Read more about David and Country Trailhead →