Keeping Your Trail Kitchen Running When It Matters Most
A deep dive into building an efficient, reliable backcountry cooking system—covering everything from fuel choice to pot size. We focus on making sure the components actually work together in the field, not just looking good on paper.
Written by David Rodgers — October 31, 2026
The Goal: Efficiency Over Everything Else
When you're miles from the nearest paved road, a hot meal isn't just about calories; it’s about morale. I’ve seen how quickly an exhausted crew can sour when they have to spend forty minutes struggling with a finicky stove in the wind or trying to boil water in a pot that's too small for the task. In my experience—from long-haul backpacking trips to sustained field operations—the goal of your trail kitchen is simple: reliability over everything else.
You want a system that works the first time, every time, regardless of whether it’s drizzling or just plain miserable out. This means prioritizing gear that minimizes "fuss." If you have to spend twenty minutes fiddling with a complicated assembly while your hands are cold and stiff, that's a design failure. Efficiency in this context means weight savings that don't compromise durability, and a setup that allows you to get food on the fire and move on with your day. You aren't trying to be a gourmet chef; you’re trying to maintain your energy so you can keep moving toward your next objective.
Stove Choice Matters More Than You Think (Fuel Types)
Choosing a stove is often where beginners overcomplicate things, but it really comes down to the specific demands of your trip. Most people will find success with a canister stove—these are the "plug and play" options that use standard fuel canisters. They are lightweight, easy to operate, and perfect for short-to-medium trips in moderate climates. However, they have limitations; as temperatures drop significantly or you head into high altitudes, the pressure inside those canisters can make them difficult to light or inefficient at producing a steady flame.
For those planning extended expeditions in extreme environments, liquid fuel stoves are the heavy hitters. They require more maintenance and "know-how," but they provide consistent performance when canister stoves fail due to cold or altitude.
Comparison of Common Systems
| Stove Type | Best For | Pros | Cons |
|---|---|---|---|
| Canister | Day hikes, weekend trips, moderate weather | Easy to use, lightweight, no maintenance | Performance drops in extreme cold/altitude |
| Liquid Fuel | Multi-day expeditions, high altitude, sub-freezing temps | Consistent heat in harsh conditions | Heavier, requires cleaning and priming |
Pot Size, Material, and the Rule of Function
A common mistake I see is people carrying a pot that’s either too heavy for their pack or too small to actually cook a full meal. The "Rule of Function" means your gear should be sized specifically for your group and your intended menu. If you're solo, a 1-liter to 1.5-liter pot is usually the sweet spot—large enough to boil water for oatmeal or soup while still being manageable in size.
When it comes to material, there are real tradeoffs between aluminum and titanium.
- Aluminum: It’s generally heavier but excels at heat distribution. If you're cooking something that needs even heat (like a stew), a high-quality aluminum pot is often more reliable because it won't develop "hot spots" as easily.
- Titanium: This is the gold standard for weight savings. It’s incredibly durable and won't rust, but because it conducts heat poorly compared to aluminum, you have to be careful not to scorch your food at the bottom of the pot.
For most beginners, a mid-weight aluminum pot provides the best balance of durability and ease of use without breaking the bank or adding unnecessary bulk.
Fuel Discipline: The Biggest Pitfall for Beginners
The biggest mistake I see people make isn't choosing the wrong stove; it’s failing to plan their fuel consumption properly. It is a simple math problem that many overlook until they are sitting in a campsite with a half-empty canister and three meals left to cook. You need to understand your stove's burn rate—most manufacturers provide these specs, but you should still do a "dry run" at home to see how long it takes to boil a standard amount of water.
Fuel discipline involves three main pillars:
- Accurate Calculation: Estimate your total meal count and multiply by the average fuel required per meal, then add a 20% buffer for unexpected delays or extra-long boils.
- Safe Storage: Fuel is a hazard. It must be stored upright, away from heat sources, and in a way that prevents leaks during transport.
- The Reserve Rule: Never "run it down to zero." Always carry enough fuel to have an emergency reserve for unexpected weather shifts or if you get delayed on the trail.
The Final System Picture: Packing It Out Right
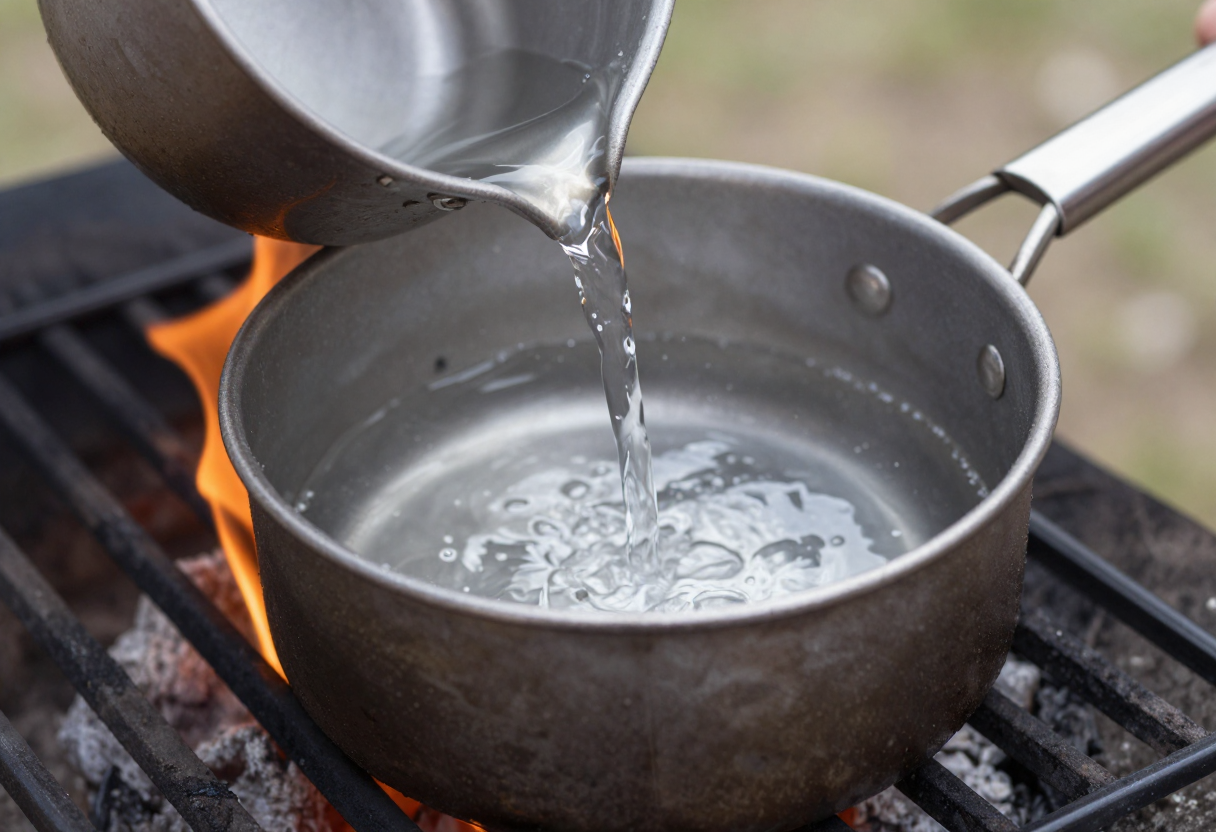
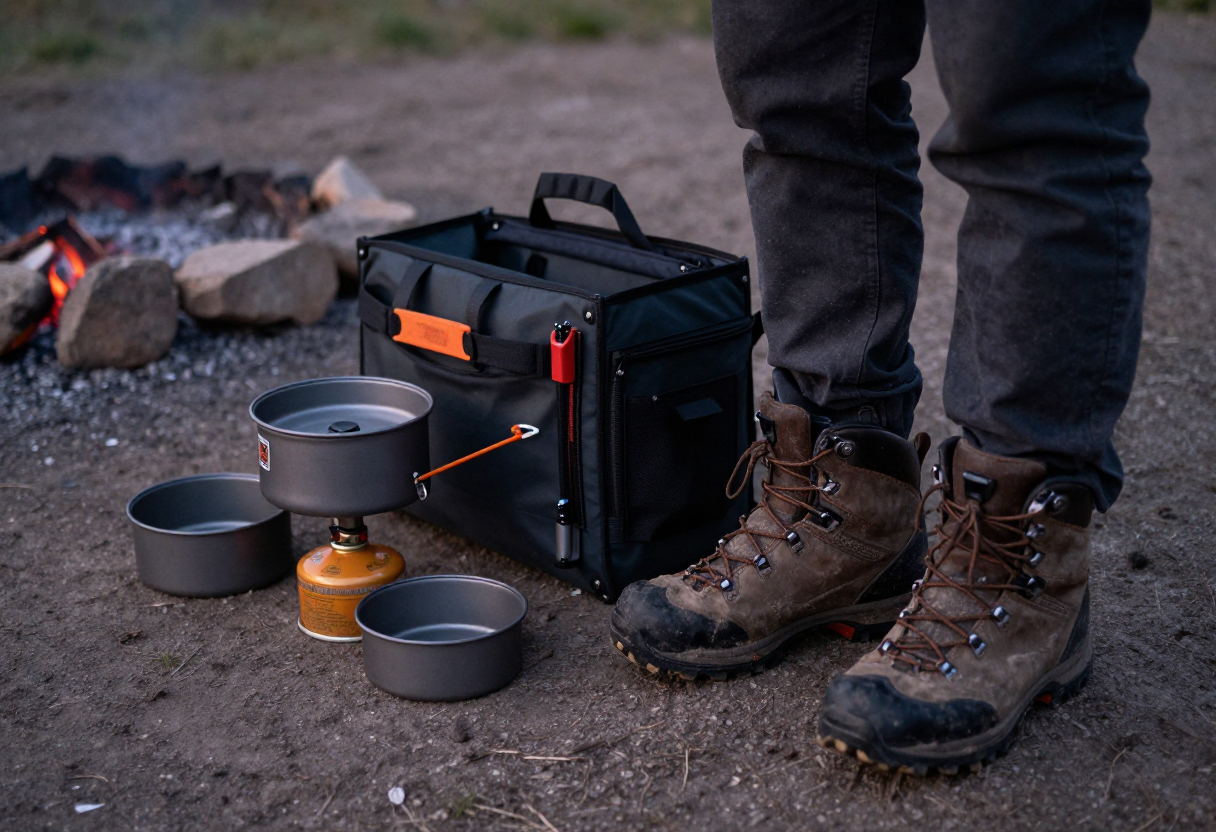
A great stove is useless if you can't find it in your pack when you’re tired and it’s starting to get dark. Your trail kitchen should be organized as a single "module." I recommend keeping your stove, fuel (if permitted by the carrier), and primary pot together in a dedicated dry bag or a specific pocket of your pack. This ensures that when it's time to cook, you aren't digging through your clothes or sleeping gear just to find a lighter.
Efficiency also means minimizing bulk. Every ounce matters over long distances, but so does "packability." Your pot should nest inside its lid or another container to keep your pack profile slim. Finally, always ensure your system is ready for the unexpected. Keep a small repair kit—like some high-temp tape and a multi-tool—near your kitchen gear. If a regulator fails or a pot handle snaps, you want the fix on hand immediately so it doesn't derail your plans.
For more detailed advice on specific gear setups, check out our Gear Finder Wizards to see which components align with your specific trip goals.
Inspired by The Trek.
About the Author
David Rodgers is the founder and writer behind Country Trailhead — a Marine Corps infantry veteran, Civil Air Patrol colonel, and Eagle Scout based in Oklahoma, drawing on decades of field-tested hunting, fishing, camping, and hiking experience. Read more about David and Country Trailhead →