

How to Get a Clean Rig From Your Big Game Harvest
Before you even get back to camp, knowing how to properly field dress and skin a large harvest is critical. This guide breaks down safe, effective methods that work in any weather or circumstance.
Written by David Rodgers — October 29, 2026
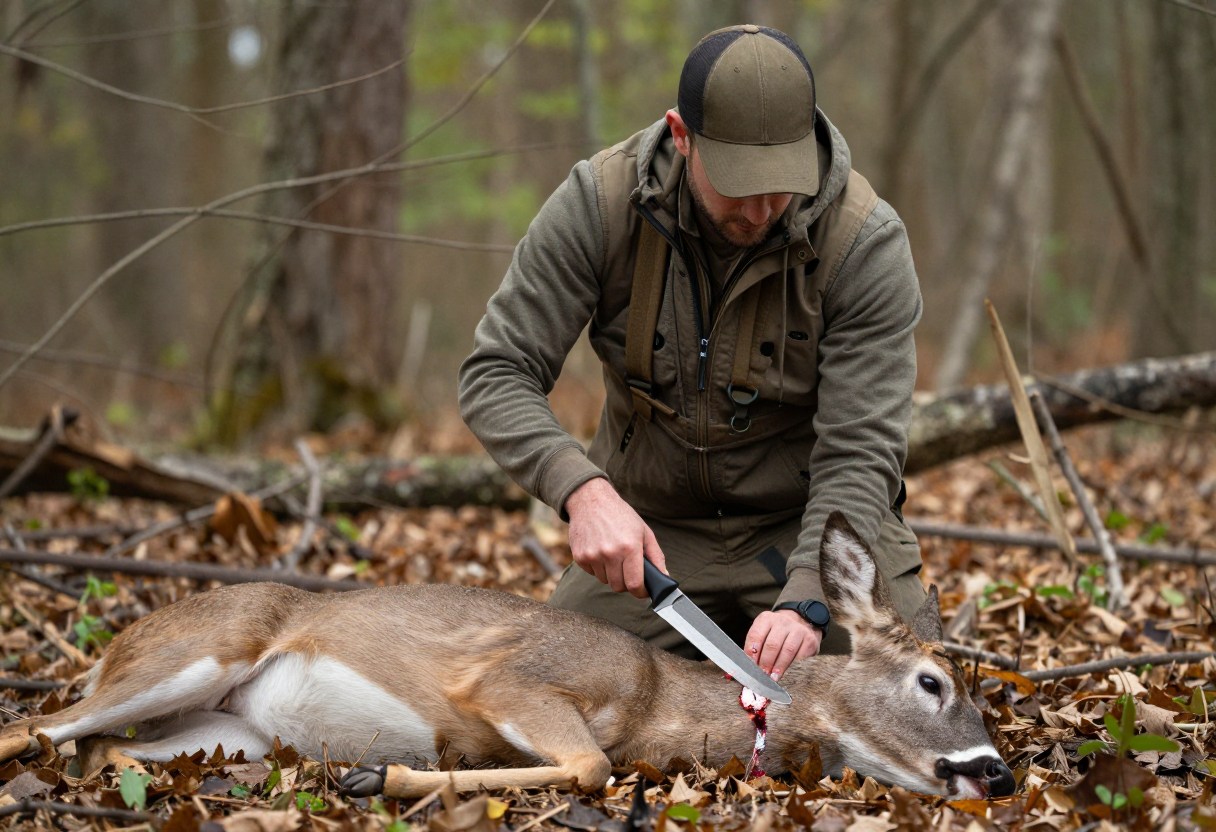
Field Dressing vs. Skinning: Knowing Your Goal
One of the biggest mistakes I see from folks starting out is treating field dressing and skinning as one big, messy task to be tackled all at once. They aren't the same thing, and understanding that distinction determines how you manage your time and energy in the woods. Field dressing—or gutting—is about food safety. It’s the immediate removal of internal organs to stop the decomposition process and prevent "bloat." This is a priority because heat and bacteria start working the moment an animal stops moving.
Skinning, on the other hand, is about the exterior. Whether you are trying to preserve a high-quality cape for a taxidermy mount or simply making it easier to haul the meat out of the brush, skinning is a separate mechanical process. While some hunters do both immediately at the kill site, others might gut the animal and move it to a more accessible area before starting on the hide. Knowing your goal—meat quality versus pelt preservation—should dictate which task you prioritize and how much time you spend on each step in the field.
The Gear Checkup: What You Actually Need in the Field
You don't need a massive chest of specialized tools to get a clean rig, but you do need the right ones kept sharp. In my experience, showing up with a dull blade is one of the quickest ways to end up with ragged meat and frustrated nerves.
Essential Tools
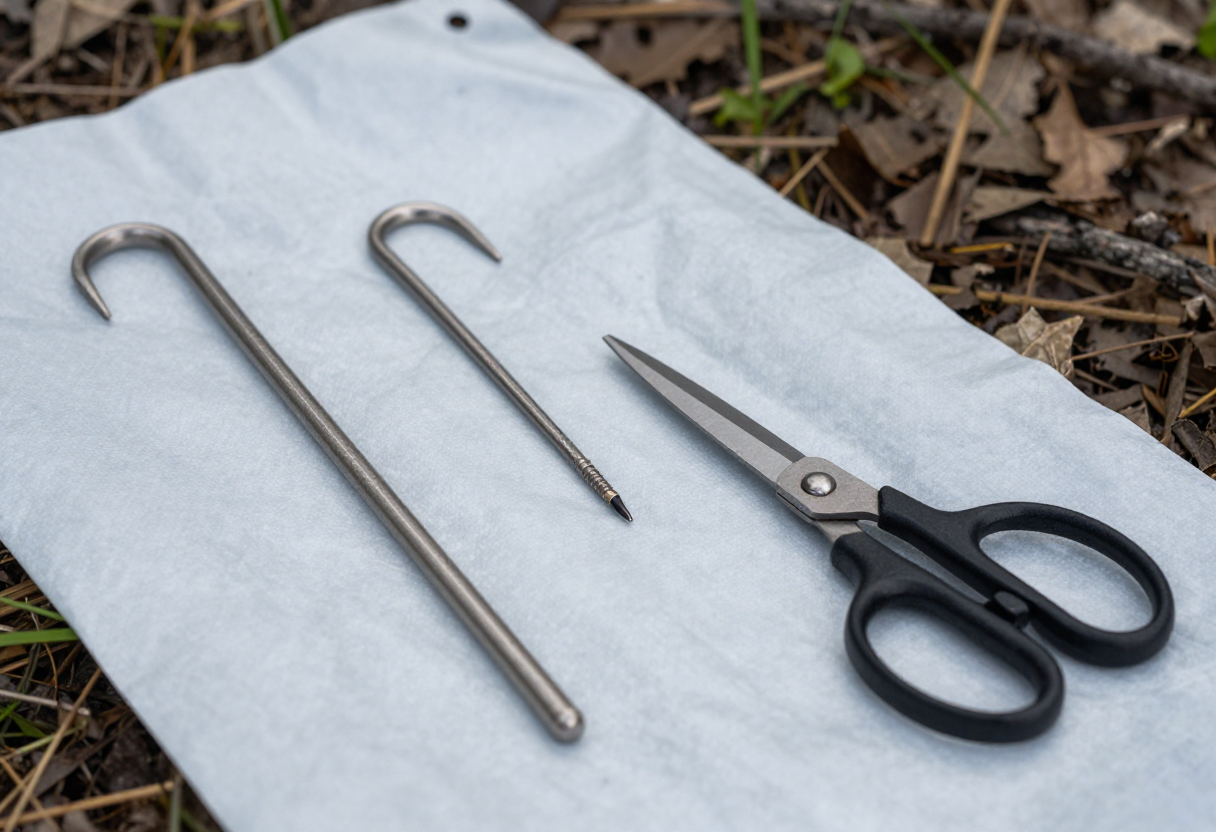
- A Sharp Fixed-Blade Knife: You need something reliable that won't fold on you when you're applying pressure to heavy muscle or thick hide. A 4-to-6-inch blade is usually the sweet spot for most big game.
- Gut Hook: This is a massive time-saver and safety tool. It allows you to unzip the belly cavity without nicking the stomach or intestines, which can contaminate your meat with bacteria.
- Heavy-Duty Shears: These are great for cutting through thick hide near the joints where a knife might struggle.
- Sanitation Kit: Don't overlook this. A small spray of disinfectant and some clean cloths help keep things sanitary as you move from one part of the carcass to another.
Gutting and Dressing: Getting it Done Cleanly (The Priority)
This is Step 1 because temperature is your primary enemy. You want to get the "insides" out as efficiently as possible. I always tell people to start by creating a small incision near the pelvic bone or sternum, but here is the trick: use your fingers as a shield. Insert two fingers into the slit to push the guts away from the blade so you don't puncture anything.
Once you have that initial opening, you can work your way up the midline. The goal is to create a clean path for the viscera to exit. You want to be careful around the diaphragm and the heart/lung area—keep those intact if you're planning on keeping them, but generally, you want everything from the diaphragm down removed quickly. Once the main cavity is open, you can pull the organs out in one cohesive unit. Doing this cleanly minimizes blood loss and keeps the meat clean of any "off" flavors or bacterial growth that occurs when internal fluids sit too long.
Peeling Out the Hide: Techniques and Pitfalls
Once the carcass is gutted, you can move on to skinning. This is where your patience pays off. The goal here is to separate the skin from the underlying muscle without taking chunks of meat with it. Start by making incisions around the legs and work your way toward the main body.
Key Techniques
- The "Push and Pull" Method: Instead of just slicing, use your knife to create a path while using your hands to peel the hide back. You want the skin to "pop" away from the meat.
- Watch the Joints: Use your shears or a heavy-duty knife to navigate around the hips and shoulders. These are common spots where people get stuck.
- Avoid Contamination: Be extremely careful near the tarsal glands (on the back of the hind legs). If you nick these, they can release fluids that ruin the quality of both the hide and the meat nearby.
A clean skinning job means minimal "nicking"—those small cuts where you accidentally slice into a muscle group while trying to get through a tough patch of hide.
Post-Processing Care and Safety Discipline
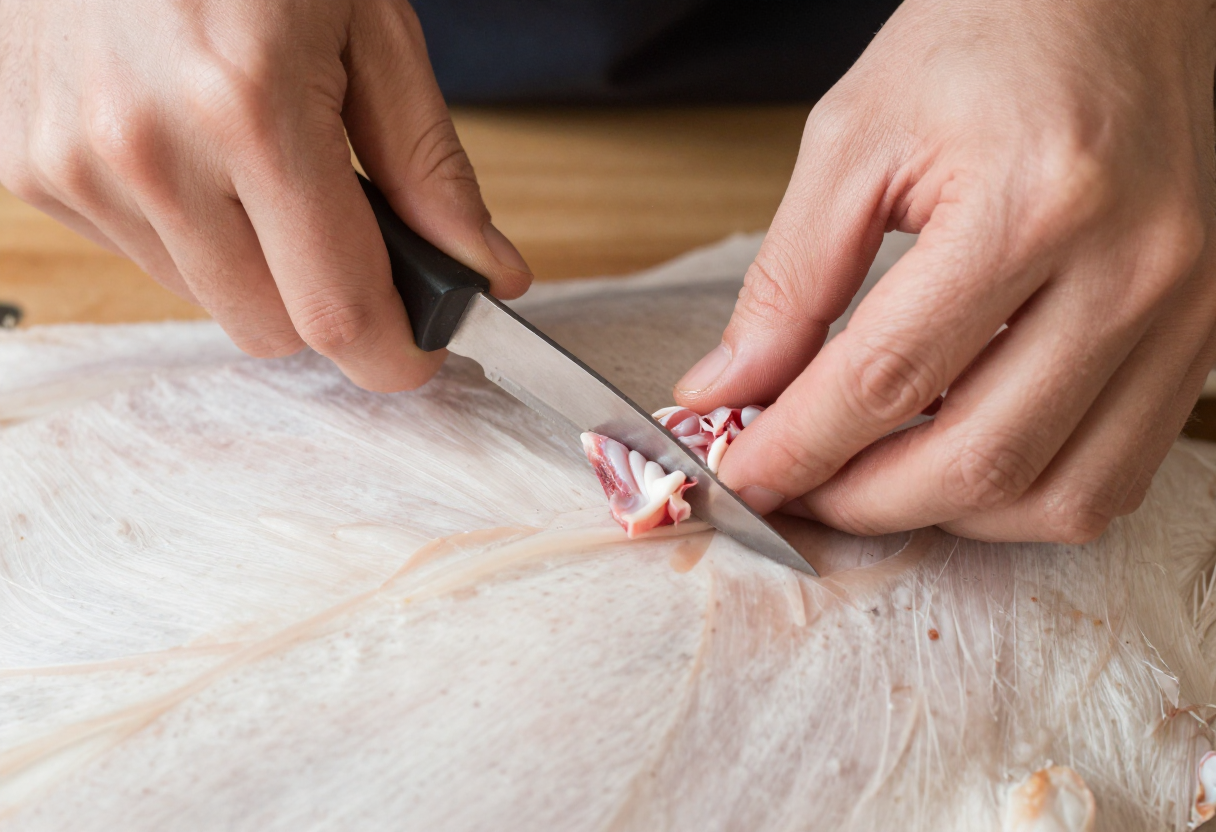
The work doesn't end when the hide is off. Once the carcass is stripped, your focus shifts to meat preservation and transport. You want to wipe down the meat and any remaining bone structures as much as possible to remove excess blood and debris. If you have a cooler available, get that meat into it as soon as it’s cleared of excess fluids.
Safety and Logistics
- Temperature Management: Bacteria love warmth. Keep the meat cool until it reaches your vehicle or processing station.
- Proper Handling: Use clean hands and tools to move the meat; you want to avoid cross-contamination between the "dirty" areas of the carcass and the prime cuts.
- Check Your Local Rules: Every state has different regulations regarding how long an animal can stay in the field, what parts must be kept for inspection, and specific requirements for transporting game.
Always check your state's official wildlife agency website to ensure you are following the current year’s laws before you head out into the woods. For a full list of these resources, I recommend checking our State Resources page.
Inspired by Outdoor Life.
About the Author
David Rodgers is the founder and writer behind Country Trailhead — a Marine Corps infantry veteran, Civil Air Patrol colonel, and Eagle Scout based in Oklahoma, drawing on decades of field-tested hunting, fishing, camping, and hiking experience. Read more about David and Country Trailhead →