Trail Cameras: Choosing and Using Them Effectively
How to pick the right trail camera and place it for the best data on deer movement and patterns.
Published August 19, 2026
Why Trail Cameras Changed Scouting
A trail camera does something boots-on-the-ground scouting alone can't: it gathers data continuously, day and night, without your scent and movement pressuring the area every time you check on it. Used well, it turns guesswork about deer patterns into actual evidence — timing, frequency, buck inventory, and how patterns shift through the season. Used poorly, it becomes an expensive way to spook deer from repeated human visits or generate a pile of photos that never gets turned into a usable plan. This guide covers how to choose the right camera for your situation and, just as importantly, how to place and manage it so the data it gathers actually improves your hunting.
1. Core Trail Camera Specs Explained
Trigger Speed
The time between motion detection and the camera actually capturing an image.
- Fast trigger speeds (under 0.3 seconds) are important for catching deer moving through a frame quickly, especially on trails with faster-moving deer or narrower fields of view.
- Slower trigger speeds (0.5+ seconds) risk missing fast-moving animals entirely, capturing an empty frame after the animal has already passed through.
- This is one of the specs worth prioritizing if your budget allows — a camera with excellent resolution but a slow trigger speed will still miss shots a faster, lower-resolution camera would catch.
Detection Range and Angle
- Detection range (how far the camera's motion sensor picks up movement) and detection angle (the width of the sensor's field of view) together determine the effective "catch zone" in front of the camera.
- Wider detection angles are useful for trails or funnels where deer might pass at varying distances from center; narrower/longer detection ranges suit open fields or food plots where you want to catch movement from farther away.
Flash Type
- Infrared (IR) flash (no-glow or low-glow): Produces black-and-white nighttime images using infrared light largely invisible to deer (and to a lesser extent, to humans watching for the camera). "No-glow" units are essentially undetectable at night; "low-glow" units emit a faint, barely visible red glow when triggered.
- White flash: Produces full-color nighttime images, offering better image quality for identifying specific animals (useful for distinguishing individual bucks) but is visible light that some hunters believe alerts deer to the camera's presence over repeated exposures, though the degree of impact is debated among hunters.
- For most deer scouting purposes, infrared (particularly no-glow) is the more common and cautious choice, minimizing the camera's own footprint on the area it's monitoring.
Resolution and Video Capability
- Higher resolution helps with identifying specific bucks (antler point counts, distinguishing individuals across a season) at greater distances, though extremely high resolution isn't strictly necessary for basic pattern/timing data.
- Video mode, offered on most modern cameras, can capture behavior (rut activity, travel direction, interaction between animals) that a single still photo misses — useful supplementary data, though it consumes battery and storage faster than photo-only capture.
Battery Life and Power Options
- Standard battery-powered units vary widely in battery life depending on trigger frequency, flash use, and temperature (cold weather reduces battery performance meaningfully).
- Solar panel attachments extend battery life significantly for long-term, low-maintenance placements, reducing the frequency of site visits needed just for battery swaps.
- External battery packs are another option for extending run time between visits, particularly useful for cameras placed in hard-to-reach or infrequently-visited locations.
Connectivity: Cellular vs. Standard (SD Card) Cameras
| Type | Pros | Cons |
|---|---|---|
| Cellular trail cameras | Photos sent remotely to a phone/app, eliminating the need for in-person SD card retrieval; dramatically reduces area disturbance from repeated visits | Requires cellular signal at the camera location; ongoing data plan cost; generally higher upfront cost |
| Standard (SD card) trail cameras | Lower upfront cost, no ongoing subscription, works anywhere regardless of cell signal | Requires physically visiting the camera to retrieve photos, which reintroduces human scent/presence to the area each time |
For serious deer pattern scouting, especially on pressured or sensitive areas, a cellular camera is often worth the added cost specifically because it removes the human-disturbance cost of checking a standard camera — the ability to monitor an area without physically entering it repeatedly is a meaningful, non-obvious advantage beyond simple convenience.
2. Matching Camera Type to Your Situation
| Situation | Recommended Camera Profile |
|---|---|
| Budget-conscious, casual scouting | Standard SD-card camera, mid-tier trigger speed, IR flash |
| Sensitive/pressured area, minimizing disturbance | Cellular camera, no-glow IR flash, solar power option |
| Open food plot or field monitoring | Wider detection angle, longer detection range, higher resolution for buck identification |
| Tight funnel or narrow trail | Fast trigger speed prioritized over wide detection angle, since the catch zone is naturally narrow |
| Long-term, low-maintenance placement | Solar-powered cellular camera, reducing both battery-swap and disturbance visits |
| Identifying specific bucks for target selection | Higher resolution, video capability, and consider a white-flash camera for the clearest identification images despite the visibility tradeoff |
3. Where to Place Cameras: Reading the Land
Camera placement follows the same principles as broader scouting, applied specifically to where a camera will capture useful data.
High-Value Placement Locations
- Travel corridors between bedding and feeding areas — trails connecting these two zones are often the most consistent movement locations throughout a season, and a camera here can build a strong pattern picture over time.
- Funnels and pinch points — saddles, fence gaps, points of timber, and narrow cover strips concentrate movement into a predictable, camera-friendly location.
- Scrapes, particularly active ones with an overhanging licking branch — scrape cameras are especially useful during pre-rut and rut, when scrape-checking behavior increases and can reveal buck presence and timing.
- Water sources, especially valuable in drier regions or during hot early-season stretches when water becomes a more limiting resource.
- Field edges and food plot entry points — useful for evening pattern data and for getting a broader inventory look at what's using an area, though open-field cameras sometimes capture more distant, harder-to-identify images than tighter trail setups.
Placement Mechanics
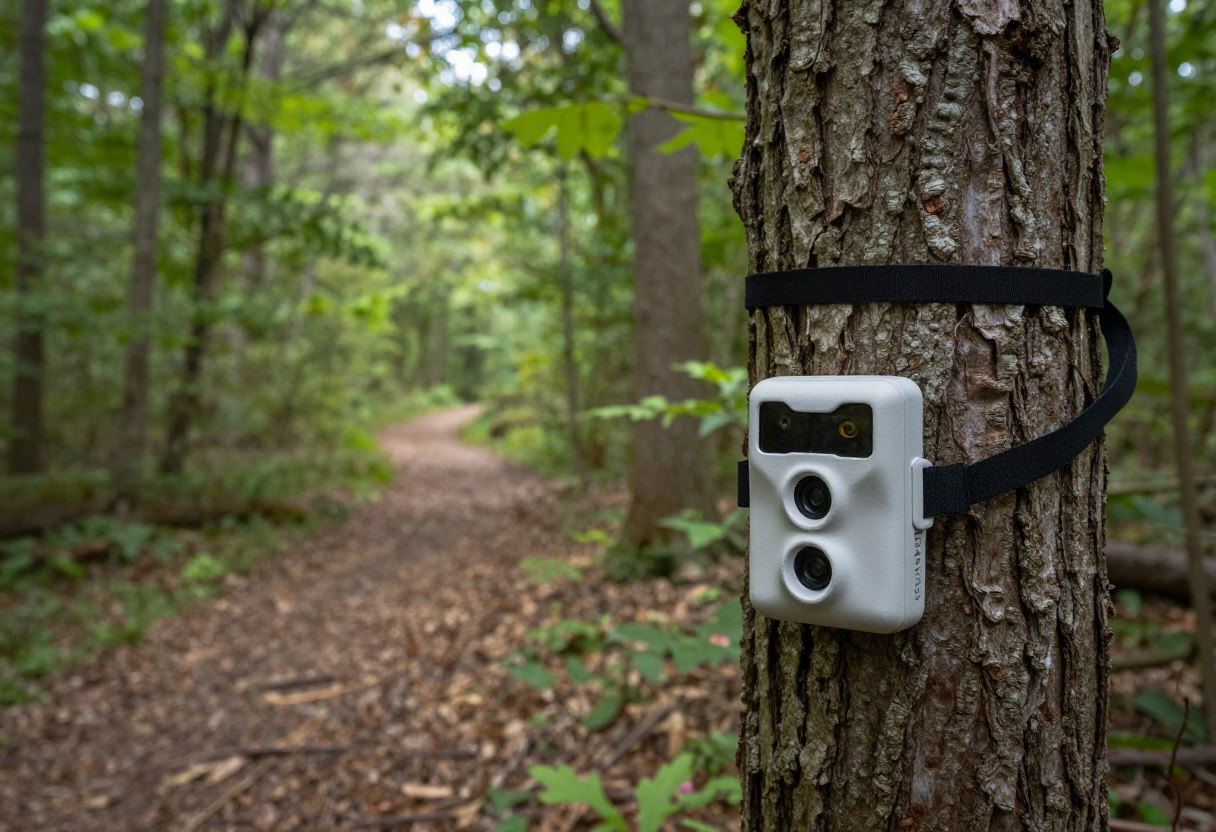
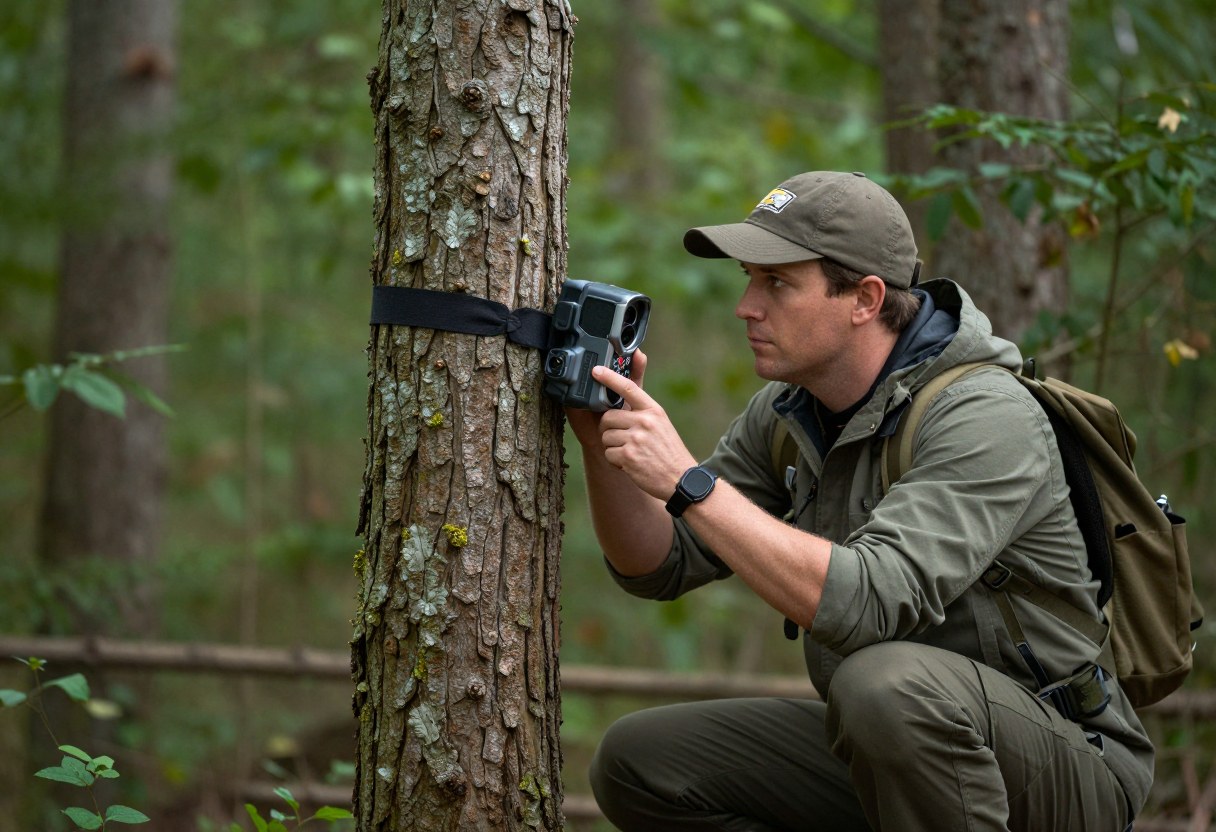
- Camera height: Roughly waist-to-chest height (around 3 feet) angled slightly downward is a common default for deer-sized animals, adjusted based on the specific terrain's slope and the target animal's typical height in that spot.
- Face north or south when possible, avoiding direct east/west orientation that points the lens toward rising or setting sun, which can wash out images or trigger false detections from sun/shadow movement.
- Clear the immediate foreground of tall grass or vegetation that could trigger false detections from wind movement, wasting battery and storage on empty frames.
- Angle across a trail rather than straight down it where possible — this captures an animal's side profile for longer as it moves through the frame, rather than a brief head-on shot as it approaches and passes directly under the camera.
4. Minimizing Human Disturbance While Scouting With Cameras
This is the most commonly underappreciated part of effective trail camera use — a poorly managed camera strategy can pressure an area more than not using cameras at all.
- Check cameras as infrequently as reasonably possible, especially standard SD-card cameras requiring in-person visits — every check trip introduces scent and disturbance to the exact area you're trying to monitor undisturbed.
- Time necessary visits for low-impact conditions — midday during low deer activity, favorable wind direction carrying scent away from likely bedding areas, and efficient, direct entry/exit routes that avoid crossing through core bedding cover.
- Consider cellular cameras specifically to reduce this disturbance cost, as noted above — the added cost can be justified by the scouting-quality improvement from not needing repeated physical visits.
- Avoid over-placing cameras in a small area. More cameras isn't automatically better if each additional camera means more human presence in a sensitive zone — a thoughtfully placed handful of cameras often outperforms a large number crowded into one property.
- Rotate camera placement based on the calendar, moving from travel-corridor and feeding-area setups earlier in the season toward scrape and funnel-focused setups as the rut approaches, rather than leaving cameras static all season regardless of shifting deer behavior.
Don't Skip This: The value of a trail camera comes from data collected without additional pressure on the area — if checking it requires walking through core bedding cover or leaving heavy scent right before you plan to hunt nearby, the camera can work against your broader scouting goals rather than for them. Plan access routes as carefully as you plan camera placement.
5. Turning Photos Into Usable Data
A pile of unorganized trail camera photos isn't automatically useful — getting real value requires some structure.
What to Track
- Time-of-day patterns for specific animals or general movement, since consistent time windows are some of the most actionable scouting data a camera provides.
- Direction of travel through the frame, helping build a picture of a broader movement pattern beyond just "deer use this spot."
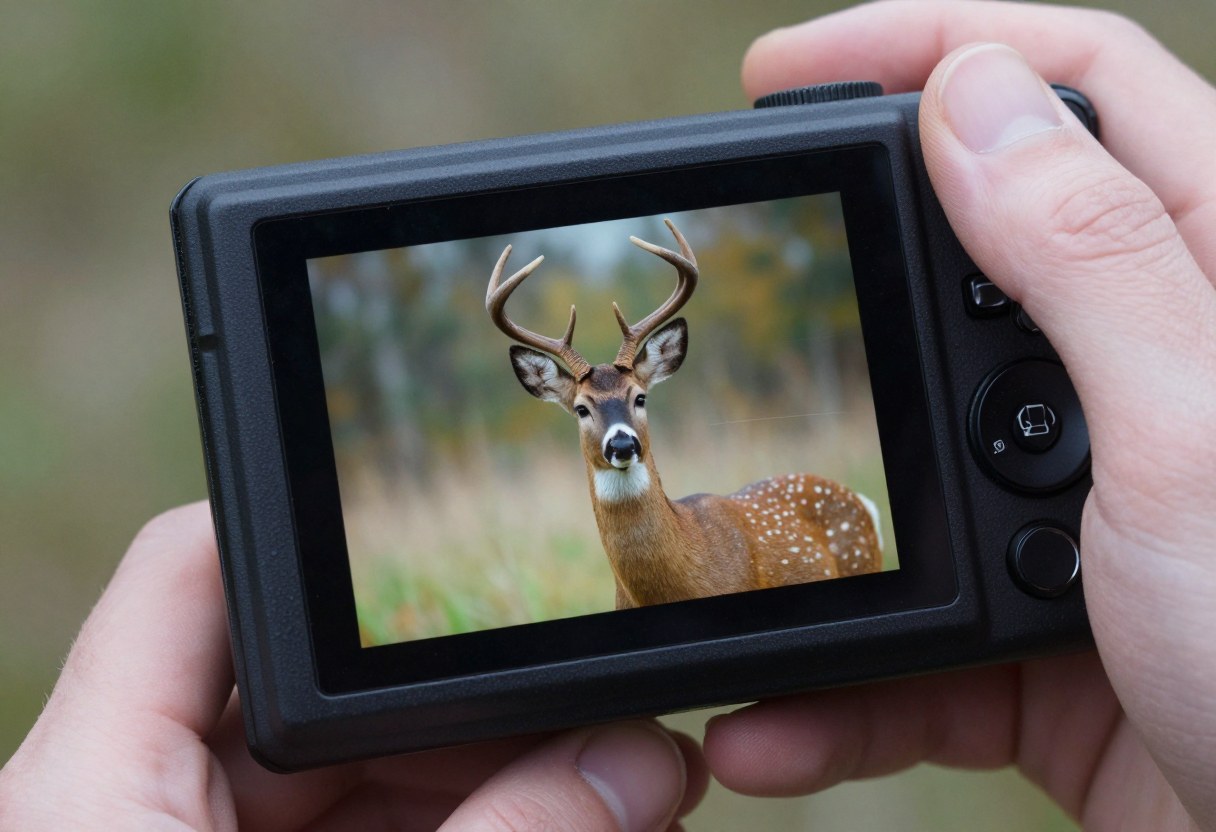
- Buck inventory — identifying and tracking specific individual bucks across a season (using antler characteristics, body markings, or other distinguishing features) to understand which mature bucks are using an area and how consistently.
- Weather and moon phase correlation, for hunters interested in whether specific conditions correlate with increased daytime movement at a given camera location (a more advanced, optional layer of analysis some hunters find valuable).
- Seasonal pattern shifts — comparing early season, pre-rut, rut, and post-rut photo patterns at the same camera location often reveals real behavioral shifts worth adjusting a hunting strategy around.
Organization
- Cellular camera apps often include built-in photo organization, tagging, and sometimes basic pattern analysis tools, reducing the manual effort needed compared to standard cameras.
- For standard SD-card cameras, a simple folder structure by camera location and date, or a basic spreadsheet logging notable sightings (date, time, animal description), turns raw photos into something genuinely reviewable before season.
- Photos of specific identifiable bucks are worth a dedicated folder or tag, letting you track a target animal's pattern across multiple sightings over the season rather than losing that thread among general photos.
6. Trail Camera Regulations and Ethics
Trail camera use is subject to real regulatory variation and evolving ethical debate within the hunting community — this isn't purely a gear/technique topic.
- Cellular trail camera regulations vary significantly by state. Some states restrict or fully prohibit the use of cellular (real-time transmitting) trail cameras during hunting season, viewing them as providing an unfair real-time advantage; others have no such restriction. This has changed in a number of states in recent years, making it a genuinely important area to verify current rules for, rather than assume based on outdated information.
- Public land camera placement rules can differ from private land — some public land management agencies restrict trail camera placement, require registration, or limit how long a camera can be left unattended in one location; check the specific managing agency's current rules.
- Trespassing and boundary awareness applies to camera placement just as much as to hunting itself — placing a camera on or near a property line without clear boundary confirmation is a real and avoidable risk.
- Theft is a genuine practical risk on public land or less secure private locations — security boxes, cable locks, and discreet placement (avoiding obvious camera-height mounting on a prominent trailside tree) all reduce this risk, though none eliminate it entirely.
Don't Skip This: Cellular trail camera legality specifically has changed rapidly in a number of states over recent years, generally trending toward more restriction during active hunting season. Check your state wildlife agency's current regulations before relying on a cellular camera setup, especially if you're hunting during season with the expectation of receiving real-time photo alerts.
7. Common Trail Camera Mistakes
- Checking cameras too frequently, reintroducing human scent and pressure to the exact area being monitored, undermining the camera's core advantage over direct in-person scouting.
- Placing too many cameras in a small, sensitive area, compounding disturbance without meaningfully improving data quality.
- Ignoring sun angle, resulting in washed-out images or false triggers from shifting light and shadow.
- Not clearing foreground vegetation, wasting battery and storage on wind-triggered false detections.
- Leaving cameras static all season rather than adjusting placement to match shifting deer behavior (feeding-area focus early, scrape/funnel focus during rut, and so on).
- Not organizing or reviewing photos systematically, leaving potentially valuable pattern data unused simply because it was never structured into something reviewable.
- Assuming cellular camera use is legal during season without checking current state regulations — a genuinely common and consequential oversight given how much this has changed recently in various states.
- Neglecting camera security, especially on public land, leading to theft that's frustrating and costly, and avoidable with basic precautions.
8. Budget Overview
| Item | Typical Range (USD, approximate) |
|---|---|
| Entry-level standard (SD card) trail camera | $50–$100 |
| Mid-tier standard trail camera | $100–$200 |
| Entry-level cellular trail camera | $100–$200 |
| Mid-to-high-tier cellular trail camera | $200–$400+ |
| Cellular data plan (per camera, monthly) | $5–$30, depending on plan/provider |
| Solar panel attachment | $20–$50 |
| Security box/cable lock | $15–$40 |
| SD cards and batteries (standard cameras) | $10–$30 |
Budget tip: For a small number of well-placed cameras on sensitive or hard-to-access areas, the added cost of cellular capability is often worth it for the disturbance reduction alone, independent of the convenience factor. For casual scouting on easily and frequently accessible land, standard SD-card cameras remain a reasonable, budget-friendly choice.
Quick Decision Checklist
- I've chosen camera type (standard vs. cellular) based on both budget and how much disturbance repeated in-person checks would cause
- I've prioritized trigger speed appropriately for my placement (fast trigger for trails/funnels)
- I've chosen IR (no-glow preferred) flash for most placements, reserving white flash only for buck-identification-focused setups
- I've placed cameras at travel corridors, funnels, scrapes, water sources, or field edges based on the specific data I want
- I've planned camera height, angle, and sun orientation to maximize usable image quality
- I've planned low-disturbance access routes and minimized unnecessary check frequency
- I have a system (app, folder structure, or spreadsheet) for organizing and actually reviewing photo data
- I've checked my state's current regulations on cellular trail camera use during hunting season
- I've taken reasonable security precautions if placing cameras on public or less secure land
Glossary
- Trigger Speed: The time between a trail camera detecting motion and capturing an image.
- Detection Range/Angle: The distance and width of the area a camera's motion sensor can detect movement within.
- No-Glow / Low-Glow IR: Infrared flash technology producing minimal to no visible light at night, reducing the camera's own detectability.
- Cellular Trail Camera: A trail camera that transmits photos remotely via cellular signal to a phone or app, rather than requiring in-person SD card retrieval.
- Scrape: A patch of ground pawed clear by a buck, often beneath an overhanging branch, used for scent communication — a common trail camera placement target, especially during pre-rut and rut.
- Buck Inventory: The practice of identifying and tracking specific individual bucks in an area over time using trail camera photos.
This guide covers general principles for common North American deer scouting with trail cameras. Always confirm current state and local regulations regarding cellular trail camera use during hunting season, as well as any public land agency-specific rules, since these vary by location and have changed significantly in recent years in many states.