
Stargazing for Beginners
How to get started with naked-eye and binocular astronomy — no telescope required to begin.
Published August 20, 2026
Why Stargazing Is One of the Most Accessible Outdoor Hobbies
Unlike most outdoor pursuits, stargazing has essentially no entry cost — a clear night, your own eyes, and a reasonably dark spot are enough to get started, and much of what makes a session successful (finding dark skies, dressing for cold nights, planning around the moon) is knowledge rather than gear. This guide covers the fundamentals for a genuine first night out: no telescope required, and a clear sense of what to actually expect.
1. What You Actually Need for a First Session
- A reasonably dark location. You don't need a certified dark-sky park for a first outing, but getting even a few miles from the nearest town's light dome makes a real difference — see Section 3 for how to evaluate this.
- A clear night with minimal moon. Cloud cover is the obvious dealbreaker, but a bright moon (especially near-full) also washes out fainter objects and the Milky Way — see Section 5.
- Warm layers, even in summer — standing or sitting still for an hour or more after dark gets cold faster than most beginners expect, regardless of the daytime temperature.
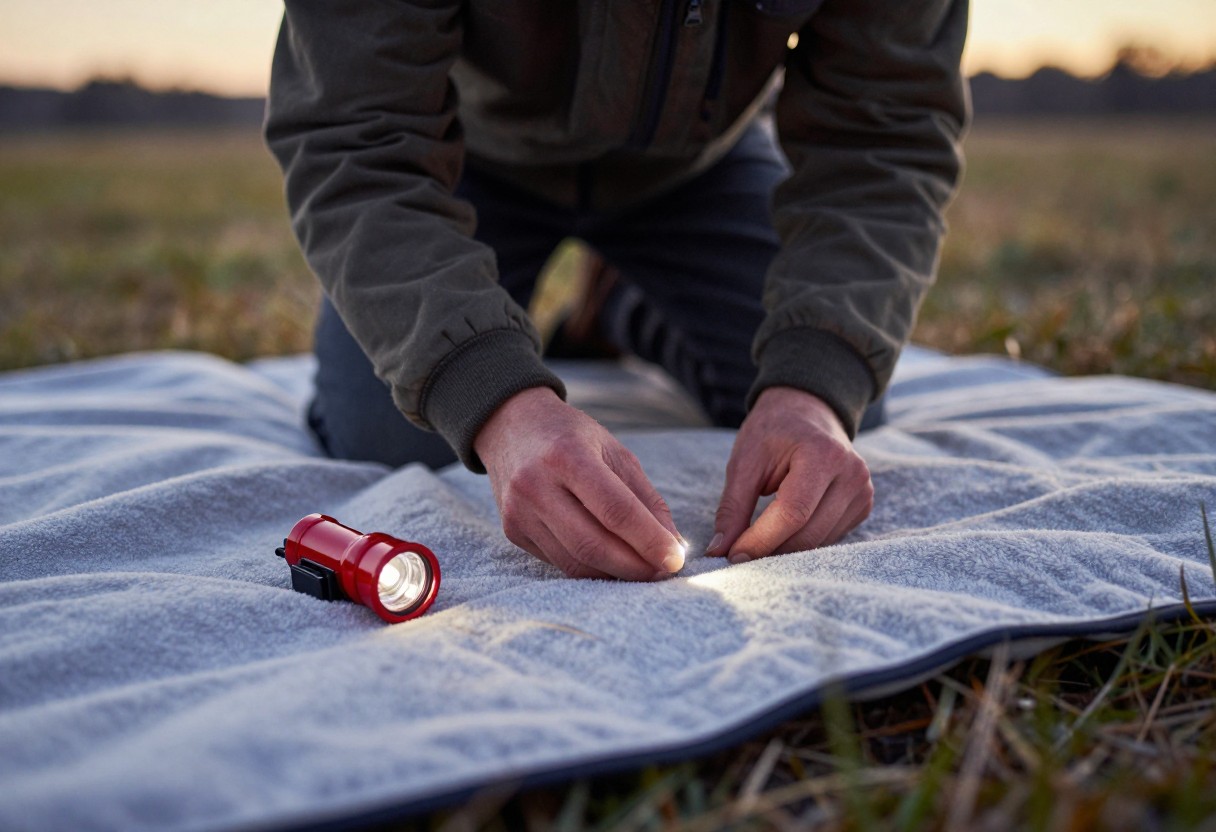
- A red flashlight (or a headlamp with a red-light mode) — covered in depth in a dedicated gear guide, but worth having from night one since it protects your night vision in a way a regular white flashlight actively undoes.
- Patience for your eyes to adjust — covered in Section 4, and probably the single most underrated factor in a beginner's first stargazing experience.
2. What's Actually Visible With Just Your Eyes
- Planets — Venus, Jupiter, Mars, and Saturn are all visible to the naked eye at various points in the year, appearing as steady, non-twinkling points of light (twinkling is caused by atmospheric turbulence and affects distant stars more than nearby planets).
- Constellations and asterisms — recognizable star patterns, useful both for their own sake and as navigation landmarks for finding fainter objects.
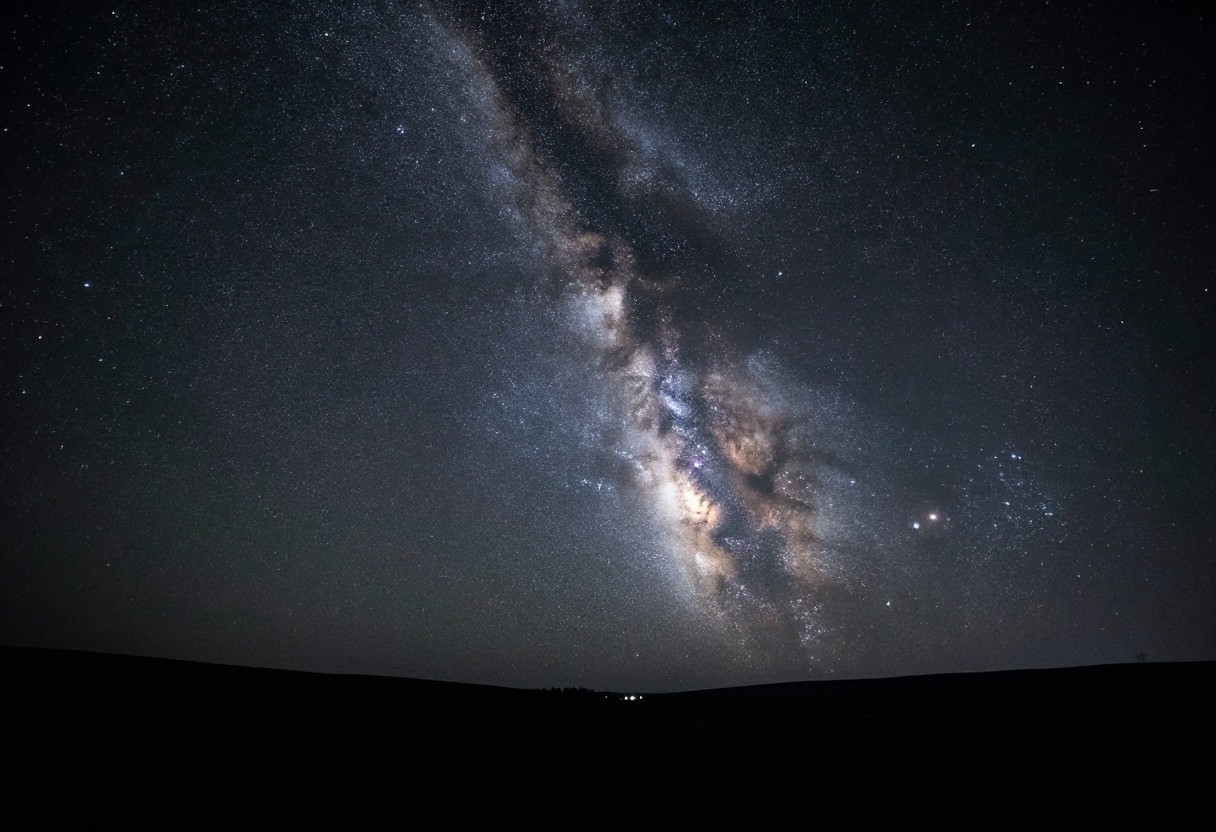
- The Milky Way — our galaxy's disk, visible as a hazy band under genuinely dark skies; this is one of the most dramatic naked-eye sights in astronomy and a good benchmark for how dark your sky actually is (see Section 3).
- Meteors — visible year-round in small numbers, with a handful of predictable annual meteor showers (like the Perseids in August) producing significantly higher rates worth planning around.
- The Moon — always worth a look, though its light also actively works against seeing fainter things (Section 5).
Don't Skip This: A useful rule of thumb: if you can clearly see the Milky Way as a distinct band across the sky, you're observing from a genuinely dark location (roughly Bortle 4 or better on the light-pollution scale covered in a dedicated locations guide). If you can't see it at all, even on a clear moonless night, light pollution is likely the limiting factor, not your eyes or the conditions.
3. Why Location Matters More Than Any Piece of Gear
- Light pollution is the single biggest factor limiting what you can see, more significant than upgrading from naked eye to binoculars or from binoculars to a basic telescope — a dark sky with no optical aid consistently outperforms a good telescope under a light-polluted suburban sky.
- You don't need to travel to a certified dark-sky park for a real improvement — even driving a modest distance away from a town's light dome can shift you a full brightness class, covered with specific detail (the Bortle scale, real dark-sky-certified US locations by region) in a dedicated guide.
- Existing camping and hiking trips are often already stargazing opportunities — a remote campsite chosen for other reasons is frequently also a meaningfully dark sky location, worth factoring in when picking a site.
4. Dark Adaptation: The Free Upgrade Most Beginners Skip
- Your eyes take real time to adjust to darkness — pupils dilate within seconds, but the light-sensitive cells responsible for low-light vision (rods) take roughly 20–30 minutes to substantially adapt, with sensitivity continuing to slowly improve for longer after that.
- Any bright light exposure resets this process — checking a phone screen at full brightness, or someone nearby using a white flashlight, can cost you much of that adaptation and require starting over.
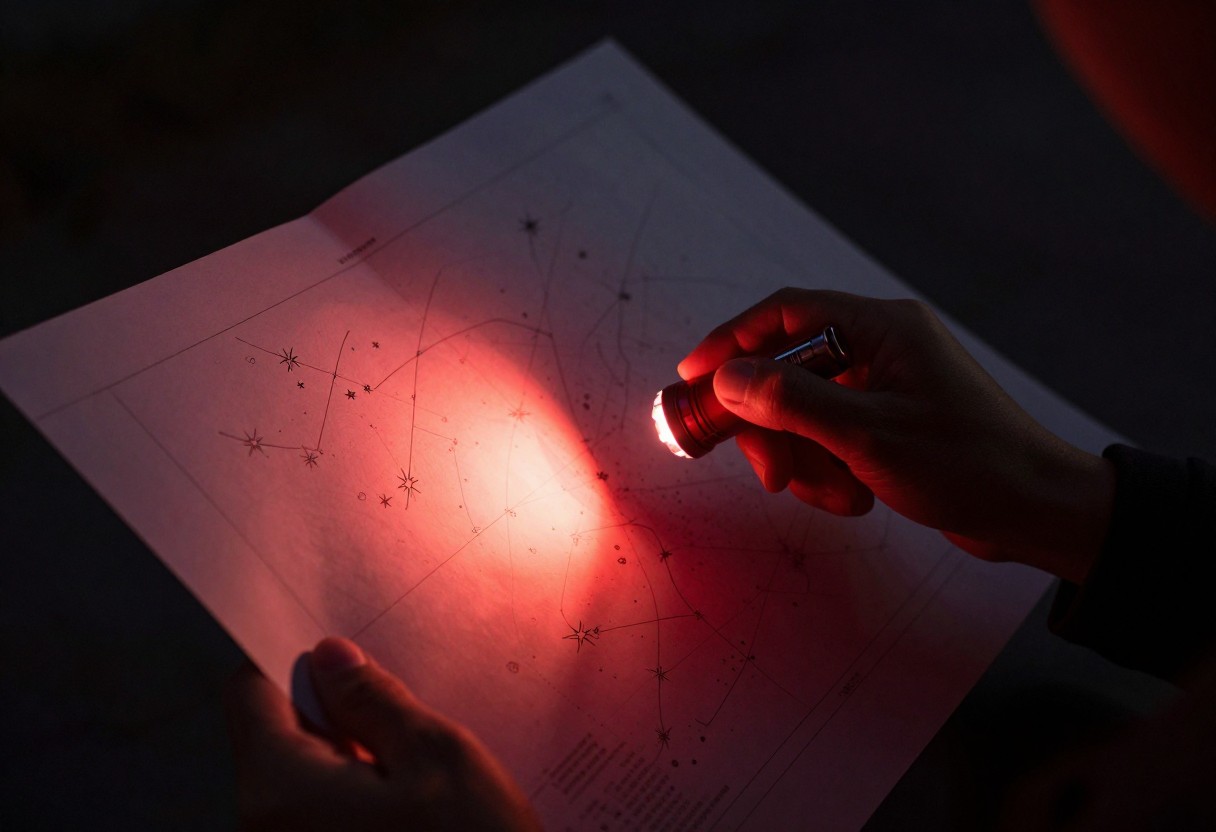
- This is why red light matters specifically, not just dim light — the rod cells responsible for night vision are far less sensitive to red wavelengths, letting you use a light to read a star chart or adjust gear without significantly disrupting your adaptation.
- Give a session real time before judging it. A beginner who steps outside, looks up for two minutes, and goes back in is judging the sky before their eyes have actually adjusted to see what's really there.
5. Timing: Moon Phase and Season
- New moon (and the several nights around it) gives the darkest skies, best for faint objects and seeing the Milky Way in full detail — this is the ideal window for a first serious stargazing session.
- A bright, near-full moon actively washes out fainter objects by scattering light through the atmosphere, though it's genuinely a good target to observe in its own right during that time.
- The Milky Way's brightest core region is best positioned in the sky during spring through fall in the US (with summer generally considered peak season), while winter often offers clearer, steadier air at the cost of a less dramatic Milky Way view — both are worth planning around depending on what you want to see.
- Check a moon phase calendar or app before planning a session specifically targeting faint objects or the Milky Way, rather than just picking a random clear night.
6. A Realistic First Session Plan
- Pick a night with minimal moon and a clear forecast, ideally within a few days of new moon if you're specifically hoping to see the Milky Way.
- Choose the darkest reasonably accessible location you have — this doesn't need to be a formal dark-sky site for a first outing, just meaningfully away from direct light sources.
- Arrive with time to spare and dress warmer than you think you need to.
- Give your eyes 20–30 minutes to adapt before judging what's visible, using only red light if you need to see anything nearby.
- Start with what's easiest — bright planets, obvious constellations, the Milky Way if conditions allow — before trying to pick out fainter or more specific targets.
- Consider binoculars for your next session if the naked-eye view leaves you wanting more — a genuinely worthwhile, low-cost next step covered in a dedicated guide, and often recommended before a telescope.
7. Common Beginner Mistakes
- Judging the sky before your eyes have adapted, missing what's actually visible after the full 20–30 minute adjustment window.
- Using a white flashlight or phone at full brightness, resetting night vision for everyone nearby, not just yourself.
- Not checking the moon phase, planning a session for Milky Way viewing during a near-full moon when it will be substantially washed out.
- Assuming a telescope is required to get started, when naked-eye and binocular astronomy are both genuinely rewarding and a more approachable starting point.
- Underestimating how cold standing still after dark feels, even in warm-weather months, and cutting a session short as a result.
- Not going far enough from direct light sources, then attributing a disappointing view to "there's nothing to see" rather than the actual light pollution at that specific spot.
Quick Decision Checklist
- I've checked the moon phase and picked a night favorable to what I want to see
- I've chosen the darkest reasonably accessible location available to me
- I have warm layers appropriate for standing/sitting still after dark, regardless of daytime temperature
- I have a red flashlight or red-light mode ready, not just a regular white light
- I'm planning to give my eyes 20–30 minutes to adapt before judging the sky
- I have realistic expectations for a naked-eye first session, with binoculars as a reasonable next step
Glossary
- Bortle Scale: A 9-level scale measuring night sky darkness, from Bortle 1 (pristine dark sky) to Bortle 9 (inner-city sky), covered in depth in a dedicated locations guide.
- Dark Adaptation: The process by which eyes become progressively more sensitive to low light over roughly 20–30 minutes in darkness, reset by exposure to bright light.
- Asterism: A recognizable star pattern that isn't an official constellation (the Big Dipper, part of Ursa Major, is a well-known example).
- Light Dome: The glow of light pollution visible above a city or town, extending well beyond its physical boundaries and reducing sky darkness for a significant surrounding area.
Final Takeaway
Stargazing rewards patience and location more than gear — a genuinely dark sky, a clear moonless night, warm layers, and 20–30 minutes for your eyes to properly adapt will show you more than a telescope used under light-polluted or poorly timed conditions. Start with naked-eye observation, learn to read the moon phase and plan around it, and treat binoculars (not a telescope) as the natural next step once you're ready for more.
Sky conditions, visible objects, and optimal viewing times vary by season, location, and specific night — treat this guide as a starting framework and check current moon phase and weather before planning a session.