Preventing and Treating Blisters on the Trail
Why blisters actually form, the prevention habits that work, and how to treat one properly before it ends your hike.
Published September 12, 2026
Why Blisters Are the Most Common Hike-Ending Injury
Blisters don't sound serious, and that's exactly why they end more hikes than almost anything else — a hiker who'd never skip packing rain gear will happily ignore a "hot spot" on their heel until it's a full blister three miles from the trailhead. A blister is friction damage: repeated rubbing between your skin and a sock or boot separates the skin's layers, and fluid fills the gap to cushion it. The mechanics are simple, which is also why prevention is genuinely achievable — almost every blister traces back to one of a small number of fixable causes, not bad luck.
1. Fit Is the Root Cause More Often Than Technique
- A boot or shoe that's slightly too big lets your foot slide with every step, and that sliding — not sweat, not sock choice — is the single biggest driver of blisters. Too-small footwear causes its own friction against toes and the sides of the foot.
- Try on hiking footwear later in the day, when feet have naturally swollen slightly, and always with the actual socks you plan to hike in — this is the single most useful boot-shopping habit and the one most beginners skip.
- Break in new boots on short local walks before a real trip. Stiff, unworn boots flex and rub in different places than boots with some miles on them, so the first long hike in brand-new boots is a common blister setup.
2. Socks Matter More Than People Expect
- Wool or synthetic hiking socks that wick moisture and hold their shape perform meaningfully better than cotton, which holds sweat against skin and loses structure when wet — both directly increase friction.
- A thin liner sock under a thicker hiking sock lets the friction happen between the two sock layers instead of between sock and skin, which is a real and widely used trick for hikers who blister even in good boots.
- Bring a dry backup pair on longer or wet-weather hikes. Wet socks are dramatically more friction-prone than dry ones, and swapping to dry socks mid-hike is one of the most effective real-time prevention moves available.
3. Lacing and Foot Prep
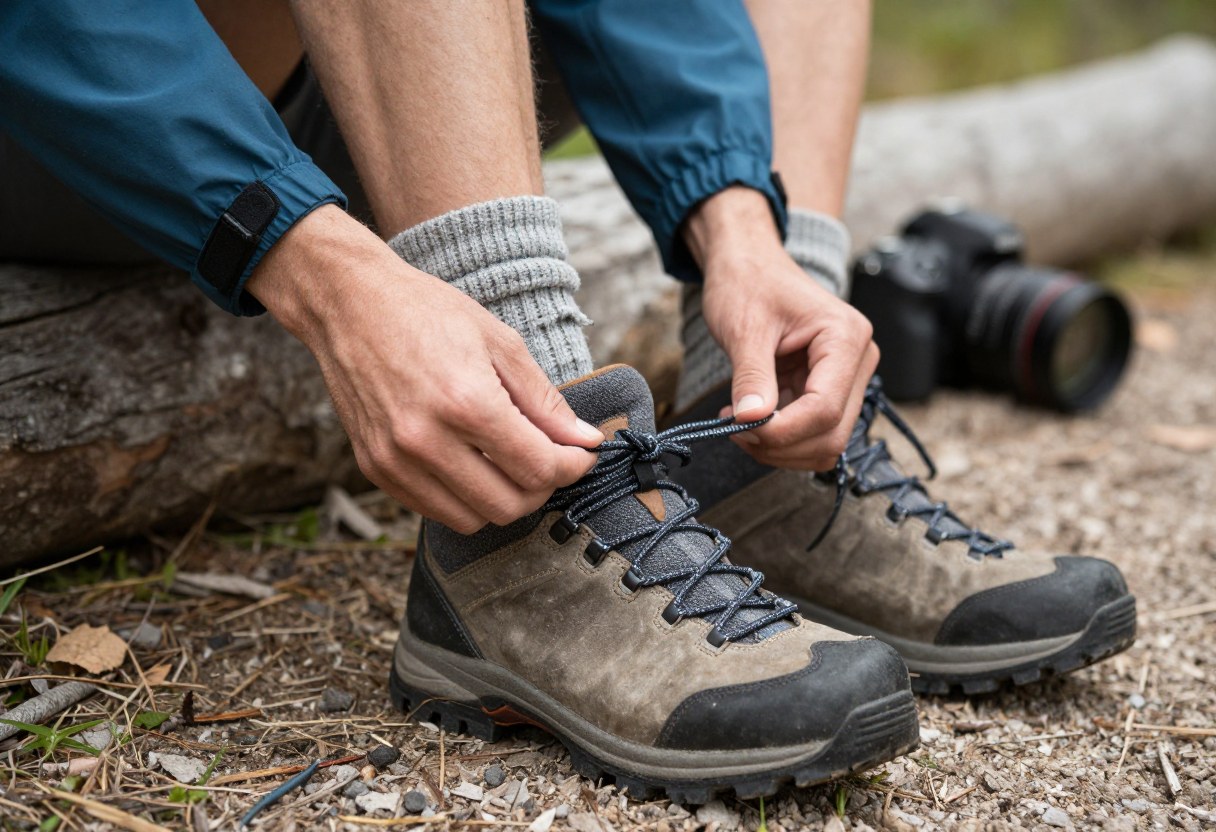
- Lace boots snugly through the ankle and lower leg, especially on descents, to reduce the heel-lift that causes rubbing on downhill stretches — a loose heel is one of the most common preventable causes of heel blisters specifically.
- Trim toenails before a hike to reduce pressure and rubbing at the toes, particularly on long descents where toes push forward into the front of the boot.
- Some hikers pre-tape known hot-spot areas (heels, small-toe sides) before the hike even starts, rather than waiting for a hot spot to appear — worth trying if you already know your own problem areas from past hikes.
4. Catching a Hot Spot Before It Becomes a Blister
- A "hot spot" — localized warmth or mild irritation, before any real pain — is your window to act. Stopping to address it at this stage takes two minutes; waiting until it's a blister can cost you the rest of the hike.
- Stop as soon as you feel one, even if it means holding up the group briefly. This is genuinely one of the highest-value habits in this entire guide.
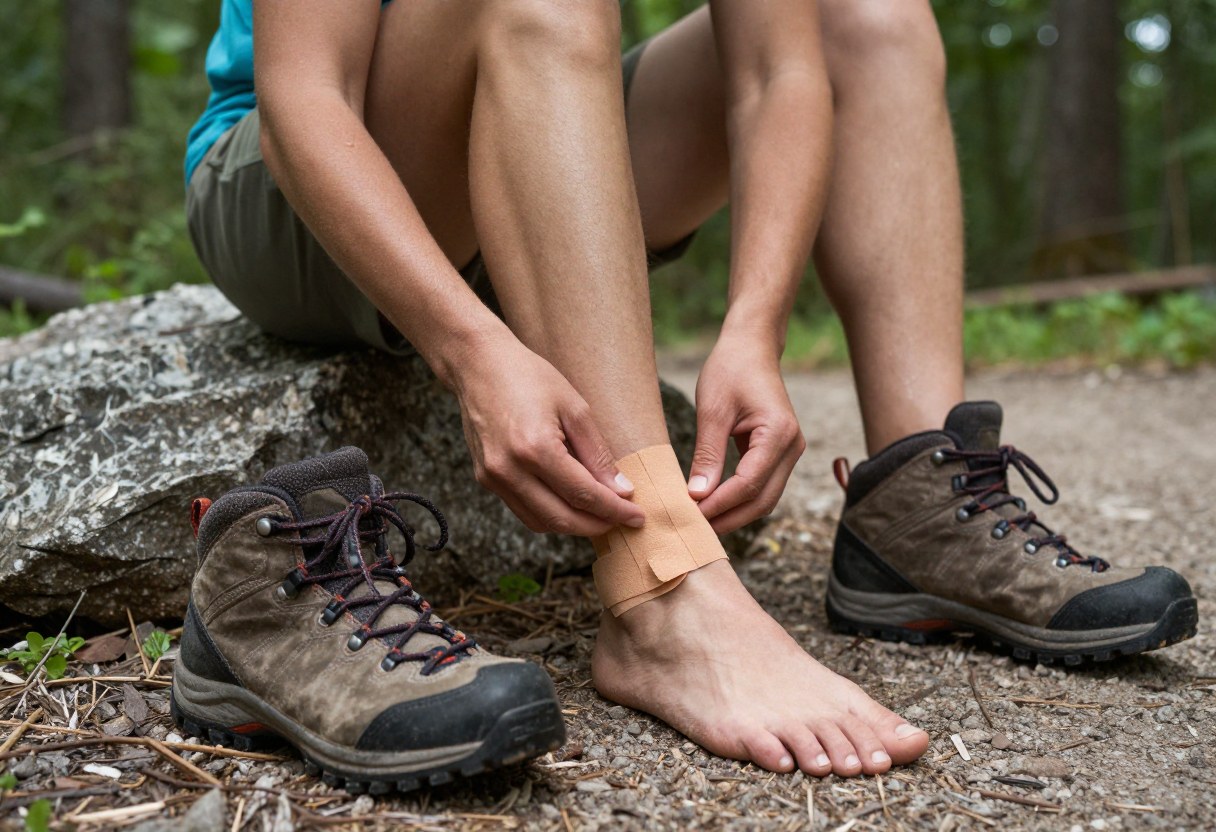
- Cover the hot spot with tape (athletic tape or a specialized blister-prevention tape) or moleskin before it progresses. A smooth-surfaced tape applied directly over the spot, smoothed down with no wrinkles, reduces further friction on that exact area.
Don't Skip This: The habit that prevents the most blisters isn't a piece of gear — it's actually stopping the moment you feel a hot spot, rather than deciding it's "probably fine" and continuing for another mile. Almost every bad blister started as a hot spot someone chose to ignore.
5. Treating a Blister That's Already Formed
- If a blister is small and unbroken, it's often better left intact — the skin over it is protecting the raw tissue underneath from infection. Cover it with a padded blister bandage or moleskin with a hole cut around it to relieve pressure, rather than popping it.
- If a blister is large, painful, and likely to burst on its own from continued walking anyway, draining it carefully can relieve pressure: clean the area, sterilize a needle (flame or alcohol), puncture at the edge, gently press out the fluid, and leave the overlying skin in place as a natural bandage rather than removing it.
- Clean the area and apply antibiotic ointment before covering, whether the blister is intact or drained, and change the dressing if it gets wet or dirty.
- Watch for signs of infection — increasing redness, warmth, swelling, or pus — over the following days, and seek medical care if these appear, especially on a multi-day trip where you can't easily get to care quickly.
6. What to Carry
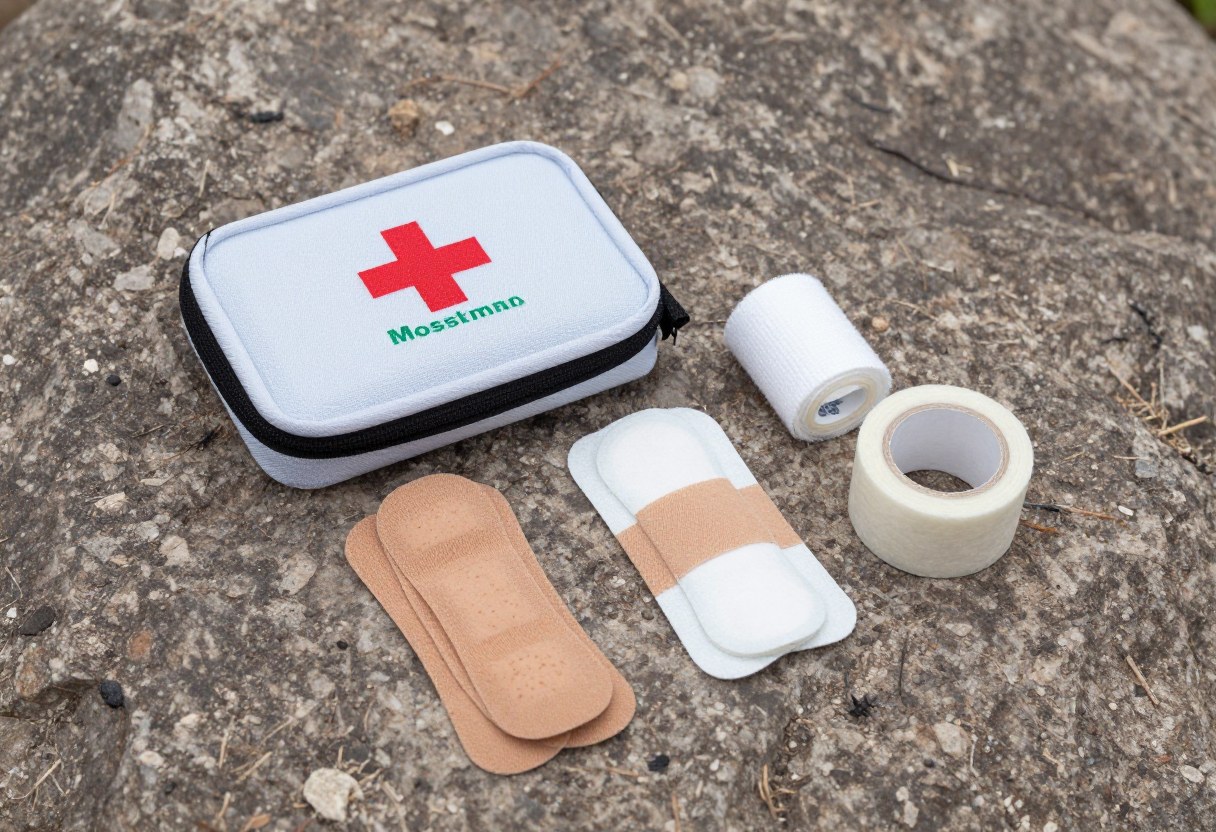
- Moleskin or specialized blister bandages (like hydrocolloid patches) for both prevention on hot spots and treatment on formed blisters.
- A small roll of athletic or medical tape, which is more versatile than pre-cut bandages for oddly shaped or larger hot spots.
- A small pair of scissors and alcohol wipes or hand sanitizer, for cutting moleskin to shape and sterilizing skin or a needle before draining a blister.
- A backup pair of dry socks, which does double duty as blister prevention and general foot comfort on longer hikes.
Quick Decision Checklist
- I tried on my boots later in the day, wearing the actual socks I'll hike in
- I'm wearing wool or synthetic socks, not cotton
- I've broken in new footwear on short walks before this trip
- I have moleskin or blister tape, plus a backup pair of dry socks, in my pack
- I've committed to stopping the moment I feel a hot spot, rather than pushing through it
Glossary
- Hot Spot: Localized skin irritation or warmth from friction, occurring before an actual blister forms — the point at which prevention is fastest and easiest.
- Moleskin: A soft, adhesive-backed fabric padding used to cushion and protect hot spots and blisters from further friction.
- Hydrocolloid Patch: A gel-forming adhesive bandage that cushions a blister and maintains a moist healing environment, commonly used for blister treatment.
Final Takeaway
Blisters are almost always preventable — properly fitted footwear tried on with real hiking socks, non-cotton socks, and a genuine commitment to stopping at the first hot spot will eliminate the large majority of blisters before they ever form. When one does form anyway, treating it cleanly and covering it properly is usually enough to keep hiking rather than ending the trip early.
Individual foot shape, footwear fit, and skin sensitivity vary — if you blister consistently despite following this guide, a specialty outdoor retailer's boot-fitting service or a podiatrist can help identify a fit or gait issue a general guide can't diagnose.