
Essential Fishing Knots Every Angler Should Know
The handful of knots that cover almost every situation you'll run into on the water, with when to use each one.
Published August 11, 2026
Why Knots Matter More Than Beginners Expect
A rod, reel, and line combo is only as strong as the knot connecting them to your hook, lure, or leader. More lost fish come down to a failed or poorly-tied knot than almost any other single cause — and the frustrating part is that it's entirely preventable with practice. This guide covers a small set of knots that, together, handle the overwhelming majority of situations any angler will run into, rather than trying to teach every knot that exists. Learn these well before adding specialty knots to your repertoire.
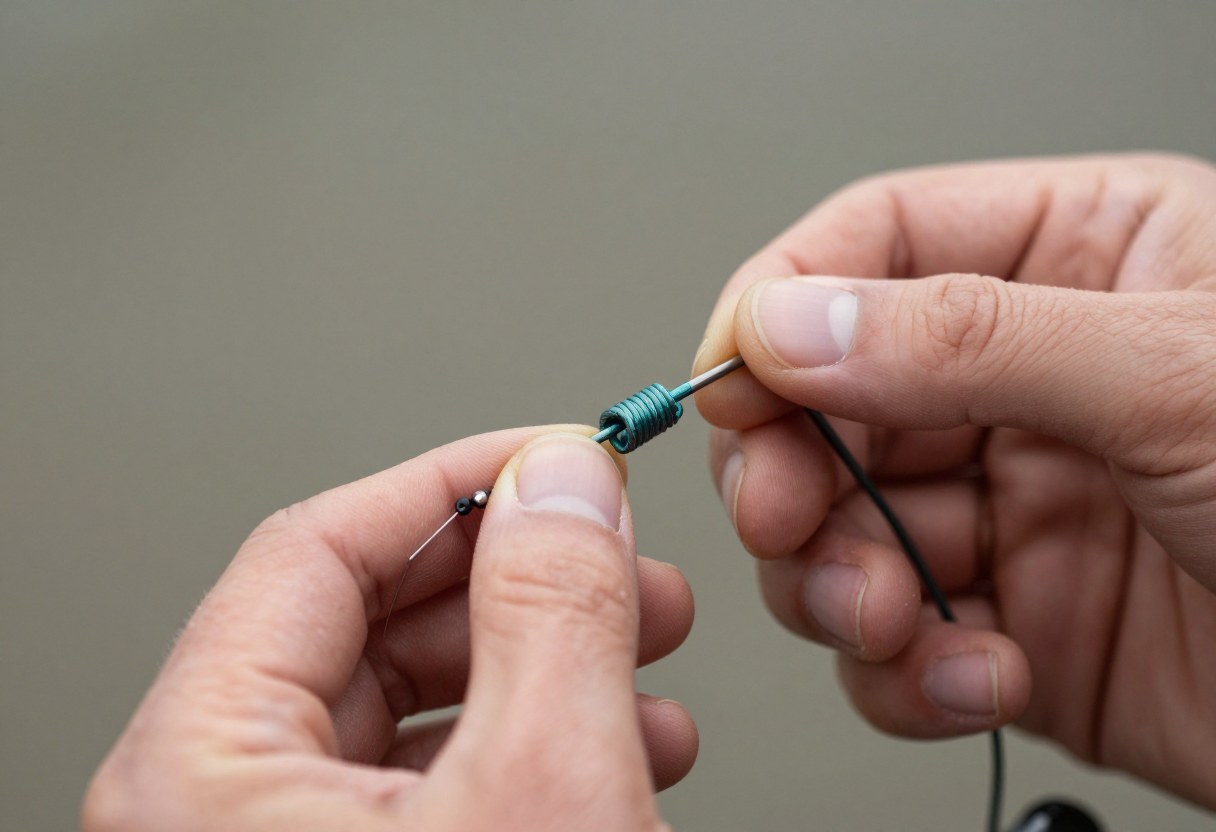
1. Knot-Tying Fundamentals That Apply to Every Knot Here
A few habits matter across every knot type, and skipping them is the most common reason a "correctly tied" knot still fails:
- Moisten the knot before cinching it tight (saliva or water). Friction from tightening dry generates heat that weakens line, especially fluorocarbon, which is more prone to this than mono or braid.
- Cinch down slowly and steadily, not with a single hard yank — an uneven pull can cause coils to bind unevenly and weaken the knot.
- Trim tag ends close, but not so close that the knot can slip — leave roughly 1/8 to 1/4 inch after trimming.
- Test every knot with a firm pull before fishing it — a knot that's going to fail often does so under this initial test tension, which is far better than finding out on a good fish.
- Retie knots periodically, especially after catching a fish, snagging structure, or extended use — a knot that's been stressed or a section of line with a nick nearby is weaker than fresh line and a fresh knot.
- Braid needs different handling than mono/fluoro. Braid's slick surface causes standard knots to slip; braid-specific or braid-friendly knots (several below work well with braid) and often extra wraps are needed for a secure hold.
2. The Improved Clinch Knot
What it's for: Tying line directly to a hook, lure, or swivel eye. The single most commonly used general-purpose fishing knot, and a great first knot to learn.
Best with: Monofilament and fluorocarbon. Not ideal for braid, which tends to slip out of a clinch knot's wraps.
How to Tie It
- Thread the line through the hook/lure eye, leaving several inches of tag end.
- Wrap the tag end around the standing line 5–7 times (more wraps for lighter line, fewer for heavier line).
- Thread the tag end back through the small loop formed just above the eye.
- Then thread the tag end through the larger loop you just created (this is the "improved" step that distinguishes it from a basic clinch knot, adding security).
- Moisten and slowly cinch the knot down, sliding the coils neatly against the eye.
- Trim the tag end close.
Why it works: The multiple wraps distribute tension across several points of friction rather than a single point, and the "improved" double-loop step locks the wraps in place, reducing slippage under sudden pressure.
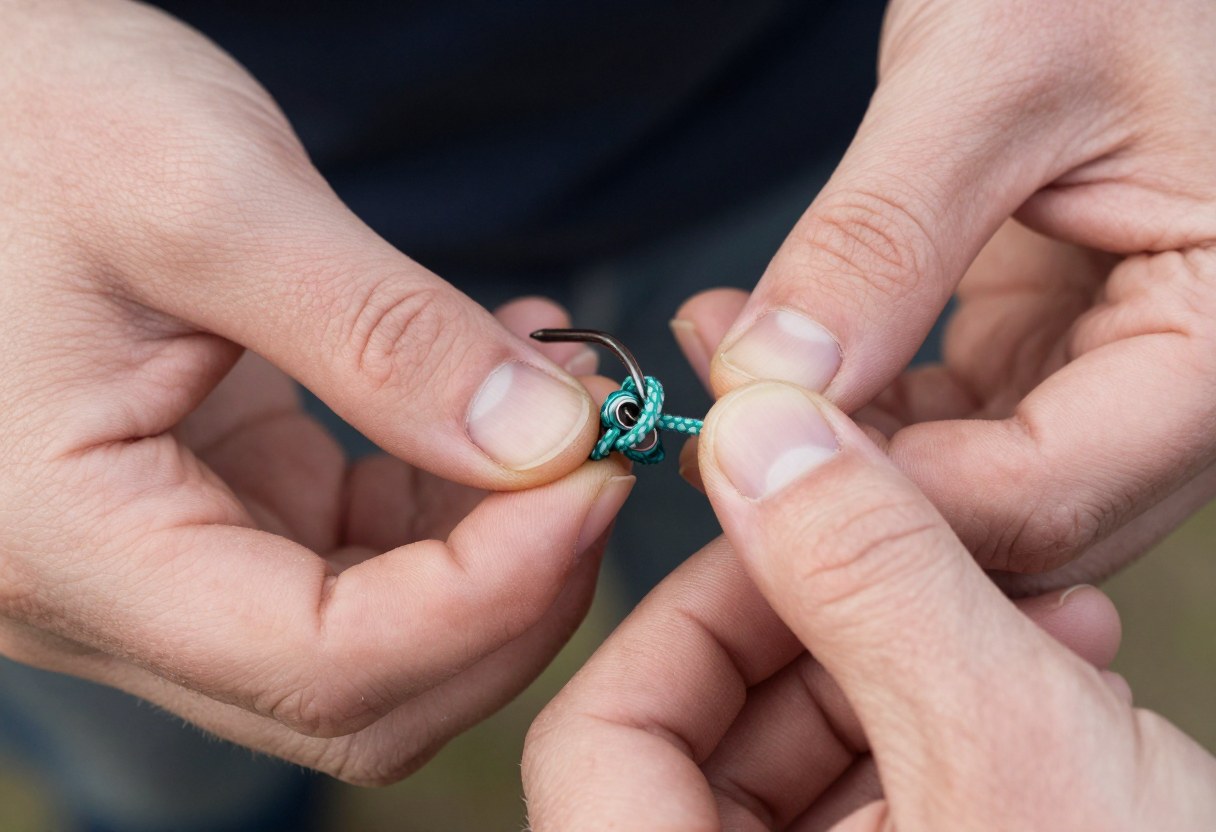
3. The Palomar Knot
What it's for: Tying line to a hook, lure, or swivel — widely considered one of the strongest and most reliable general knots, and the standard recommendation for braid specifically.
Best with: Braid (its top use case), but works equally well with mono and fluorocarbon, making it a genuinely versatile choice.
How to Tie It
- Double about 6 inches of line and pass the folded loop through the hook/lure eye.
- Tie a simple overhand knot in the doubled line, letting the hook/lure hang loosely at the bottom — don't cinch it yet.
- Pass the loop end over the hook/lure entirely, so the loop goes around the point and bend of the hook.
- Moisten the knot and pull both the tag end and standing line to slowly cinch it down, seating the knot neatly against the eye.
- Trim the tag end close.
Why it works: The doubled line construction means every part of the knot is reinforced by two strands rather than one, which is a major part of why it holds up so well on braid specifically, where single-strand knots tend to slip.
Don't Skip This: The Palomar knot is a strong default recommendation for beginners specifically because it's simple, consistently strong across all three line types, and forgiving of minor technique variation compared to some other knots. If you only learn one hook/lure knot well, this is a defensible choice.
4. The Uni Knot (and Double Uni for Line-to-Line Connections)
What it's for: An extremely versatile knot — ties line to a hook/lure/swivel, and in its "double uni" form, joins two lines together (such as connecting a braid main line to a fluorocarbon leader).
Best with: Works well across mono, fluorocarbon, and braid, making it one of the most broadly useful knots to know.
How to Tie the Single Uni (Hook/Lure Connection)
- Thread the line through the eye, leaving several inches of tag end, and fold it back alongside the standing line to form a loop.
- Make 5–6 wraps with the tag end around both strands of the loop.
- Moisten and pull the tag end to snug the wraps into a compact knot.
- Slide the knot down toward the eye and cinch fully by pulling the standing line.
- Trim the tag end.
How to Tie the Double Uni (Line-to-Line Connection — e.g., Braid to Fluorocarbon Leader)
- Overlap the ends of the two lines you're joining, running parallel to each other for several inches.
- Using one line's tag end, tie a uni knot (as above) around the other line, making 4–6 wraps, and snug it (don't fully cinch tight yet).
- Repeat with the other line's tag end, tying a uni knot around the first line in the same way.
- Moisten both knots, then pull the two standing lines apart to slide the two uni knots together into one another until they meet and lock.
- Trim both tag ends close.
Why it works: The wrapped-loop structure grips effectively across different line materials and diameters, which is exactly why the double uni is a go-to choice for joining two different types of line, like a braid main line to a fluorocarbon leader.
5. The FG Knot
What it's for: Joining a thin, strong braid main line to a fluorocarbon or monofilament leader — the preferred knot among many serious anglers for this specific connection because it creates an extremely thin, smooth profile that passes through rod guides cleanly on a cast.
Best with: Braid-to-leader connections specifically; it isn't used for tying to a hook or lure directly.
How to Tie It (General Approach)
- Hold the leader material taut (often anchored around a hand, a rod butt, or a specialized tool).
- Wrap the braid tightly around the taut leader in a series of tight, alternating wraps (typically 15–20+ wraps), keeping tension on the braid throughout — this is the technically fussy part of the knot and benefits significantly from practice or a video demonstration before relying on it for a real trip.
- Finish with several locking half-hitches using the braid around the leader to secure the wraps.
- Trim both tag ends close, leaving a very smooth, low-profile connection.
Why it works: The tight friction wraps of braid around the leader create a connection that's both extremely strong and remarkably thin compared to a bulkier knot like the double uni — the thin profile is the main reason anglers who cast often or fish with lighter leaders often prefer it despite the steeper learning curve.
Practical note: The FG knot is genuinely harder to learn from text alone than the other knots in this guide — it's a knot most anglers learn from a video demonstration or in person, then practice repeatedly before trusting it on the water. If the double uni knot is working fine for your fishing, there's no strict requirement to learn the FG knot — it's an upgrade in profile and casting performance, not a necessity.
6. The Loop Knot (Non-Slip Mono Loop / Rapala Knot)
What it's for: Creating a fixed loop at the end of your line rather than cinching tight directly against a lure's eye — this allows the lure to swing and move more freely, improving action for certain presentations, especially topwater lures, jerkbaits, and swimbaits.
Best with: Monofilament and fluorocarbon; less commonly used with braid, though not incompatible.
How to Tie It
- Tie a simple overhand knot in the line several inches from the tag end, without cinching it tight, leaving a loose loop.
- Thread the tag end through the lure's eye.
- Pass the tag end back through the loose overhand knot from step 1.
- Wrap the tag end around the standing line 5–7 times.
- Pass the tag end back through the original overhand loop from step 1 one more time.
- Moisten and cinch down slowly, leaving the loop at the lure's eye rather than pulling it fully snug against the eye itself.
- Trim the tag end.
Why it works: Unlike a clinch or Palomar knot, which pulls tight directly against the lure eye and restricts movement, the loop knot leaves a small fixed loop that lets the lure pivot and move more naturally — a meaningful difference for lures designed to have side-to-side action.
7. The Surgeon's Knot
What it's for: A fast, simple way to join two lines of similar diameter — a common choice for attaching a leader when a quick, easy-to-tie connection matters more than the thinnest possible profile.
Best with: Works across line types, though it's most commonly used for mono-to-mono or mono-to-fluorocarbon leader connections given its simplicity.
How to Tie It
- Overlap the two lines to be joined, running parallel for several inches.
- Treating the two overlapped lines as a single doubled strand, tie an overhand knot, but don't cinch it — pass the ends through the loop again for a double overhand (a stronger, standard version of this knot).
- Moisten and pull all four ends (both tag ends and both standing lines) to cinch the knot evenly and simultaneously.
- Trim tag ends close.
Why it works: It's mechanically simple — essentially an overhand knot tied with two lines treated as one — which is exactly why it's fast to tie, even in poor light or cold hands, at some cost in bulk compared to more refined knots like the FG or double uni.
8. Quick Reference: Which Knot for Which Situation
| Situation | Recommended Knot |
|---|---|
| Tying mono/fluoro directly to a hook or lure | Improved Clinch Knot or Palomar Knot |
| Tying braid directly to a hook or lure | Palomar Knot |
| General-purpose knot that works across line types | Uni Knot |
| Joining braid main line to a fluoro/mono leader (easy version) | Double Uni Knot |
| Joining braid main line to a fluoro/mono leader (thin, casts smoothly) | FG Knot |
| Joining two similar-diameter lines quickly | Surgeon's Knot |
| Attaching a lure that needs free, natural movement (topwater, jerkbait) | Loop Knot (Non-Slip Mono Loop) |
9. Common Knot-Tying Mistakes
- Tying knots dry, without moistening before cinching — the resulting friction heat is a common, avoidable cause of weakened knots that fail under load.
- Not testing the knot before fishing it. A firm pull test after tying catches most failures before they cost you a fish.
- Using the wrong knot for braid. Standard knots that work fine on mono/fluoro can slip on braid's slicker surface — stick to braid-appropriate knots (Palomar, Uni, FG) for braid connections.
- Trimming tag ends too short, risking the knot slipping under pressure since there's no margin left.
- Not re-tying after a fish or a snag. A knot that's taken significant stress, or line near it with a nick, is weaker than fresh material — retie rather than assuming it's still fully sound.
- Rushing the cinch. Pulling a knot tight unevenly or too quickly is a common cause of knots that look fine but fail under real pressure — slow, steady, even tension matters.
- Learning a knot for the first time on the water under pressure. Practice new knots at home, with slack line and no time pressure, before relying on them for a real fishing situation.
10. Practicing Knots Off the Water
- Practice with old line at home, ideally with some slack and good lighting, rather than learning a new knot for the first time on the water.
- Practice tying with cold or wet hands occasionally, since real fishing conditions often aren't ideal — a knot you can only tie in perfect conditions is a real limitation.
- Time yourself occasionally once you're comfortable with a knot — speed matters when fish are actively biting and you don't want to lose fishing time to a slow retie.
- Learn from a video demonstration for knots with more complex wrapping patterns (especially the FG knot) — some knots are genuinely easier to learn by watching hand movement than by reading a step list alone.
Glossary
- Tag End: The short, loose end of line left over after tying a knot, typically trimmed close once the knot is complete.
- Standing Line: The main length of line still connected to the reel, as opposed to the tag end.
- Cinch: The final step of pulling a knot tight and seating its coils/wraps into their finished, secure position.
- Leader: A separate length of line (often a different material than the main line) tied to the terminal end for stealth, abrasion resistance, or bite protection.
- Line-to-Line Knot: A knot designed to join two separate lengths of line together, as opposed to a terminal knot connecting line to a hook or lure.
Final Takeaway
You don't need to know dozens of knots — a small, well-practiced set covers nearly every situation on the water. Learn the Palomar and Improved Clinch knots first for basic hook/lure connections, add the Uni/Double Uni for versatility and leader connections, and pick up the loop knot and FG knot as your fishing gets more technique-specific. The knot matters less than the consistency of tying it correctly every time — a simple knot tied well beats a complex knot tied poorly.
Knot strength and appropriate use can vary somewhat by line brand, diameter, and material — when in doubt, test a new knot's strength with a firm pull before trusting it on the water, and don't hesitate to ask experienced anglers or a local tackle shop for hands-on demonstration of any knot in this guide.