Choosing Hiking Boots
Terrain, support level, and fit — how to pick boots that actually feel good ten miles in.
Published August 19, 2026
Why Boots That Feel Fine in the Store Can Fail on Mile Eight
A boot can feel completely comfortable standing in a store for five minutes and still cause blisters, hot spots, or genuine pain ten miles into a real hike — foot swelling over the course of a day, the actual mechanics of walking on uneven terrain with a loaded pack, and the difference between standing still and repetitive motion all reveal fit and support issues a quick try-on doesn't catch. This guide covers how to match boot type to terrain and load, and how to actually evaluate fit in a way that predicts real trail performance rather than just store comfort.
1. Footwear Categories: Trail Runners, Hiking Shoes, and Boots
| Category | Ankle Support | Weight | Best For |
|---|---|---|---|
| Trail runners | None (low-top) | Lightest | Day hikes, light loads, well-maintained trails, warm-weather trips |
| Hiking shoes | Low-cut, minimal ankle support | Light-moderate | Day hikes and light backpacking on moderate terrain |
| Mid-cut hiking boots | Moderate ankle support | Moderate | The versatile default for general hiking and backpacking with a moderate load |
| Full hiking boots (high-cut) | Full ankle support | Heaviest | Heavy backpacking loads, rough/uneven terrain, winter conditions |
There's a genuine, ongoing debate among experienced hikers about how much ankle support actually matters — some research suggests ankle support provides less injury prevention than commonly assumed, while proprioception (foot/ankle awareness) and general leg strength may matter more. In practice, most beginners are well served by a mid-cut boot as a reasonable middle ground while they build experience and develop their own preference.
2. Matching Footwear to Terrain and Load
- Well-maintained trails, day hikes, light pack: Trail runners or hiking shoes are often the more comfortable, less fatiguing choice — less weight on your feet meaningfully reduces energy expenditure over a full day.
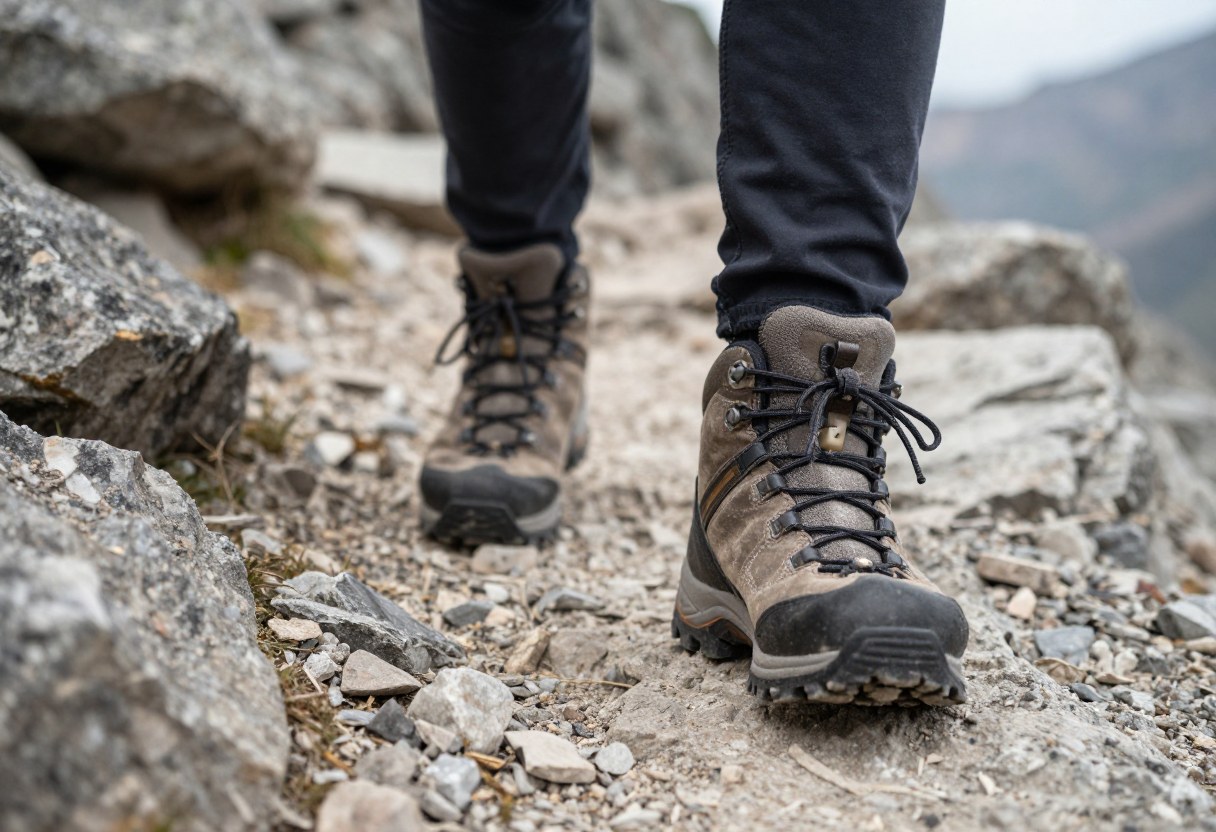
- Rough, rocky, or uneven terrain: A mid-cut or full boot with a stiffer sole provides more protection and support, reducing fatigue from constantly adjusting to an unstable surface.
- Heavy backpacking loads (multi-day trips with a loaded pack): Full boots with more structure and support become more valuable as pack weight increases, since a heavier load changes your body's stability demands and increases the consequence of a rolled ankle.
- Winter or snow conditions: Insulated, waterproof full boots (sometimes with crampon compatibility for more technical winter travel) are typically necessary rather than optional.
3. Waterproof vs. Non-Waterproof
| Type | Pros | Cons |
|---|---|---|
| Waterproof (Gore-Tex or similar membrane) | Keeps feet dry in wet conditions, rain, or shallow stream crossings | Less breathable, can trap sweat/heat in warm conditions, dries slowly once actually saturated |
| Non-waterproof | More breathable, dries faster if it does get wet | Feet get wet directly in rain or stream crossings |
Waterproof boots are the better default for cooler, wetter climates and shoulder-season hiking; non-waterproof (or trail runners, which are rarely waterproof) are often preferred for hot-weather hiking or trips with frequent stream crossings, where staying dry is less realistic anyway and breathability/fast-drying matters more than a waterproof membrane that will eventually get overwhelmed regardless.
4. Sole Stiffness and Traction
- Stiffer soles provide more support and protection on rocky, uneven terrain and under heavier loads, but feel less flexible and natural on smooth, easy trail.
- More flexible soles feel more natural and comfortable on easier terrain and lighter loads, but provide less protection on rough or rocky ground.
- Lug pattern and depth (the tread pattern) affects traction — deeper, more aggressive lugs grip better in mud and loose terrain, while a shallower pattern may suffice for maintained trails.
- Match sole stiffness to your typical terrain and load rather than assuming stiffer is always better — an overly stiff boot on easy terrain is uncomfortable and unnecessary, just as a too-flexible boot on rough terrain under a heavy pack leaves you under-supported.
5. Fit: The Single Most Important Factor
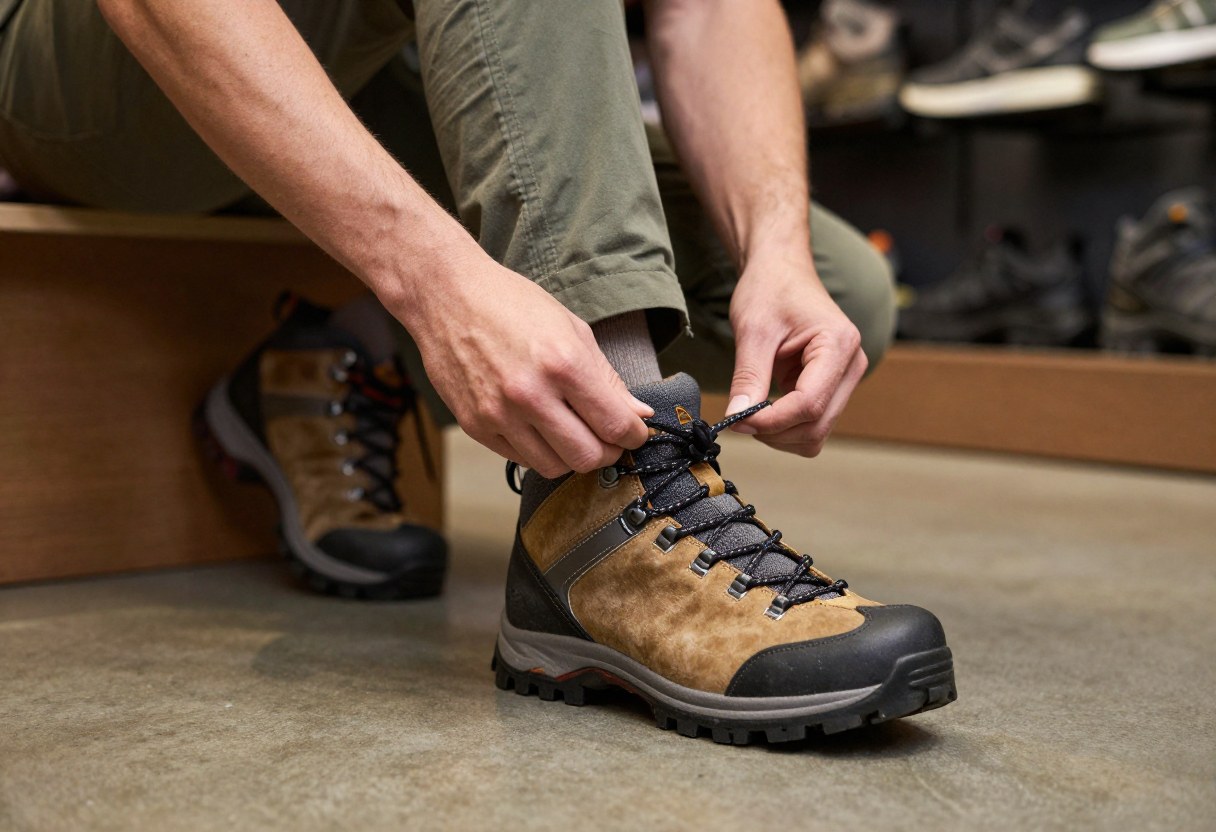
- Try on boots at the end of the day, or after a walk, when your feet are naturally at their largest — feet swell over the course of a day and with activity, and trying boots on first thing in the morning can lead to sizing that feels fine in the store but too tight on the trail.
- Wear the same sock weight you'll actually hike in when trying on boots, since sock thickness meaningfully changes fit.
- Check toe room specifically for downhill movement — stand on an incline (many stores have a small ramp for this) or at minimum press your toes forward in the boot; there should be room so toes don't jam into the front on descents, a common and preventable cause of black toenails.
- Check heel lock — your heel shouldn't lift significantly out of the boot with each step, since heel slippage is one of the most common causes of blisters.
- Walk around for a genuinely meaningful amount of time (not just a few steps) before deciding on fit, ideally on any incline or uneven surface available in the store.
Don't Skip This: Toe room for downhill movement and secure heel lock are the two fit factors most responsible for the injuries and discomfort beginners actually experience on the trail (jammed toes/black toenails, and heel-slip blisters). A boot that fits fine standing flat can still fail on both counts once you're actually hiking varied terrain.
6. Breaking In New Boots
- Wear new boots on short walks or errands before a real hike, letting the material begin to flex and mold to your foot in a low-stakes setting.
- Gradually increase distance over several short outings rather than jumping straight to a long hike in brand-new boots.
- Stiffer, more structured boots generally need more break-in time than flexible trail runners or hiking shoes, which often need little to no real break-in period.
- Never wear genuinely new, unbroken-in boots on a long or remote hike for the first time — this is one of the most common, entirely preventable causes of a miserable, blister-plagued trip.
7. Materials
- Full-grain leather: Durable, water-resistant, molds well over time, but heavier and requires more break-in than synthetic materials.
- Synthetic/mesh uppers: Lighter, more breathable, often requires less break-in, but generally less durable over the long term than quality leather.
- Suede/nubuck leather: A middle ground — lighter than full-grain leather, reasonably durable, moderate break-in requirement.
8. Common Hiking Boot Buying Mistakes
- Choosing footwear category based on assumed need rather than actual typical terrain and load — over-buying heavy boots for easy day hikes, or under-buying support for genuinely rough, heavy-load trips.
- Trying boots on first thing in the morning, missing how they'll actually fit once feet swell over a real hiking day.
- Not wearing hiking-weight socks during the fitting process, leading to a fit that's inaccurate for actual trail use.
- Ignoring toe room on downhill movement, a leading cause of preventable black toenails and jammed-toe discomfort.
- Skipping break-in before a real trip, especially with stiffer, more structured boots that need genuine break-in time.
- Choosing waterproof boots for consistently hot, dry conditions where breathability matters more, or vice versa for consistently wet, cool climates.
Quick Decision Checklist
- I've matched footwear category (trail runner through full boot) to my typical terrain and pack load, not the heaviest option "to be safe"
- I've decided on waterproof vs. non-waterproof based on my actual climate and trip conditions
- I've considered sole stiffness relative to my typical terrain and load
- I tried boots on later in the day or after activity, wearing my actual hiking sock weight
- I've specifically checked toe room on a decline and heel lock while walking, not just standing fit
- I have a break-in plan (short walks building to longer ones) before relying on new boots for a real hike
Glossary
- Mid-Cut Boot: A hiking boot with moderate ankle coverage, a common versatile default between low-cut shoes and full high-cut boots.
- Heel Lock: How securely a boot holds the heel in place during walking, with poor heel lock being a leading cause of blister-inducing friction.
- Lug Pattern: The tread design on a boot's sole, affecting traction on different terrain types (mud, loose dirt, rock).
- Break-In Period: The process of gradually wearing new boots on shorter outings to let the material flex and mold to the foot before relying on them for a demanding hike.
Final Takeaway
The right hiking boot matches your actual typical terrain and pack load rather than defaulting to the heaviest, most supportive option available, and fit — evaluated later in the day, with real hiking socks, checking toe room on descents and heel lock while walking — matters more than any single spec on the box. Break new boots in gradually before a real trip, and remember that a boot's true test isn't how it feels standing in a store, but how it feels ten miles into a real hike.
Foot shape, gait, and personal preference vary significantly between hikers — treat this guide's category and fit guidance as a starting framework, and prioritize your own fit experience over general recommendations when the two conflict.