
Choosing and Using Trekking Poles
Why trekking poles matter more than most beginners expect, and how to size and use them correctly.
Published August 19, 2026
Why Trekking Poles Are More Than Optional Extra Gear
Trekking poles look simple enough to dismiss as an optional accessory, but the research and real-world experience behind them tells a different story — they meaningfully reduce impact load on your knees, especially on descents, improve stability on uneven or slick terrain, and can measurably reduce overall fatigue on longer days by engaging your upper body to share the workload. Beginners who skip poles often don't realize what they're missing until they try a genuinely steep or long descent with and without them. This guide covers how to choose the right poles and — just as important — how to size and use them correctly, since poorly adjusted poles undercut most of their real benefit.
1. What Trekking Poles Actually Help With
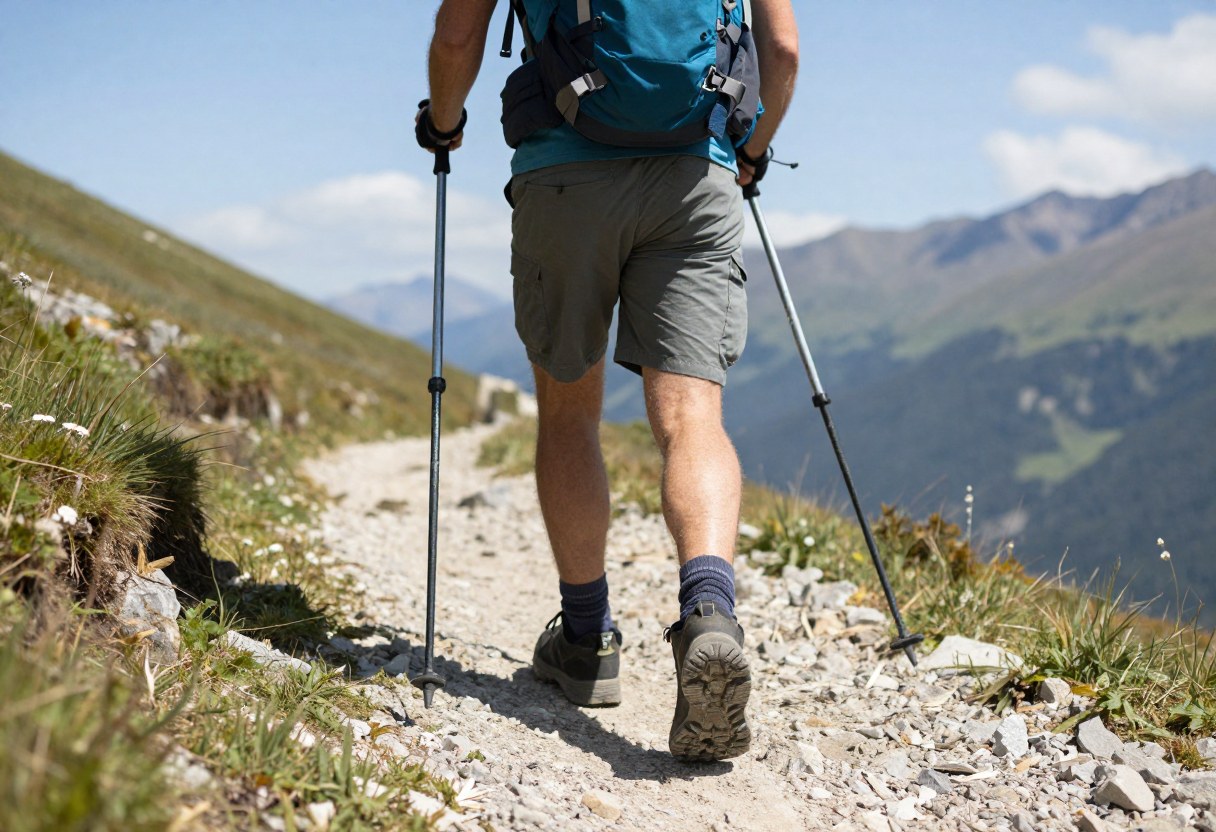
- Reduced knee and joint impact, especially on descents — studies have found meaningful reductions in compressive force on the knees when using poles correctly on downhill terrain, which matters most on long descents or for anyone with existing knee sensitivity.
- Improved stability and balance on uneven terrain, stream crossings, or loose/slick surfaces, giving you two additional points of contact with the ground.
- Reduced fatigue on long days, since poles let your arms and upper body share some of the propulsive work, particularly noticeable on sustained climbs.
- A tent/shelter pole option for some ultralight trekking-pole-supported tent designs, giving poles a genuine dual-purpose function for backpackers using that shelter style.
2. Fixed-Length vs. Adjustable Poles
| Type | Pros | Cons |
|---|---|---|
| Fixed-length | Lighter, simpler, fewer failure points | Can't adjust for uphill/downhill terrain or share between different-height users |
| Adjustable (twist-lock or lever-lock) | Adjustable for terrain and user height, more versatile | Slightly heavier, locking mechanism is a potential (if uncommon) failure point |
For most beginners, adjustable poles are the more practical choice — the ability to shorten poles for climbs and lengthen them for descents is a genuine functional benefit, not just a nice-to-have, and adjustable poles accommodate multiple users of different heights if poles are shared within a household or group.
3. Lever-Lock vs. Twist-Lock Adjustment Mechanisms
- Lever-lock (flip-lock): An external clamp mechanism, generally considered more reliable and easier to adjust with gloved hands or cold fingers, and easier to visually confirm is properly secured.
- Twist-lock: An internal expanding mechanism, twisted to secure length — can be more prone to slipping under load if not tightened correctly, and can be harder to adjust with cold or gloved hands.
- For most beginners, lever-lock mechanisms are the easier, more forgiving choice, particularly for anyone hiking in cold conditions or with less hand dexterity/strength.
4. Materials: Aluminum vs. Carbon Fiber
| Material | Weight | Durability | Cost |
|---|---|---|---|
| Aluminum | Heavier | Bends under extreme stress rather than snapping — often more field-repairable | Lower cost |
| Carbon fiber | Lighter | Stiffer, but can snap suddenly under extreme lateral stress rather than bending | Higher cost |
Aluminum is a reasonable, durable default for most beginners and general use; carbon fiber is worth the added cost primarily for weight-conscious backpackers doing significant mileage where every ounce matters more than the marginal durability tradeoff.
5. Grip and Strap Design
- Cork grips mold to your hand shape over time, wick moisture well, and are a popular higher-end choice, though they can wear down over years of heavy use.
- Foam grips are lightweight and comfortable, absorbing sweat reasonably well, generally at a lower cost than cork.
- Rubber grips are more durable and provide better insulation in cold weather (useful for winter use) but can be less comfortable and more prone to blistering during high-sweat conditions.
- Extended grips (foam or cork extending down the pole shaft) let you choke up on the pole for steep sections without needing to readjust length — a genuinely useful feature for terrain with frequent short, steep transitions.
- Adjustable wrist straps, properly used (see Section 7), help transfer some load through your wrist rather than requiring a tight grip the entire time, reducing hand fatigue.
6. Sizing and Adjusting Poles Correctly
- General starting point: With the pole tip on the ground and your elbow bent at roughly a 90-degree angle, the grip should be at roughly hand height when your arm hangs naturally at that angle — this is a reasonable default length for flat terrain.
- Shorten poles for uphill climbing (often by a few inches/several centimeters), which keeps your arm from having to reach up awkwardly on each plant and lets you push off more effectively.
- Lengthen poles for downhill descents, providing more reach and stability without excessive forward lean, which is exactly where poles provide the most real knee-protection benefit.
- Readjust as terrain changes significantly rather than leaving poles at one fixed length for an entire hike with major elevation changes — this is one of the most commonly skipped steps that reduces how much benefit poles actually provide.
Don't Skip This: Most beginners set trekking poles to one length and leave them there for an entire hike, missing a meaningful part of what makes poles effective. Shortening for climbs and lengthening for descents takes just a few seconds with adjustable poles and makes a real, noticeable difference in how much the poles actually help.
7. Proper Wrist Strap Use
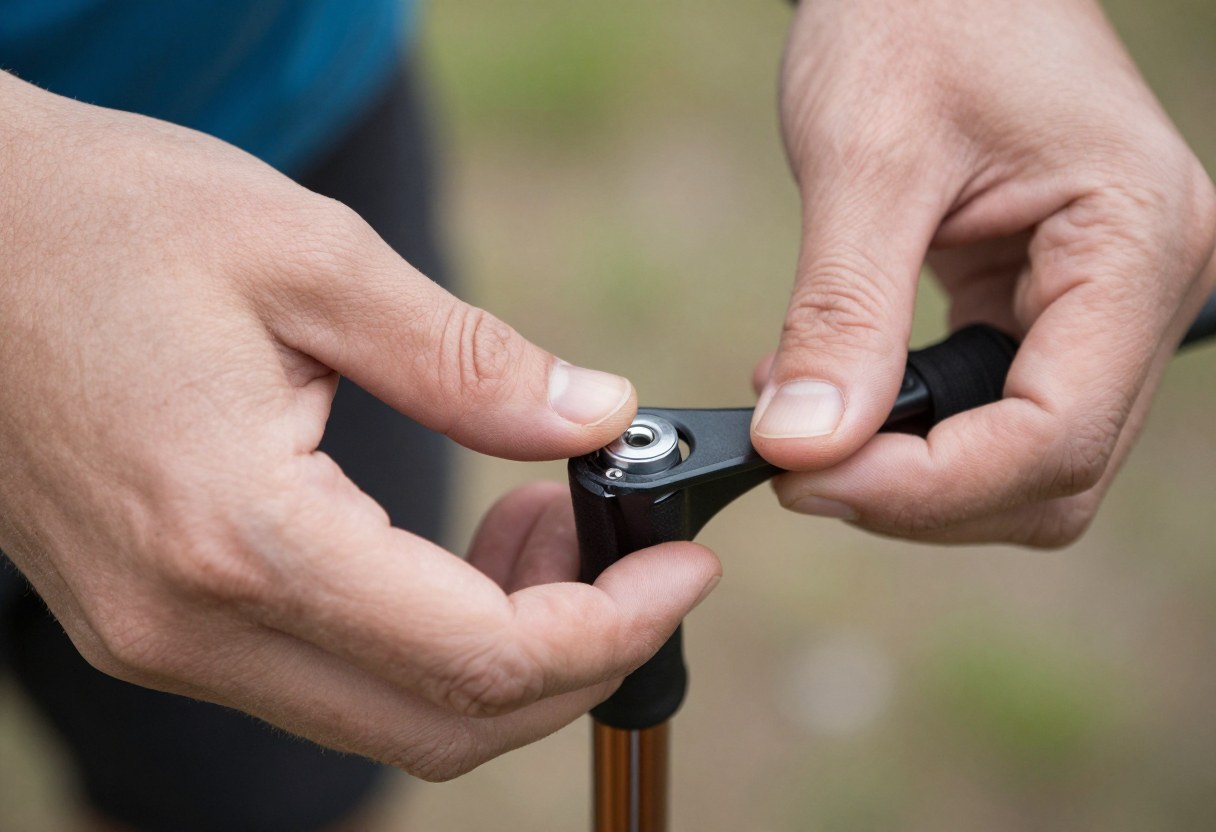
- Bring your hand up through the strap from underneath, so the strap crosses your wrist, rather than just gripping the strap alongside the pole grip.
- Then grip the pole grip and strap together — this lets the strap bear some of the load through your wrist rather than requiring your hand to grip tightly the entire time.
- Adjust strap tightness so it's snug but not restrictive — too loose defeats the purpose, too tight is uncomfortable and restricts circulation over a long hike.
- Release your grip (not the strap) on technical or exposed terrain where you might need to quickly let go of a pole without it sliding away, since the properly worn strap keeps the pole attached to your hand even with an open grip.
8. Basic Trekking Pole Technique
- Natural opposite-arm rhythm: Plant the pole roughly in sync with your opposite-side foot (left pole with right foot forward), similar to natural arm swing while walking, rather than both poles moving in an unnatural unison.
- Plant poles slightly ahead and to the side on flat/uphill terrain, using them to help push your body forward and upward.
- On descents, plant poles slightly ahead of your body to catch and control your weight before your leading foot fully commits, which is where much of the knee-protection benefit comes from.
- On stream crossings or unstable terrain, use poles more deliberately as a "third and fourth leg," testing footing and providing extra stability points before committing your full weight to a step.
9. Common Trekking Pole Mistakes
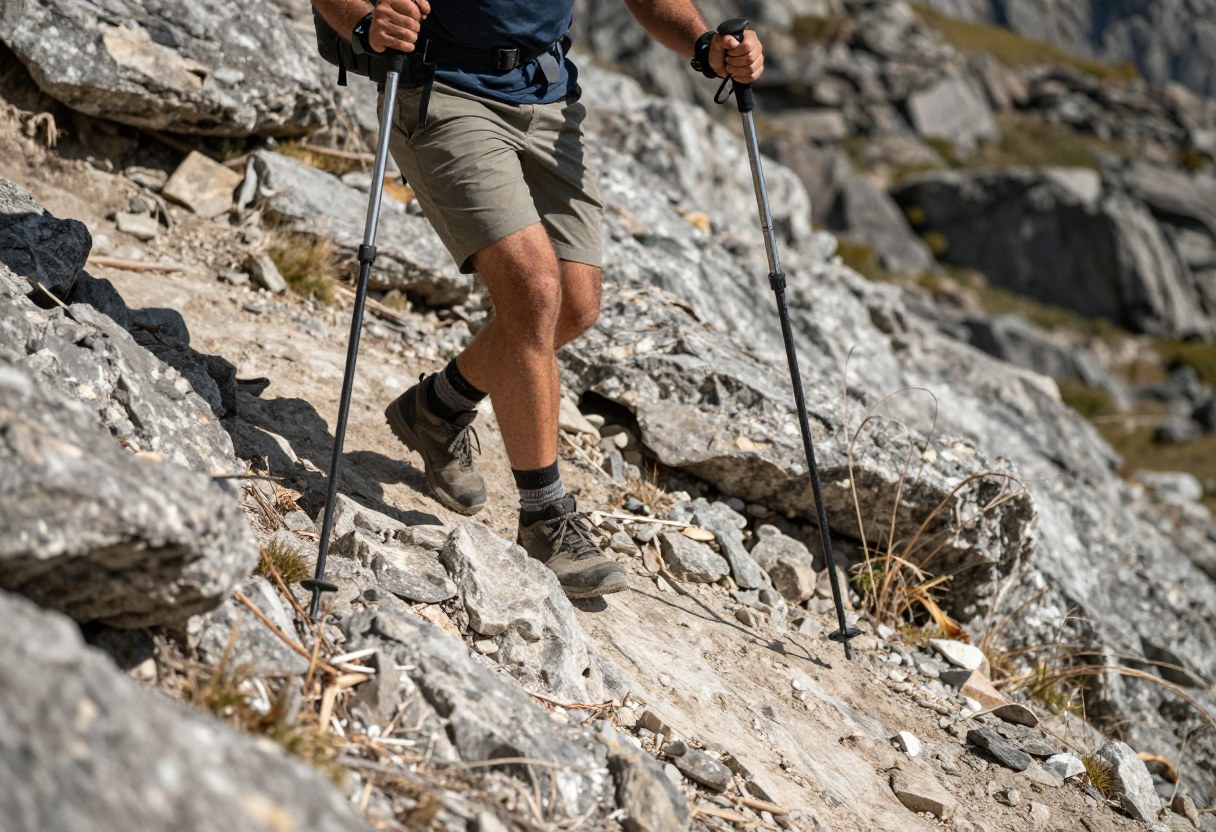
- Leaving poles at one fixed length regardless of terrain, missing the real benefit of shortening for climbs and lengthening for descents.
- Gripping the strap incorrectly (or not using it at all), missing the wrist-load-sharing benefit and adding unnecessary hand fatigue.
- Planting poles too far ahead or behind the body, reducing their stabilizing effectiveness compared to a natural, close-to-body planting rhythm.
- Choosing carbon fiber poles primarily for weight savings without needing it, paying a premium and accepting a sudden-failure risk profile that isn't necessary for casual or moderate use.
- Not practicing with poles on moderate terrain before relying on them for a genuinely challenging hike, missing the chance to build natural rhythm and technique in a lower-stakes setting.
- Buying twist-lock poles without testing the mechanism with gloves on, if cold-weather use is a realistic scenario, and discovering adjustment difficulty in the field instead of before buying.
Quick Decision Checklist
- I've chosen adjustable poles over fixed-length for terrain versatility, unless I have a specific reason for fixed-length
- I've chosen lever-lock mechanisms if I expect to adjust poles with cold or gloved hands often
- I've matched material (aluminum vs. carbon fiber) to my priority between cost/durability and weight savings
- I've sized my poles correctly for flat terrain as a baseline, and know how to adjust for climbs and descents
- I understand and use the wrist strap correctly, bringing my hand up through it before gripping
- I've practiced basic pole rhythm and technique on moderate terrain before a more demanding hike
Glossary
- Lever-Lock (Flip-Lock): An external clamp adjustment mechanism for trekking pole length, generally more reliable and glove-friendly than twist-lock designs.
- Twist-Lock: An internal expanding adjustment mechanism for trekking pole length, requiring proper tightening to avoid slipping under load.
- Extended Grip: A grip design extending down the pole shaft, allowing a hiker to "choke up" on the pole for short steep sections without readjusting length.
- Load Sharing (Wrist Strap): Using a properly worn wrist strap to transfer some pole-load-bearing through the wrist rather than requiring a constant tight hand grip.
Final Takeaway
Trekking poles provide real, measurable benefits — reduced joint impact on descents, better stability, and reduced overall fatigue — but only when sized and used correctly. Choose adjustable poles for most general use, learn to actually adjust length for climbs versus descents rather than leaving them fixed, and use the wrist strap properly so your hand isn't doing all the gripping work. The poles themselves matter less than learning to use them well.
Personal terrain, pack weight, and physical factors affect how much benefit trekking poles provide for a given hiker — treat this guide's technique recommendations as a starting point to adjust based on your own experience over time.