
Choosing a Camping Backpack
Capacity, fit, and frame type explained so you pick the right pack for day trips or multi-day treks.
Published August 19, 2026
Why Fit Matters More Than Any Spec on the Label
A backpack's capacity, weight, and features all matter, but none of them matter as much as fit — an ill-fitting pack turns even a moderate load into a genuinely miserable, sometimes injury-causing experience, while a well-fitted pack lets you carry real weight comfortably for hours. This guide covers capacity sizing, frame type, and — most importantly — how to actually evaluate fit, so you buy a pack that works with your body rather than against it.
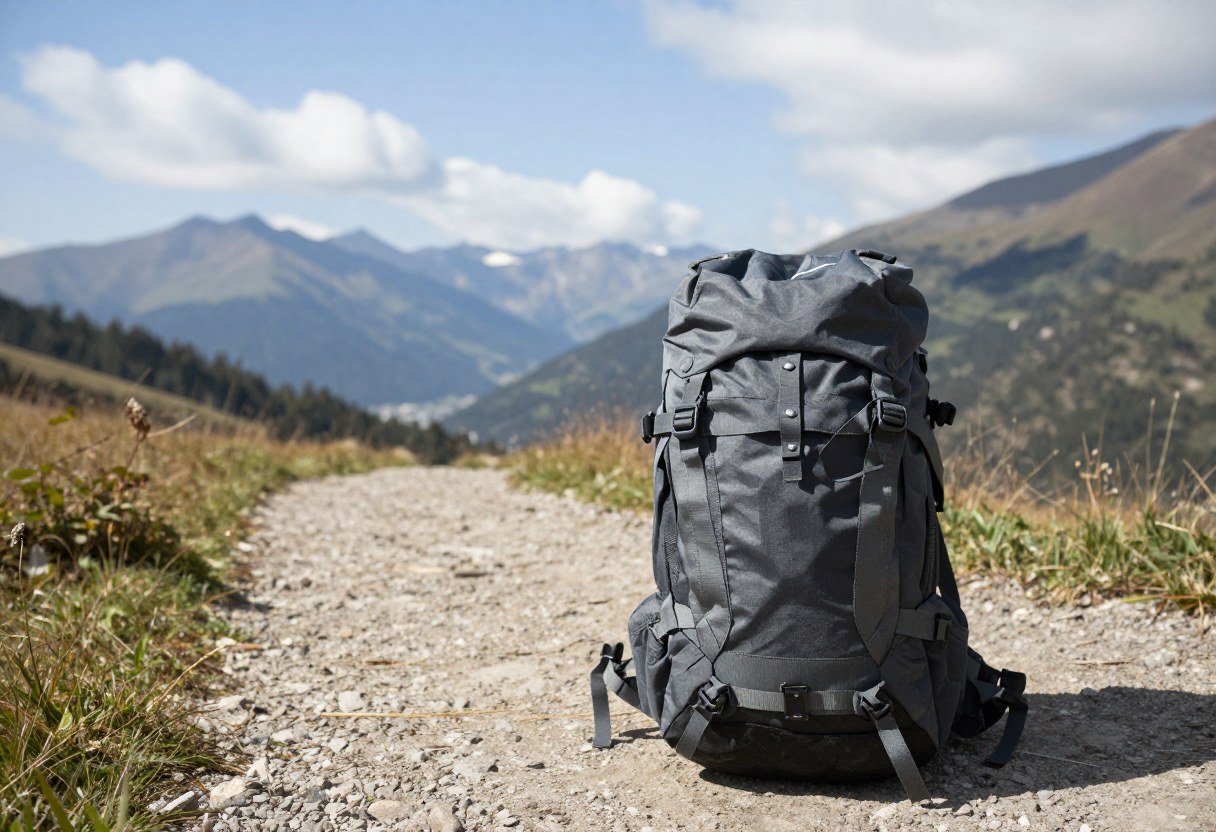
1. Capacity: Matching Liters to Trip Length
Backpack capacity is measured in liters, and the right size depends primarily on trip duration and season, not just personal preference.
| Trip Type | Typical Capacity Range |
|---|---|
| Day hiking | 15–30 liters |
| Overnight to 2-night trip | 30–50 liters |
| 3–5 night trip | 50–65 liters |
| Extended trip (5+ nights) or winter camping (bulkier gear) | 65–80+ liters |
A pack that's too large for the trip tends to get overpacked — extra space gets filled with items you don't actually need, adding unnecessary weight. Choosing an appropriately sized pack for your typical trip length is itself a form of weight discipline.
2. Internal Frame vs. External Frame vs. Frameless
| Frame Type | How It Works | Best For | Tradeoffs |
|---|---|---|---|
| Internal frame | Frame integrated inside the pack body, close to your back | The standard modern choice for most backpacking, good balance and load transfer | Slightly less ventilation against your back than external frame designs |
| External frame | Frame visible outside the pack body, pack attached to it | Very heavy, irregular loads (less common now, some hunting-specific packs) | Bulkier, less common for standard backpacking, but excellent for carrying heavy/awkward loads like game meat |
| Frameless | No rigid frame, relying on the pack's shape and tight packing for structure | Ultralight backpacking with genuinely light total pack weight | Only comfortable with a light total load; uncomfortable if overloaded since there's no frame to transfer weight to your hips |
For most beginner backpackers, an internal frame pack is the right default choice — it's the most versatile option across trip types and load weights, and what most modern backpacking packs are built around.
3. How Backpacks Actually Carry Weight
Understanding this changes how you should evaluate fit: a well-fitted pack transfers the majority of its weight to your hips, not your shoulders.
- The hip belt should bear roughly 80% of the pack's weight, resting on your actual hip bones (the iliac crest), not sitting up on your waist above them.
- Shoulder straps stabilize the pack and carry the remaining weight, but shouldn't be the primary weight-bearing point — if your shoulders feel like they're doing most of the work, the pack likely isn't fitted or adjusted correctly.
- This is why torso length (not your height) determines the correct pack size — a pack sized to your torso positions the hip belt and shoulder straps correctly relative to your specific body, regardless of how tall or short you are.
4. Measuring Torso Length and Sizing Correctly
- Torso length is measured from the C7 vertebra (the prominent bone at the base of your neck when you tilt your head forward) to the top of your iliac crest (hip bone), typically measured with a soft tape measure, ideally with help from another person.
- This measurement, not your overall height, is what backpack sizing (often labeled S/M/L or by inch ranges) is actually based on — two people of the same height can need meaningfully different pack sizes if their torso lengths differ.
- Most quality backpacks come in multiple sizes specifically because torso length varies independently of height — don't assume a "one-size" or generically sized pack will fit correctly regardless of your measurements.
- Many packs also have adjustable torso length (via a sliding harness system), which adds fitting flexibility, especially useful for a growing teen or if you're between standard sizes.
5. Trying On and Adjusting a Pack
- Load the pack with realistic weight before evaluating fit — an empty pack tells you very little about how it will actually feel loaded.
- Loosen all straps, then put the pack on and tighten the hip belt first, centering it on your hip bones with the buckle at your navel roughly.
- Tighten shoulder straps so they wrap comfortably over your shoulders without gaps, but without bearing the bulk of the weight (which should already be on your hips).
- Adjust load lifter straps (connecting the top of the shoulder straps to the pack body) to a roughly 45-degree angle, pulling the pack's upper weight closer to your body without over-tightening.
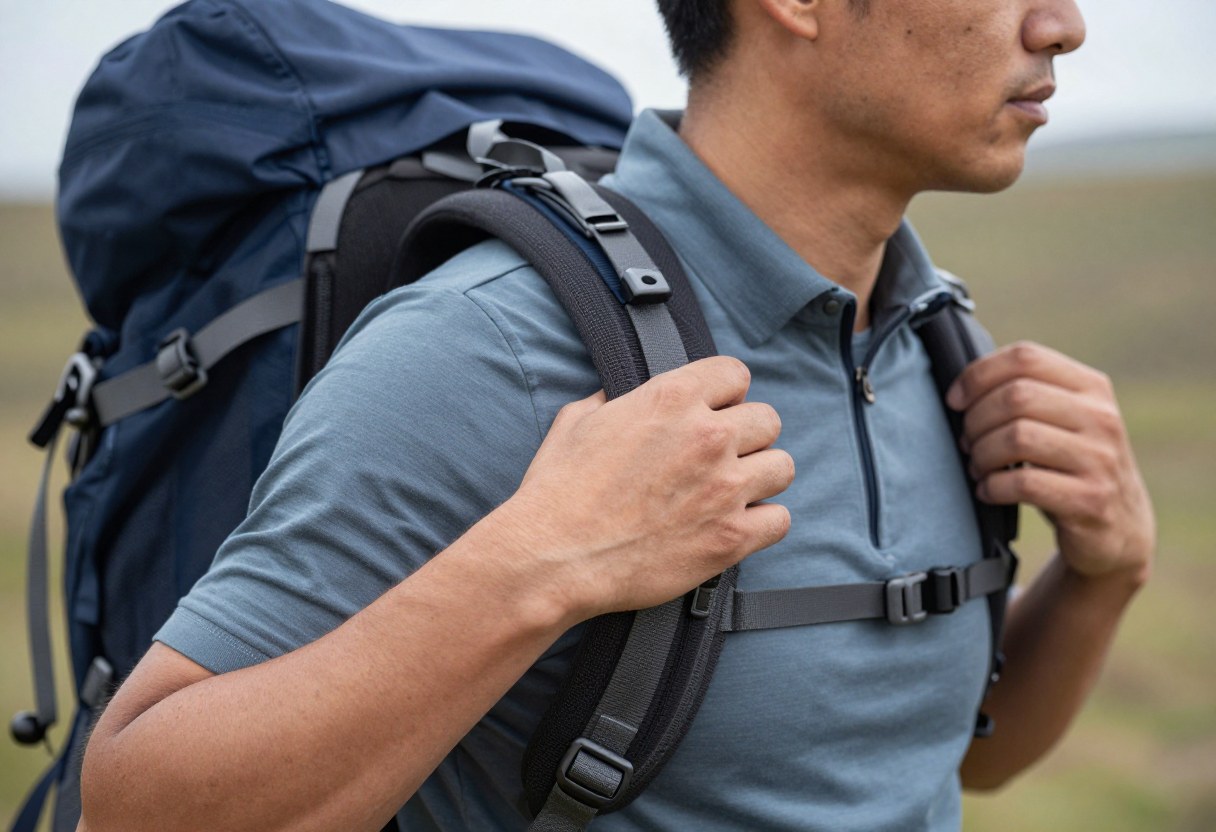
- Adjust the sternum strap (connecting the shoulder straps across your chest) for stability, snug but not restricting breathing.
- Walk around for several minutes, ideally on uneven ground or stairs if available, checking for shoulder rubbing, hip belt slipping, or weight that doesn't feel centered — a quick standing try-on in a store often misses issues that show up with actual movement.
Don't Skip This: Fit a backpack loaded with real weight, not empty, and walk around for more than a minute or two before deciding it fits well. A pack that feels fine standing still for thirty seconds can reveal real fit problems once you're actually moving with a realistic load — this is the single most common mistake in backpack shopping.
6. Features Worth Considering
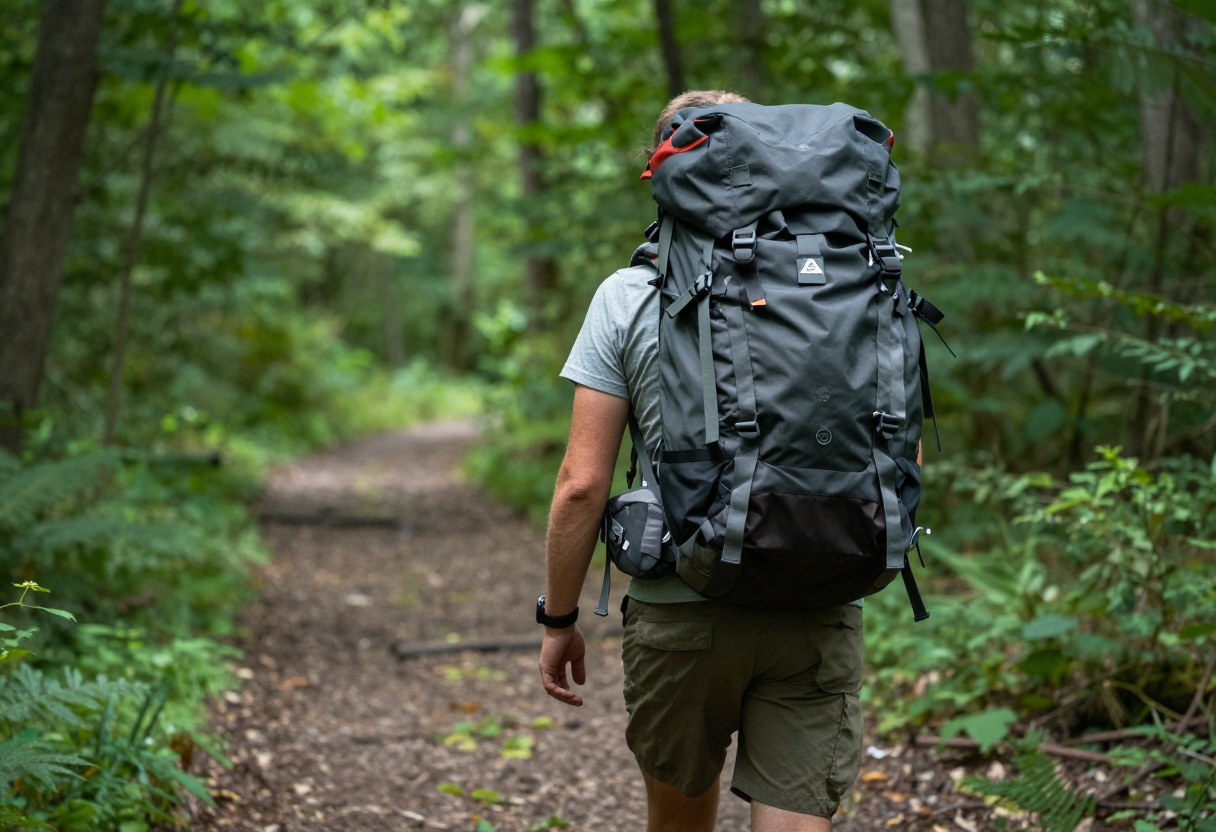
- Adjustable hip belt and shoulder straps (beyond just torso length adjustment) help fine-tune fit for your specific body shape.
- Ventilated back panel (trampoline-style mesh suspension) improves airflow against your back, a genuine comfort benefit in warm weather at a small weight cost.
- Hip belt pockets for quick-access items (snacks, phone, small navigation tools) without needing to remove the pack.
- External attachment points (loops, straps) for items that don't fit inside, like trekking poles or a sleeping pad, useful for both organization and expanding effective capacity.
- Rain cover (built-in or separate) protects pack contents in wet weather — some packs include one, others require purchasing separately.
- Hydration reservoir compatibility (a sleeve and port for a hydration bladder) is standard on most modern packs but worth confirming if you plan to use one.
7. Common Backpack Buying Mistakes
- Sizing by height or general assumption rather than actual measured torso length, leading to a pack that doesn't fit correctly regardless of how good the pack itself is.
- Trying on an empty pack and judging fit from that alone, missing how the pack actually feels and distributes weight under a realistic load.
- Buying too much capacity "to be safe," encouraging overpacking and unnecessary weight rather than matching capacity to actual typical trip length.
- Not adjusting the hip belt to bear the majority of the weight, ending up with sore shoulders from a pack that's technically fitted but not adjusted correctly.
- Ignoring load lifter straps and sternum strap adjustment, missing meaningful comfort and stability improvements that cost nothing extra once the pack is owned.
- Not testing with a walk or stairs, missing fit issues that only appear with actual movement rather than standing still.
Quick Decision Checklist
- I've measured my actual torso length rather than assuming based on height
- I've chosen a capacity matched to my typical trip length, not oversized "to be safe"
- I've chosen internal frame (the standard default) unless I have a specific reason for external frame or frameless
- I've tried the pack on loaded with realistic weight, not empty
- I've adjusted the hip belt to bear the majority of the weight, centered on my hip bones
- I've adjusted load lifter and sternum straps for stability and comfort
- I've walked around (ideally on uneven ground or stairs) before finalizing fit, not just stood still briefly
Glossary
- Torso Length: The measurement from the C7 vertebra to the top of the iliac crest, used to size a backpack correctly — distinct from overall body height.
- Hip Belt: The padded belt that should bear the majority of a loaded pack's weight, resting on the hip bones rather than the waist above them.
- Load Lifter Straps: Straps connecting the top of the shoulder straps to the pack body, adjusted to pull the pack's upper weight closer to the body.
- Internal Frame: A backpack frame design integrated inside the pack body, the standard choice for most modern backpacking.
- Frameless Pack: An unstructured backpack design relying on packing technique for shape, suited only to genuinely light total loads.
Final Takeaway
The right backpack is less about finding the "best" pack on paper and more about matching capacity to your actual trip length, choosing the right frame type for your needs, and — most importantly — fitting the pack to your measured torso length and adjusting it so your hips, not your shoulders, carry the bulk of the weight. Try any pack on loaded with real weight and walk around before deciding, since fit problems rarely show up in a quick, empty-pack try-on.
Backpack sizing systems and fit conventions vary somewhat between manufacturers — always confirm actual torso-length fit ranges for the specific pack model you're considering rather than assuming sizing is consistent across brands.