
Astrophotography Basics for Beginners
What's realistically achievable with just a smartphone or a DSLR on a tripod, before you need a telescope.
Published August 20, 2026
Why Astrophotography Doesn't Require a Telescope to Start
Astrophotography has a genuine entry-level tier that most beginners underestimate — a smartphone or a basic DSLR/mirrorless camera on a simple tripod can capture real, satisfying wide-field Milky Way and Moon shots, no telescope or tracking mount required. Understanding where that entry-level tier actually ends, and what genuinely requires more advanced equipment, is the key to setting realistic expectations and getting real results from your first attempts.
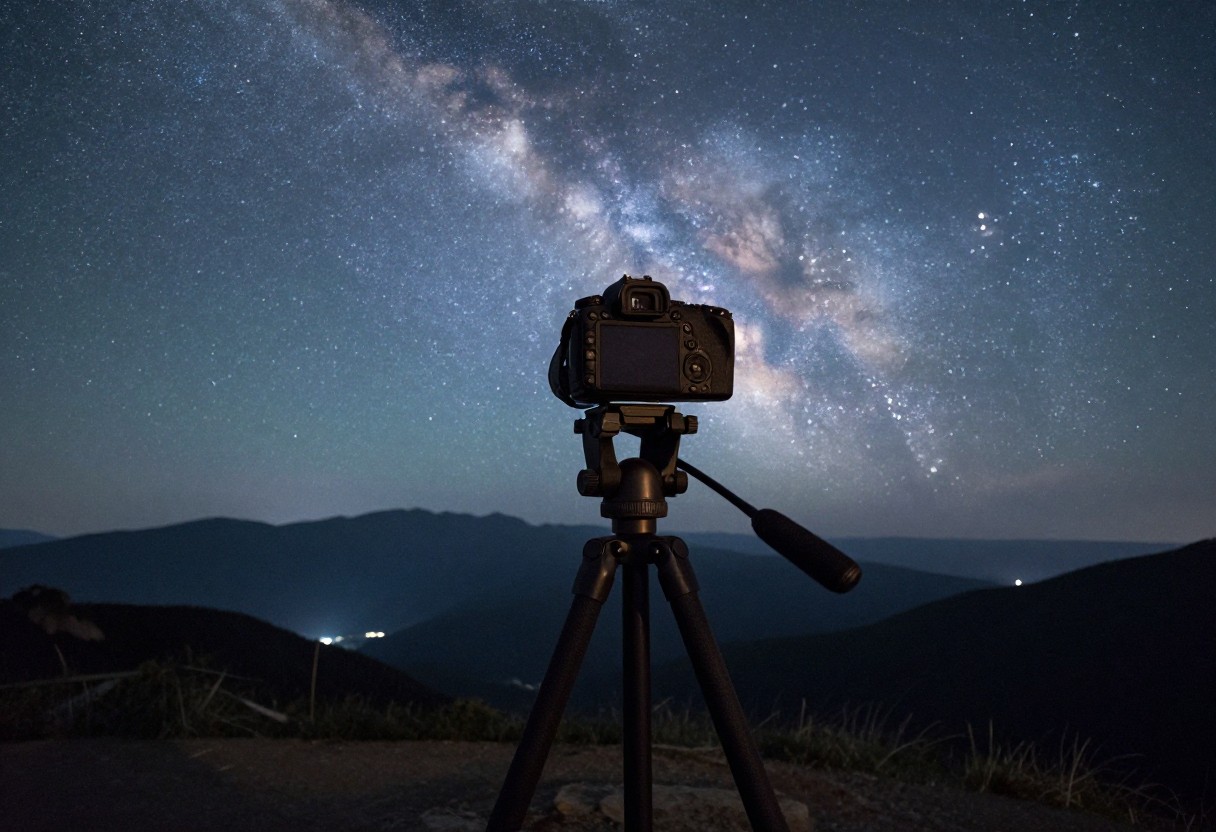
1. The Three Tiers of Astrophotography
| Tier | Equipment | What's Achievable |
|---|---|---|
| Smartphone | Just your phone, ideally on a small tripod or stable surface | Moon shots, wide-field Milky Way and star shots via night mode |
| DSLR/mirrorless on a tripod | Camera, tripod, no tracking | Sharper, higher-quality wide-field Milky Way and constellation shots; deliberate star-trail images |
| Telescope with tracking mount | Equatorial or GoTo mount, often a dedicated astro camera | Detailed deep-sky objects — galaxies, nebulae, star clusters |
Most beginners should start at tier one or two — a smartphone or basic camera on a simple tripod — before considering the investment required for tier three, which is a meaningfully larger jump in both cost and technical complexity.
2. What's Achievable With Just a Smartphone
- The Moon is genuinely rewarding even with basic smartphone night-mode photography — a full moon requires no special technique at all, and a half or gibbous moon (showing more surface detail via shadow contrast) can look excellent even without special settings.
- Wide-field Milky Way and star shots are achievable using your phone's night mode or long-exposure mode, typically involving a 10–30 second exposure depending on your phone and the specific mode.
- A small tripod or simply resting your phone on a stable surface is essentially required — handheld long exposures at night will be blurry regardless of your phone's camera quality.
- Manual focus (where your phone allows it) is important, since autofocus commonly fails to lock onto anything in very low light — focusing to infinity manually, or on a distant light source first, is a reliable workaround.
3. What's Achievable With a DSLR/Mirrorless Camera on a Tripod
- The same wide-field Milky Way and constellation shots as a smartphone, but with meaningfully better quality — larger sensors and full manual control produce sharper, less noisy results, especially in genuinely dark conditions.
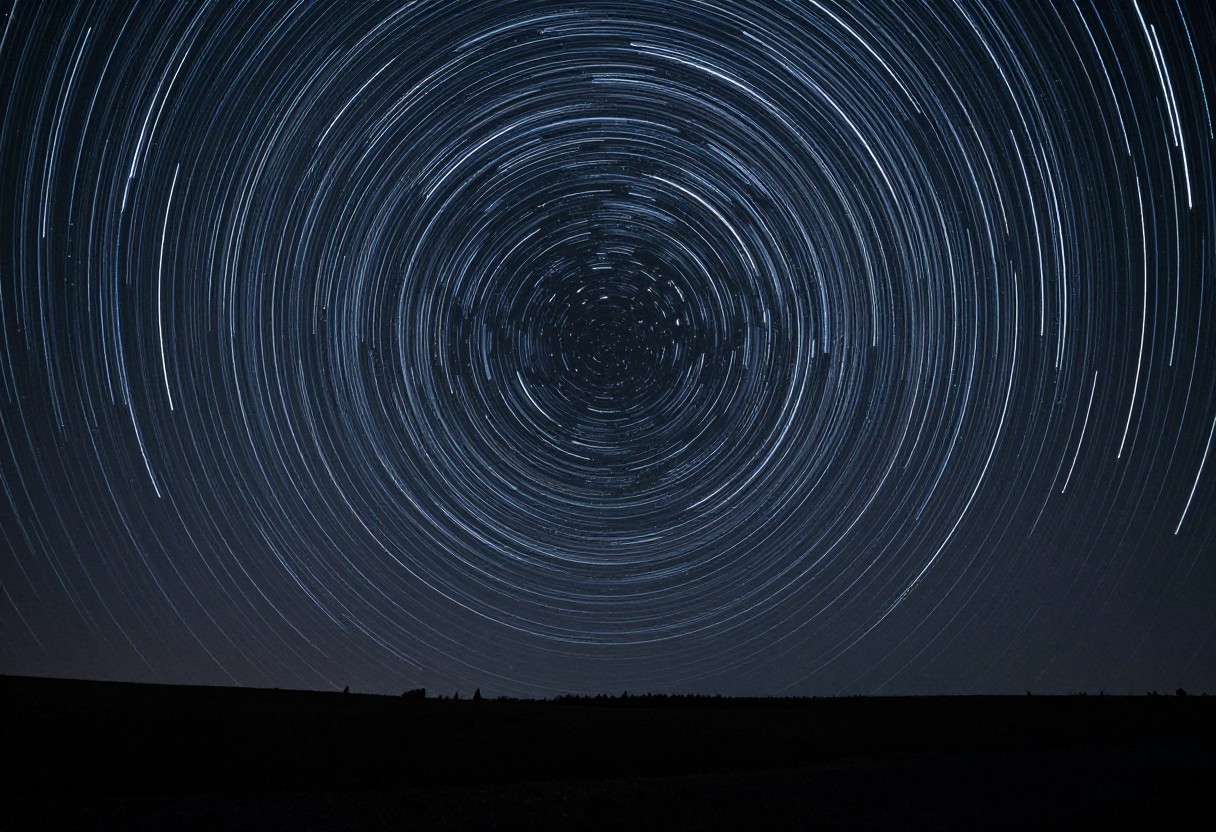
- Deliberate star-trail images, created by stacking many consecutive 30-second exposures over 30–60+ minutes and combining them in editing software — a genuinely achievable and popular beginner project that requires only a camera, tripod, and patience, no tracking mount.
- Basic settings to know: a wide-open aperture (low f-number) to gather as much light as possible, an ISO setting adjusted to your specific camera and conditions (starting around 800 and adjusting from there), and manual focus set to infinity, verified by zooming in on a bright star in live view.
- RAW/DNG capture, where available, preserves significantly more detail and editing flexibility than a compressed JPEG — worth using if your camera (or phone) supports it, even though the files are larger.
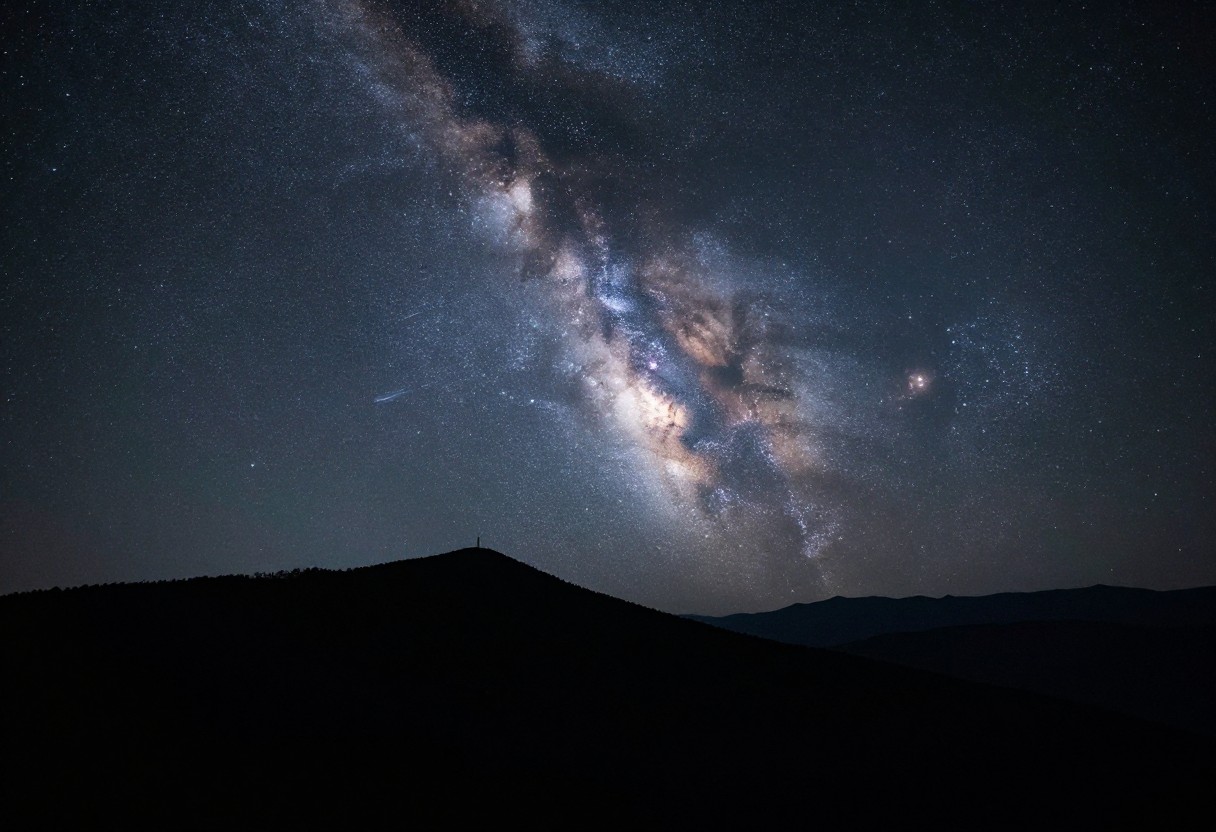
4. The "500 Rule": Avoiding Unwanted Star Trails
- When you want pinpoint stars rather than trails, there's a maximum exposure time before the Earth's rotation becomes visible as elongated, trailing stars rather than sharp points.
- The 500 Rule provides a rough guideline: divide 500 by your lens's full-frame-equivalent focal length to get an approximate maximum exposure time in seconds before trailing becomes noticeable.
- On a typical smartphone's wide-angle lens, this generally works out to roughly 15–20 seconds as a safe maximum — which is why smartphone night modes are often tuned to exposures in that general range.
- This is a rule of thumb, not a precise physical law — actual acceptable trailing depends on your specific sensor, how much you'll crop or enlarge the image, and personal tolerance, but it's a reasonable starting point for a beginner.
5. Where the Line Is: When You Actually Need a Telescope
- Deep-sky objects — galaxies, nebulae, and detailed star clusters — genuinely require a tracking mount (equatorial or GoTo) to capture well, since they demand exposure times far longer than the 500 Rule allows without a fixed tripod, and tracking is what prevents star trailing during those longer exposures.
- A telescope isn't strictly required for tracked astrophotography — a tracking mount alone, paired with just a camera and a telephoto lens, can capture meaningfully more than a static tripod, and is a reasonable next step before a full telescope-based imaging setup.
- This is a genuinely larger investment in both cost and learning curve than tripod-based wide-field photography — a realistic beginner path is mastering tripod-based shots first, then deciding whether deep-sky imaging is worth the additional investment based on how much you're enjoying the hobby.
6. Basic Editing: Getting More From Your Shots
- Even minimal editing meaningfully improves astrophotography results — adjusting exposure, contrast, and white balance in a basic photo editing app can bring out detail that's present in a RAW file but not obvious in the unprocessed image.
- Star-trail images specifically require stacking software to combine dozens or hundreds of individual exposures into one final trailed image — several free and paid options exist for this specific purpose.
- Avoid over-processing as a beginner — aggressive noise reduction, sharpening, or saturation adjustments can introduce obvious artifacts; subtle, restrained edits generally produce more genuinely pleasing results than heavy-handed processing.
7. Practical Session Tips
- Plan around a new moon for Milky Way and deep-sky-adjacent shots, since a bright moon washes out fainter detail — the same timing principle covered in a dedicated beginner guide applies directly to astrophotography.
- Use a genuinely dark location — light pollution affects photography even more visibly than naked-eye viewing in some ways, since a camera's long exposure accumulates ambient light pollution glow over the entire exposure time.
- Bring a small flashlight (red, to protect your own and others' night vision) for adjusting camera settings in the dark — the same night-vision principles from a dedicated gear guide apply here too.
- Use a remote shutter release or your camera's timer function to avoid camera shake from physically pressing the shutter button during a long exposure.
Common Astrophotography Beginner Mistakes
- Attempting handheld night shots, producing blurry results regardless of camera quality — a tripod or stable surface is essentially non-negotiable for any real astrophotography.
- Relying on autofocus in low light, which commonly fails to lock onto anything — manual focus to infinity is a more reliable approach.
- Exceeding the 500 Rule's rough exposure limit unintentionally when trying to capture pinpoint stars, ending up with unwanted trailing.
- Jumping straight to deep-sky imaging ambitions without building foundational tripod-based skills first, leading to frustration with equipment and technique both being unfamiliar at once.
- Shooting under a bright moon or in light-polluted skies and being disappointed by washed-out results that better timing and location would have avoided.
- Over-processing images in editing, introducing artifacts that a lighter editing touch would have avoided.
Quick Decision Checklist
- I have a tripod or stable surface — handheld astrophotography isn't a realistic starting point
- I've set manual focus to infinity rather than relying on autofocus in the dark
- I understand the 500 Rule as a rough guideline for avoiding unwanted star trailing
- I've planned my session around a new moon and a genuinely dark location
- I'm starting with tripod-based wide-field shots before considering the investment required for tracked deep-sky imaging
- I have a plan for basic editing (and stacking software, if attempting star trails) to get the most from my shots
Glossary
- The 500 Rule: A rough guideline (500 ÷ focal length) for the maximum exposure time in seconds before star trailing becomes visible on a static, non-tracking setup.
- Star Trails: Elongated streaks left by stars in a long exposure photo, caused by Earth's rotation during the exposure — either an unwanted artifact or a deliberate creative effect depending on exposure length and intent.
- Tracking Mount: An equatorial or GoTo telescope mount capable of following the sky's rotation, required for long-exposure deep-sky astrophotography without trailing.
- RAW/DNG: An uncompressed or minimally processed image file format that preserves significantly more editing detail and flexibility than a standard compressed JPEG.
Final Takeaway
Real astrophotography is achievable starting with just a smartphone or a basic camera on a tripod — Moon shots and wide-field Milky Way photography don't require a telescope or tracking mount, only a stable setup, manual focus, and reasonable settings within the rough bounds of the 500 Rule. Build skill and enjoyment at this tripod-based tier first, and treat the jump to tracked deep-sky imaging as a deliberate, larger investment to make once you know how much you genuinely want to pursue the hobby further.
Camera capabilities and phone night-mode features vary significantly by specific device — treat exposure times and settings here as a starting framework to adjust based on your own equipment's actual results.